
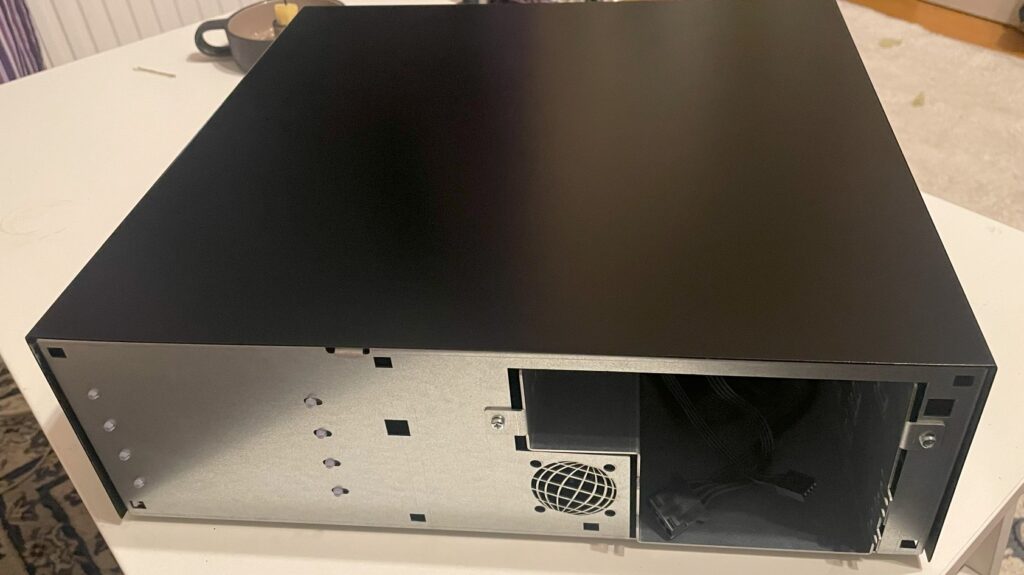
I bought a replica Amiga 4000D case earlier this year on Amibay. It is really good clone of the A4000D case with the exception it has slightly better cooling, space for a 40 mm fan, was painted black, has some options the original Commodore A4000D did not have, uses an SFX ATX PSU and did not come with a front panel.
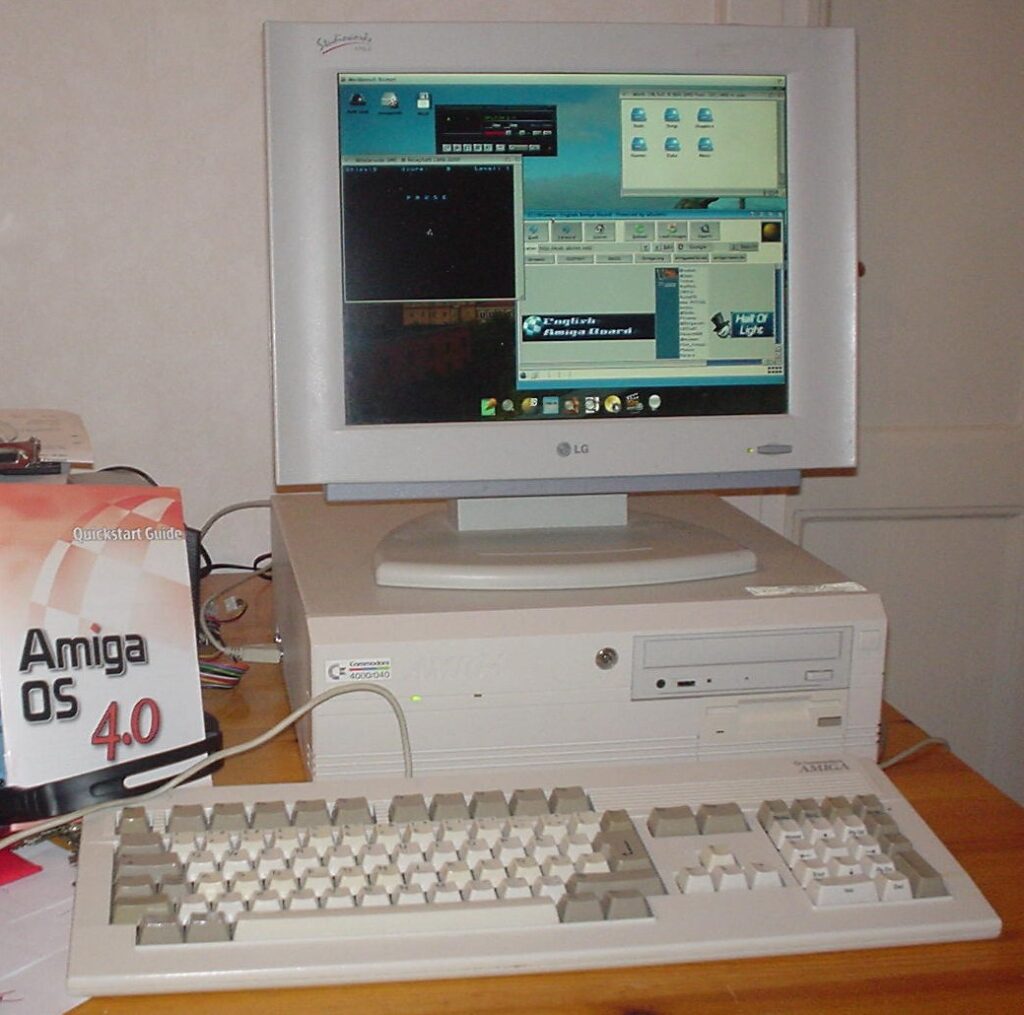
I really like the look of the A4000D (even if it is just a lousy PC case that was adapted to the A4000D in the last minute), especially the front panel. If there is a template for a professional early 90ies computer case, I think this could be one of them (together with SGI, Sparcstation and so on) – There is just something about the angled look of it and the Amiga logo inprinted in the case cover mold.
Functionality wise, the case is a disaster. The Amiga 4000D case has lousy cooling. The whole case depends on the fan in the PSU to cool the whole system. There is no active cooling at all on the Zorro board section. It has the mouse and joystick port awkwardly mounted on the side making it difficult to remove the cover. And while it has a 5.25 slot, it is too shallow and wont take a full length CD-rom (or DVD). Many of these problems has been solved in the replica case and many of these problems are not problems anymore (I never want to touch optical media again).
What about the A4000D 3D printed front panel?
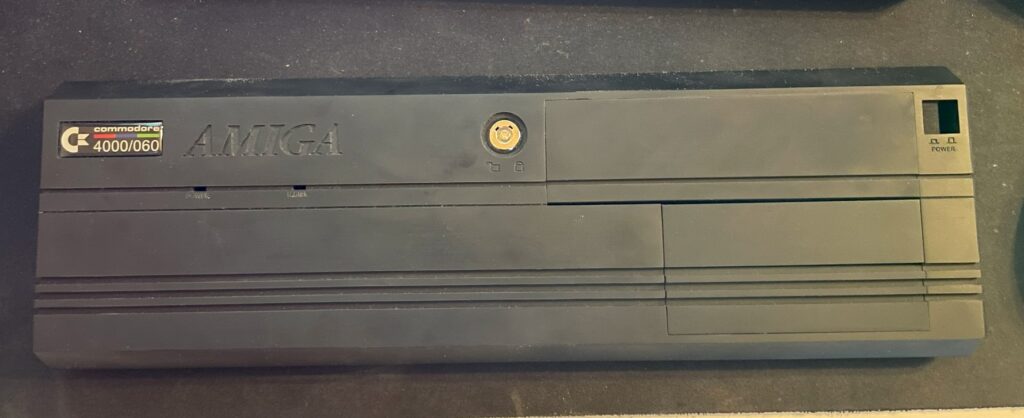
The files for the 3D printed A4000D cover can be found here. You can find the different 5.25 and 3.5 cover slots there too. I got them printed at JLCPCB in nylon resin and something, I have forgotten, I also got the power button on a stick 3D printed. All in all the total cost was somewhere around 50 euro, very affordable IMHO. The front was printed in one piece. It has a bit of a rough look to it if you look close, but it is surprisingly well done. I do like the rough look as it resonates with the home built A4000D motherboard, its not perfect as in a factory made case/computer as it is DIY built.
However, the front panel do not fit on the A4000D case that good. The clips are too long and they are really soft and became slack quick, meaning the front panel hangs off the front of the case and just looks cheap.
How I got the Amiga 4000D 3D printed front panel attached to the case
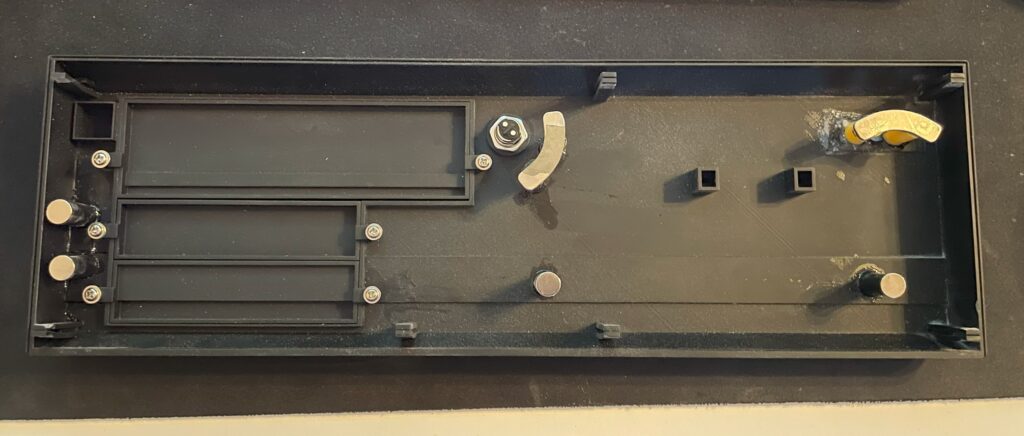
I had an idea to use strong neodymium magnets to hold the front cover onto the A4000D case.
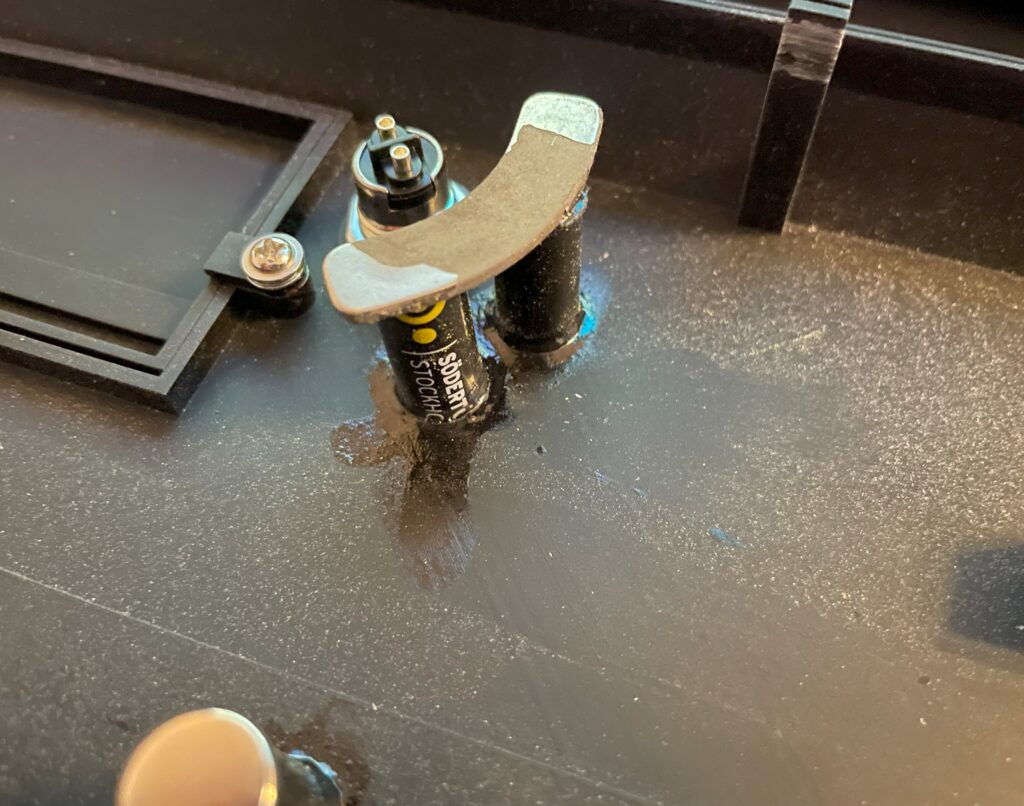
In the picture above you can see four round magnets and two banana shaped magnets. The banana shaped magnets came from an old 3.5″ harddrive that I recycled. These magnets are really strong.
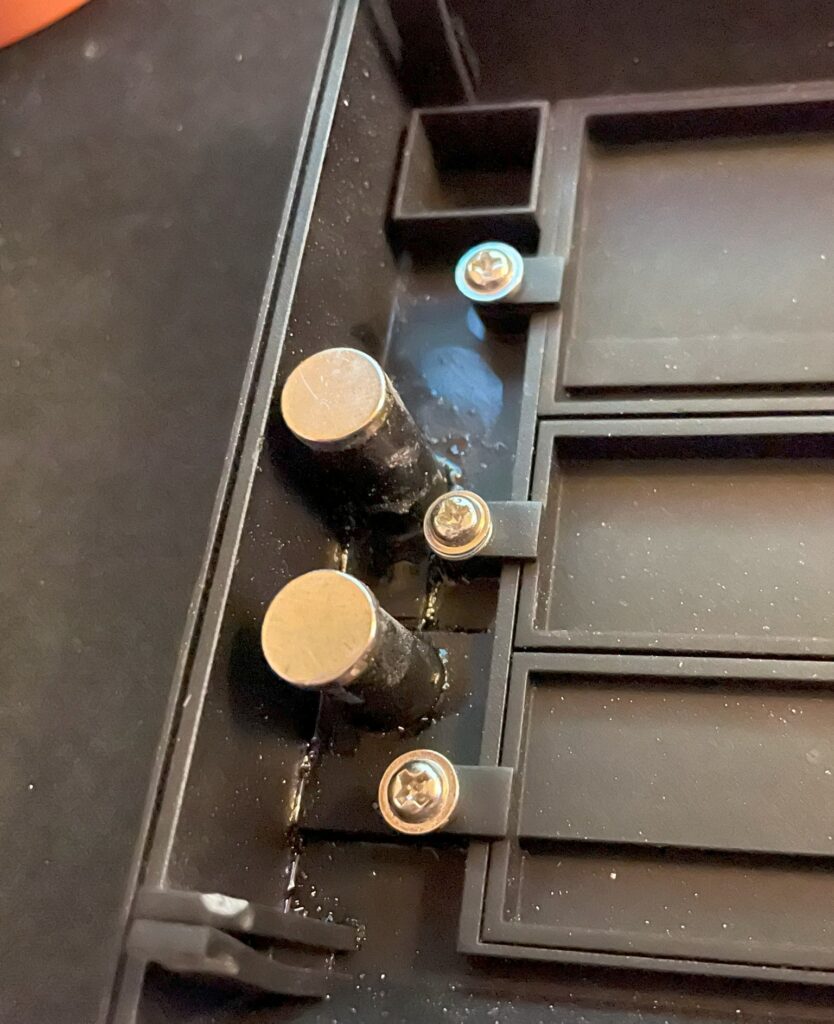
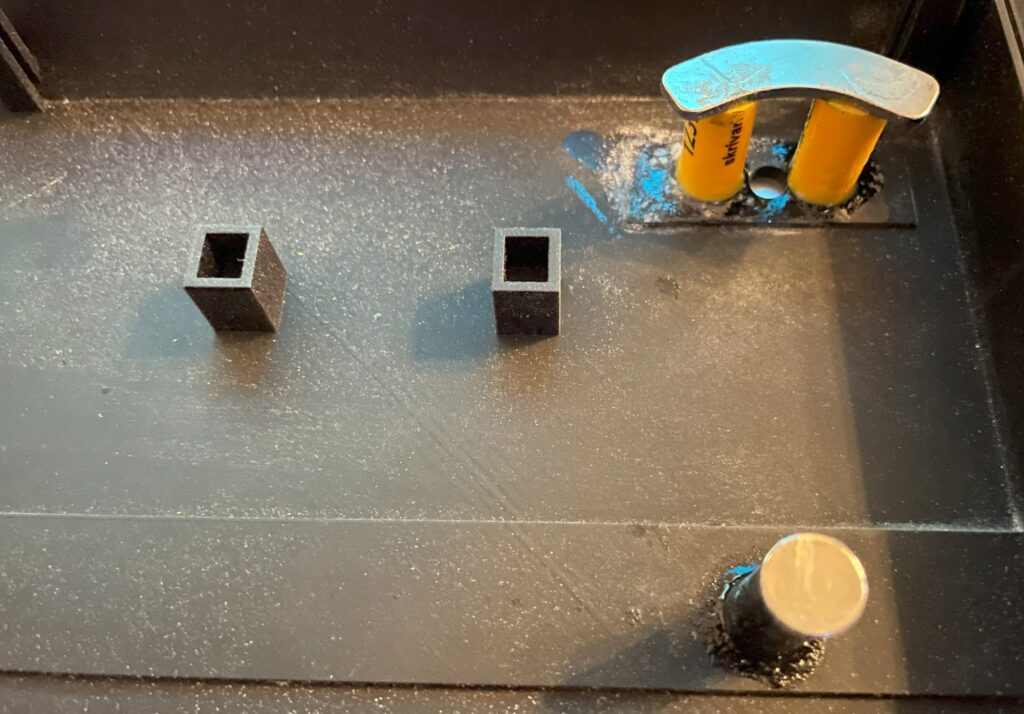
The round magnets are also neodymium magnets but less strong. If I was to start over I would just use three of the really strong banana shaped magnets they hold the 3D printed front panel to the case strong and secure. See the peg in the bottom left corner and how it has sagged.
It looks a bit sloppy because it is, I will paint the stand offs for the magnets black and maybe even add some black bondo to them to make it look nicer. However as a proof of concept everything works and is secure. The stand offs are regular plastic pencils that I cut to lenght and then super glued to the 3D printed A4000D front, I then super glued the magnet to them and let everything dry over the night.
I thought that the magnets would work themself loose from being super glued to the stand offs but I have been proven wrong. They are secured to the stand offs and case and wont move or brake off.
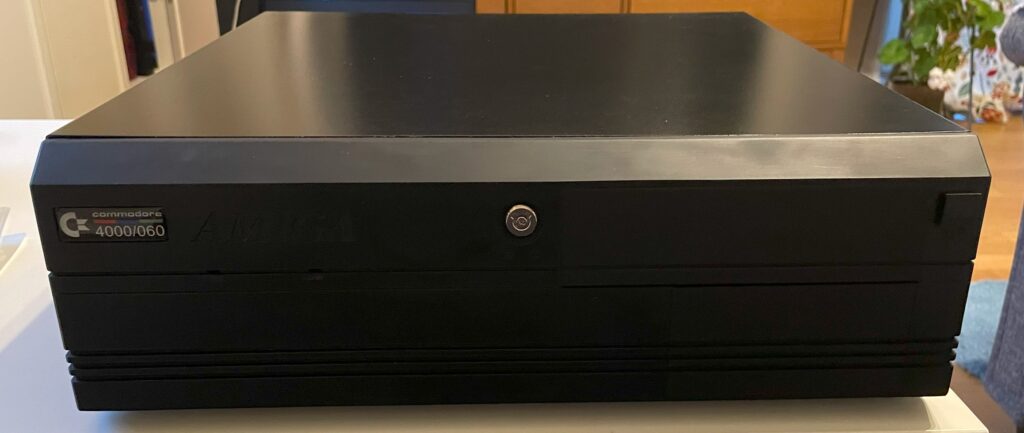
Here is the case with the cover added to it, being held to the case just by the magnets. Taking it off the case needs a lot of force. To make it easier I sanded off the hooks on the pegs of the front cover to make it easier to slide out the holes of the front of the case. Again, looks rough but works fine.
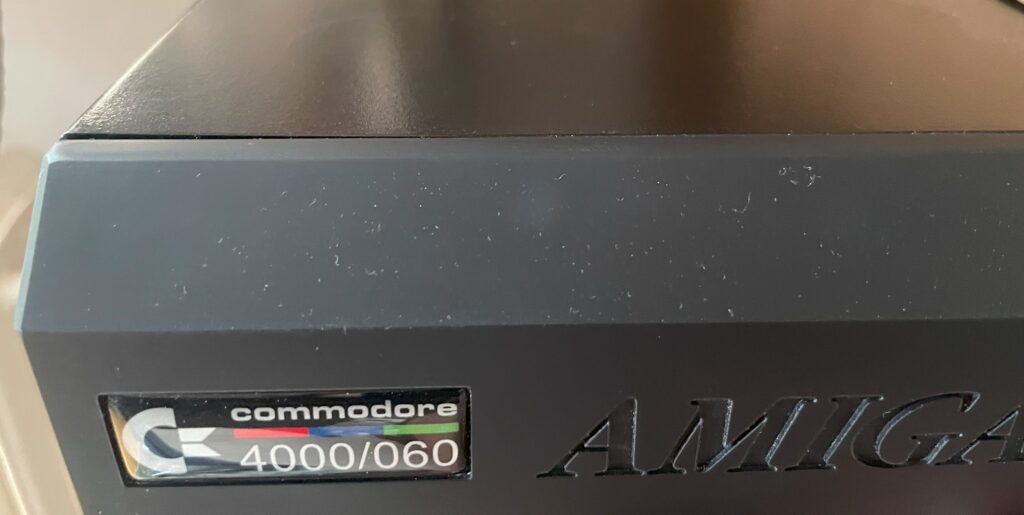
Here is a closeup of the 3D printed A4000D front cover, the badge was bought from a store online.
All in all I am very happy with my black A4000D case. I think it fits into a modern office much better when it is black as so few computers come in beige these days.