Got a Xilinx programmer for my Amiga projects

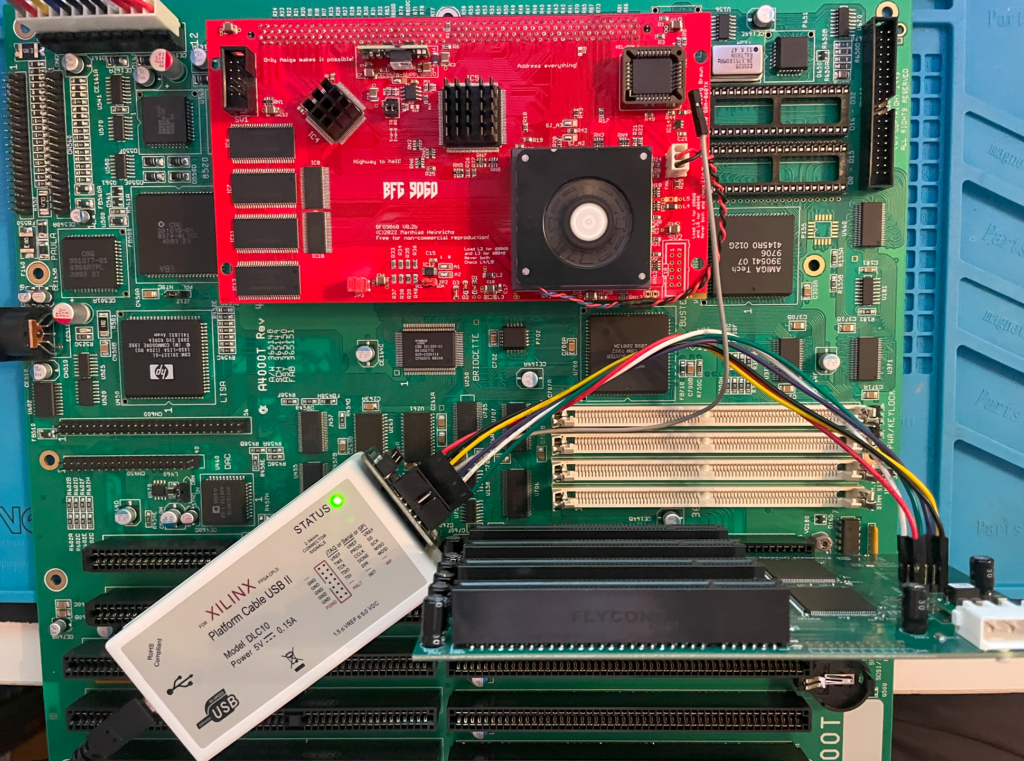
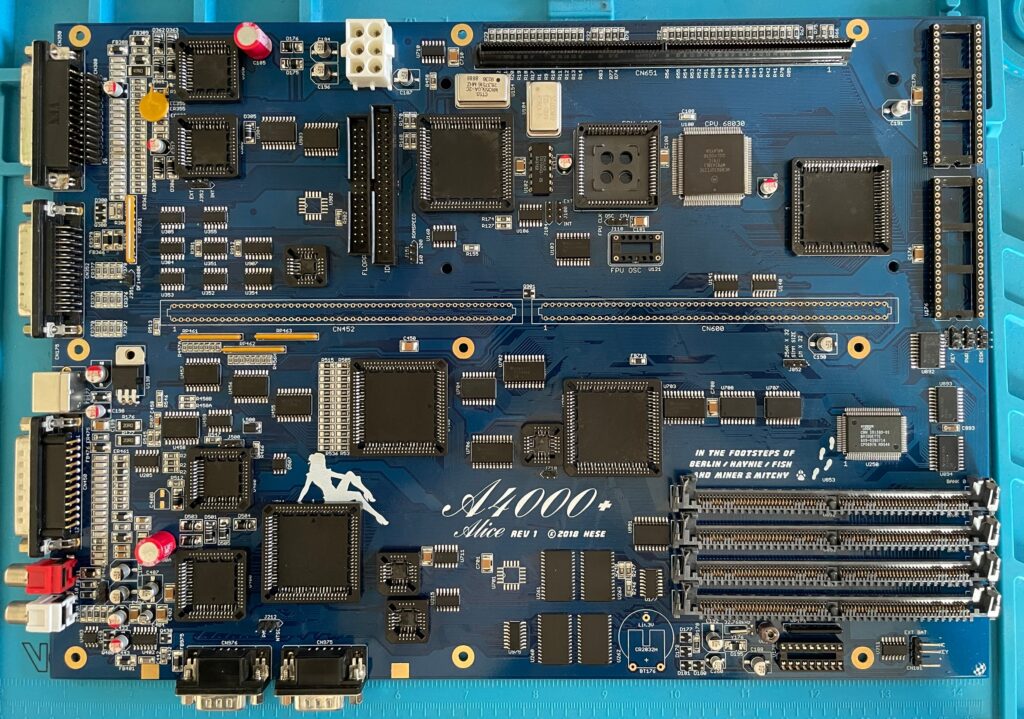
Programming the Prometheus on my A4000T motherboard, in order to program the chips they have to be powered up, thats why the Amiga is powered up

A lot of Amiga hardware projects uses programmable Xilinx chips, also called CPLDs, (Complex Programmable Logic Device). These chips are supposed to be programmed with logic. Previously I have used a RaspberryPI as a programmer following the excellent guide Linux Jedi set up for programming a CPLD with an RPI. This has worked well, but I got stuck on a few projects where the RPI could not handle the CPLDs.

Disadvantages and advantages of programming Xilinx CPLD with Raspberry Pi

The advantage of programming a Xilinx CPLD with a Raspberry Pi is that its a cheap programming solution that is fine for the occasional project that needs a CPLD programmed.

The disadvantage is that a Raspberry PI can not program a CPLD that has been write protected. Many Xilinx CPLDs on eBay and AliExpress has been previously used or are unused but already preprogrammed chips. It has happened to me that the chips I got from Chinese sources has been write protected which is a problem since you can not write to a write protected CPLD with an RPI. Another disadvantage of programming CPLDs with a RPI is that there might be cases where the RPI can not handle the programming. I have seen that happen on projects that uses CPLDs in a chain from different makers for example.

Using a Xilinx programmer instead

I got this DLC10 Xilinx programmer from AliExpress, as with most stuff there, this is probably just a fake or clone of the genuine thing. But it works fine. As with most programmers there is a little learning curve in how to set up the software for the programmer. In this case the programmer was in a virtual Linux installation that had to be run with VirtualBox. I highly suggest googling for a tutorial on YouTube for learning how to program CPLDs with a Xilinx programmer to minimize confusion. Once done a couple of times it becomes second nature.

Amiga projects with CPLDs that I programmed with my new Xilinx programmer

Firebird A4000D is now fully programmed, should add all PCI slots to it and try out some PCI cards on my A4000D!

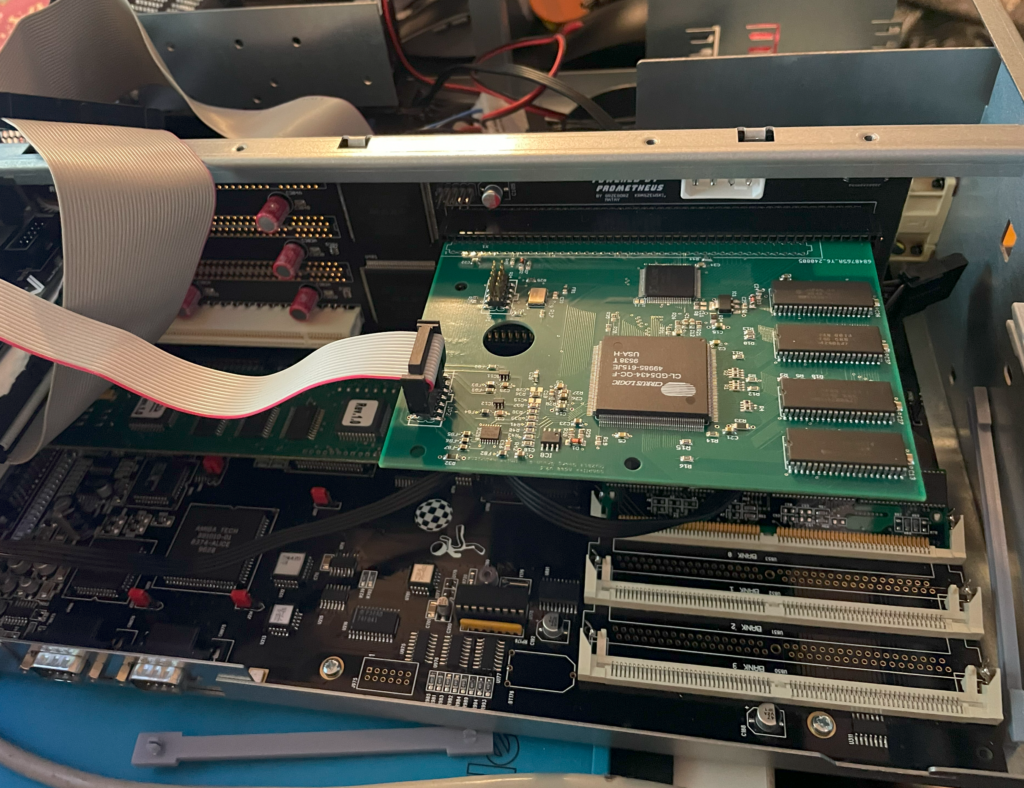
I had a couple of projects in my stash that was stalled because they refused to be programmed with a RPI. These where the Prometheus PCI board (had a CPLD that was write protected).

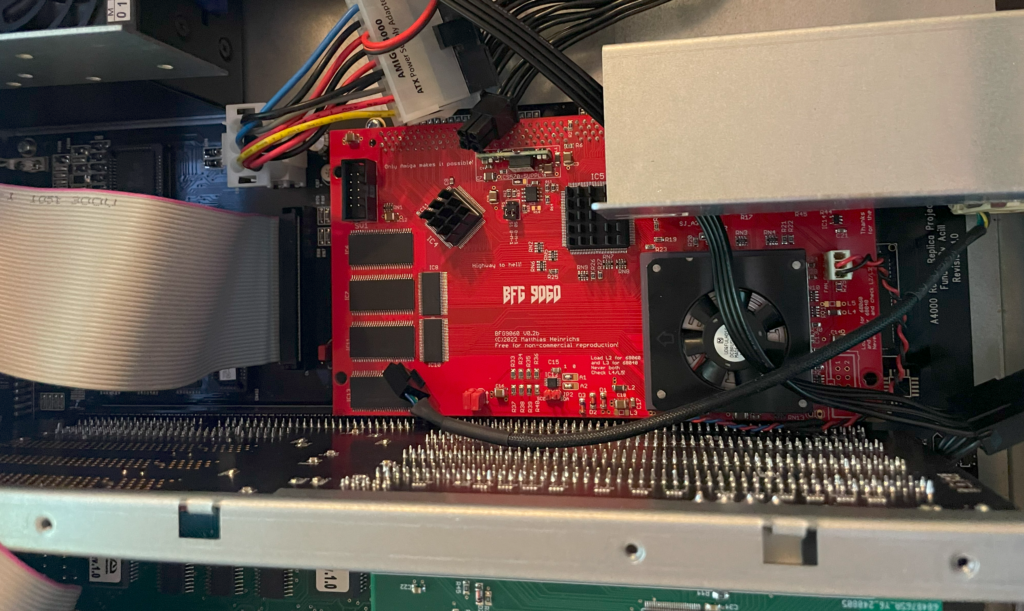
BFG9060 fully programmed and confirmed working in my Amiga 4000D

The second BFG9060 I built (also had a CPLD that was write protected) and the Firebird A4000D that used Altera and Xilinx chips on the same chain. All projects where programmed fine and it was very satisfying the be able to move on and closing projects thats been in a state of limbo for close to a year!

Amiga 4000D front LEDs

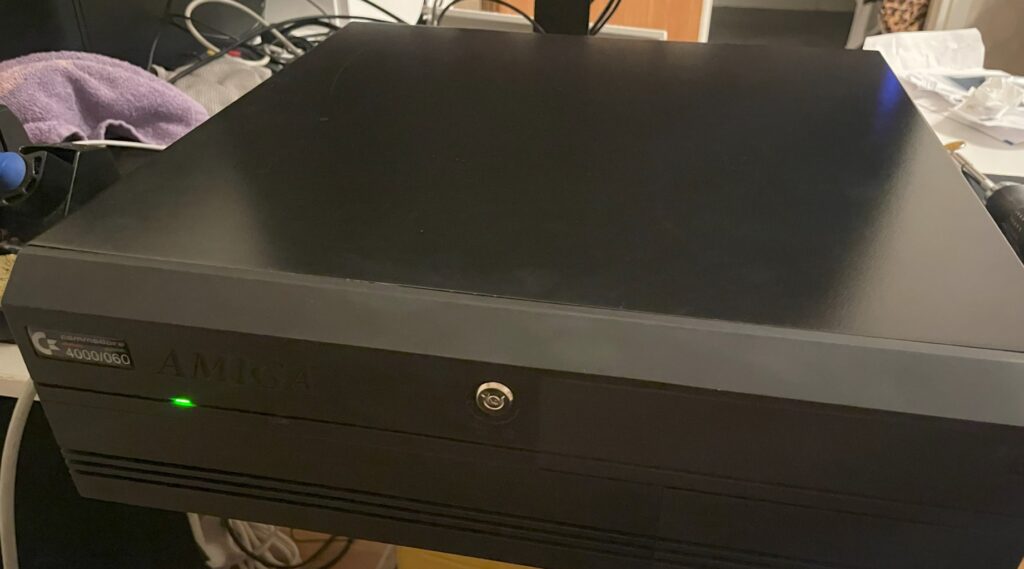
Here is my black Amiga 4000D with a green power LED

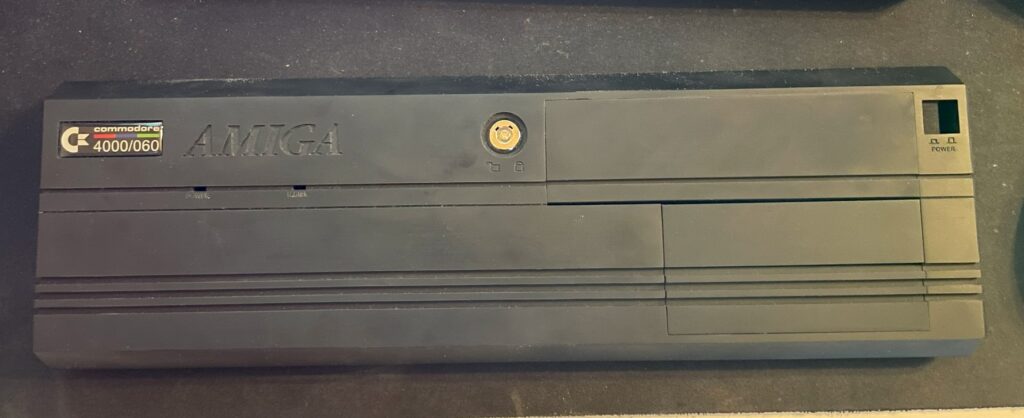
I bought a replica Amiga 4000D case off of Amibay earlier this year. One of the joys of building and buying clones and replica hardware is the challenge of finding parts you need. In this case, I needed a front for the A4000D. Thankfully there was 3D model you could download and 3D print that solved the problem, but it did not came with LEDs or the keylock so here came another challenge: find the correct parts for the LED, how to mount them and where to find the keylock.

Amiga 4000D LEDs

Amiga 4000D front panel LED

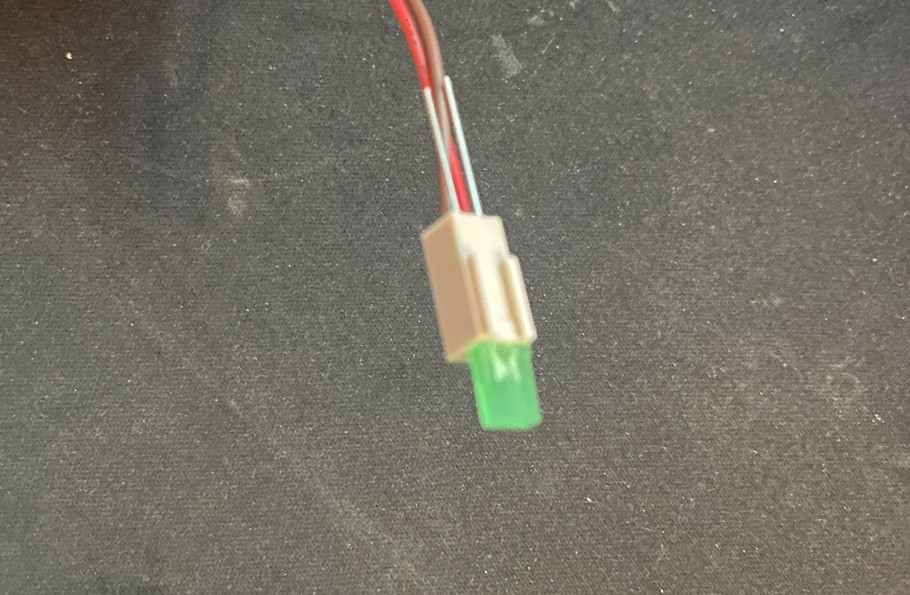
So the LEDs are standard square, flat 5v LEDs. These can be found in most electronic shops, here is a link to the green ones I bought. I think green looks fine, there was yellow and orange also and probably blue if you look around. I am not that fond of blue leds so green was it.

A4000D uses a two pin Molex connector and a flat LED

The LEDs are mounted to two terminal Molex connector (2.54mm). The Molex connector slips into the opening over the cable sleeves. If I remember correctly this is actually how they are setup on a genuine A4000D. On the picture above you can see the long pins of the LED sticking out through the back of the Molex connector, I cut these off and bent them over the Molex connector afterwards.

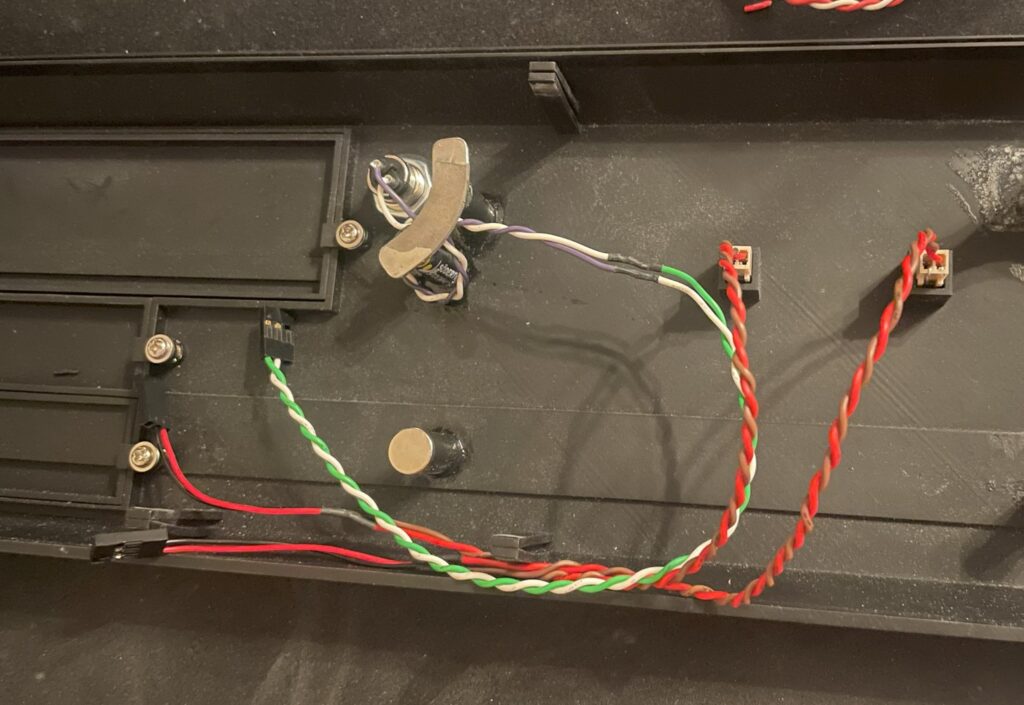
There are magnets on the back of the A4000D front that holds it to the chassi.

Here you can see the 2 pin Molex connector placed into the holes for the LED. On an older A4000D I had (a genuine one) I put a dab of hot glue on them to hold them in place, perhaps I will do it on this A4000D replica too in the future, but for the moment they stay fit on the A4000D front with no problem. You can also see the cables, they are soldered to three pin 2.54mm connectors. One pin is left out.

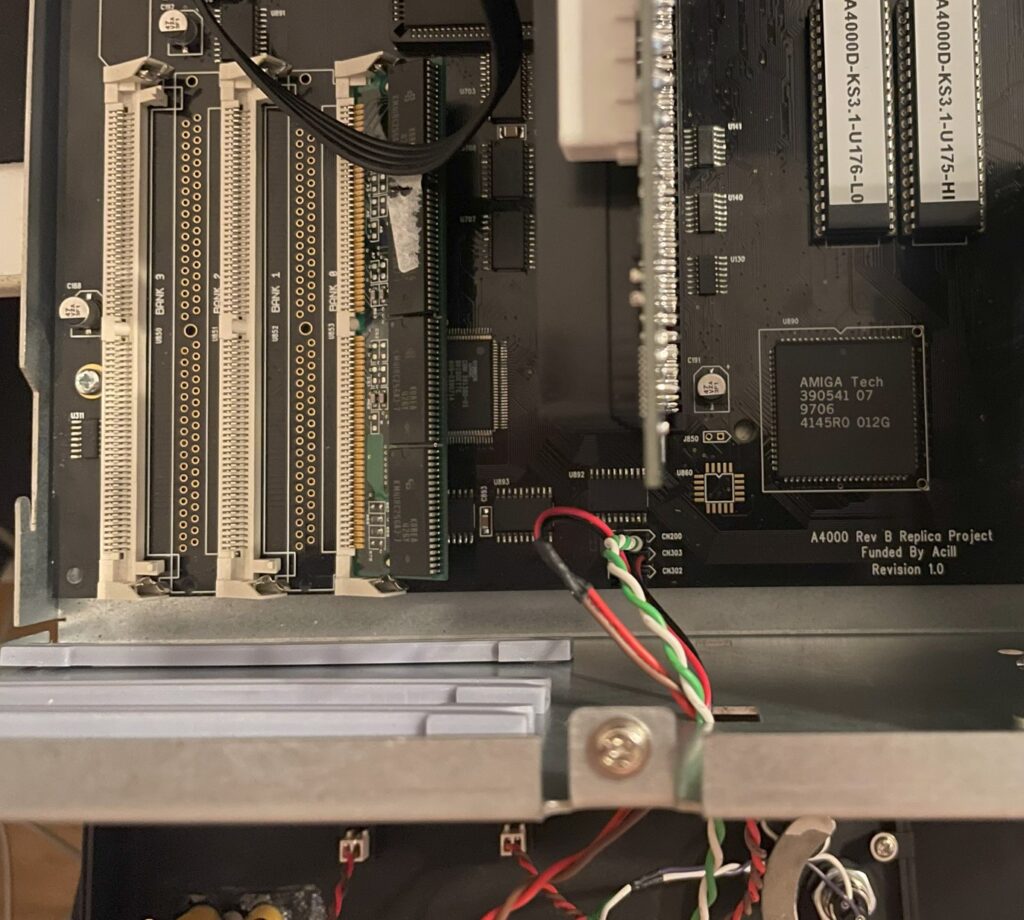
Cables are inserted to the A4000D motherboard

At first the LEDs did not light up, so I just switched positions on the cables and then they worked as they should. If you look at the A4000D motherboard circuit to the pinouts, you can see that the middle pin is unique, but the two outher pins are the same (hooked up together). So if you have the correct polarity you can flip them around and they should work.

Amiga 4000D keylock

Amiga 4000D front with keylock

The Mouser part number for the keylock is, 612-KO132A1501 – here is the page for it on Mouser. If I remember correctly the keylock does not disable the A4000D from working, it just disables the keyboard. And to be totally honest, a keylock in this day and age is kind of pointless, however the A4000D front would not look correct without one, so I ”had” to get one. I just soldered two wires to the terminals of the keylock and hooked it up to the motherboard.