I just finished the last touches on my Amiga 2000 EATX build. The Amiga 2000 EATX is a clone of the Amiga 2000 motherboard in an extended ATX format. That means it will fit inside most ATX tower cases that can swallow a larger EATX format (or in this case can be hacked to accept EATX motherboards). You can read more about the A2000 EATX here.
I like to modernise the Amiga systems I have so I look forward installing an Amiga in a generic PC tower, with that said, I actually think the original Commodore Amiga 2000 case was awesome. It was an easy case to open up to have access to the slots, it was also a good looking case and the de facto professional Amiga to have back in the day.
I like to think that the A2000 EATX continues that professional legacy of the Amiga 2000 by modernising it and making it more accessible and user friendly.
Building an Amiga 2000 EATX motherboard
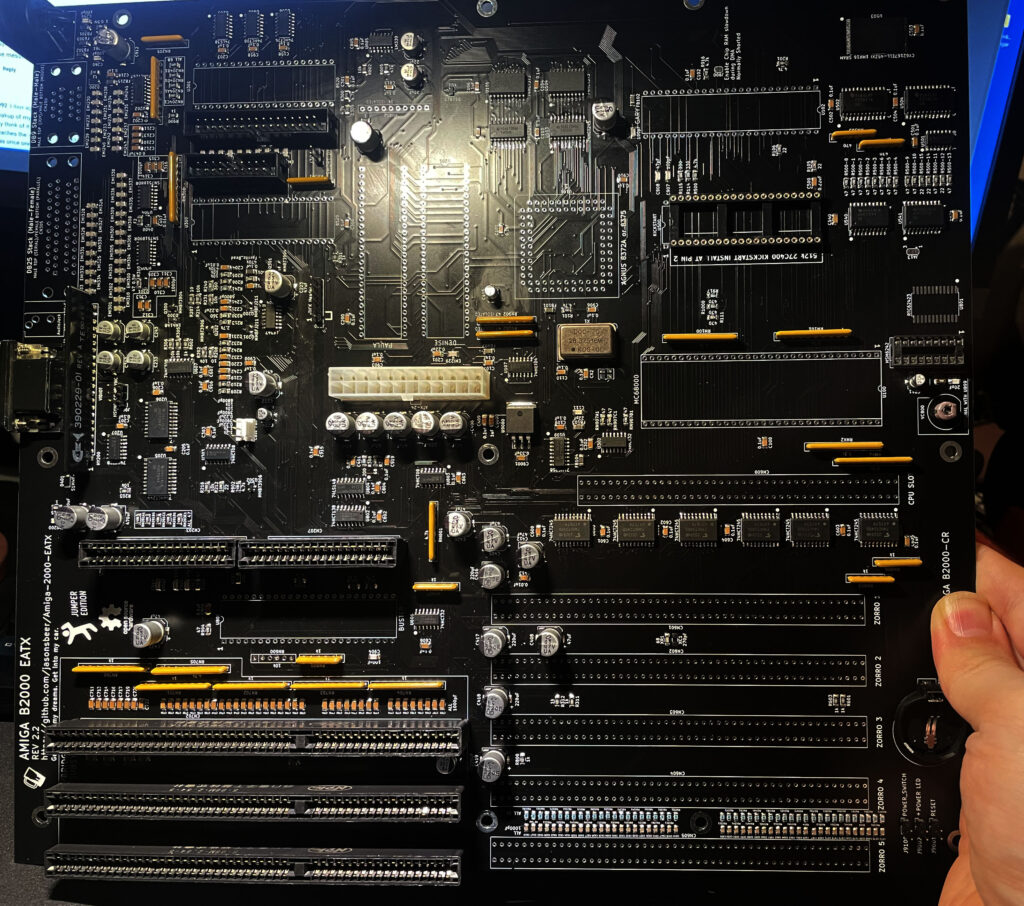
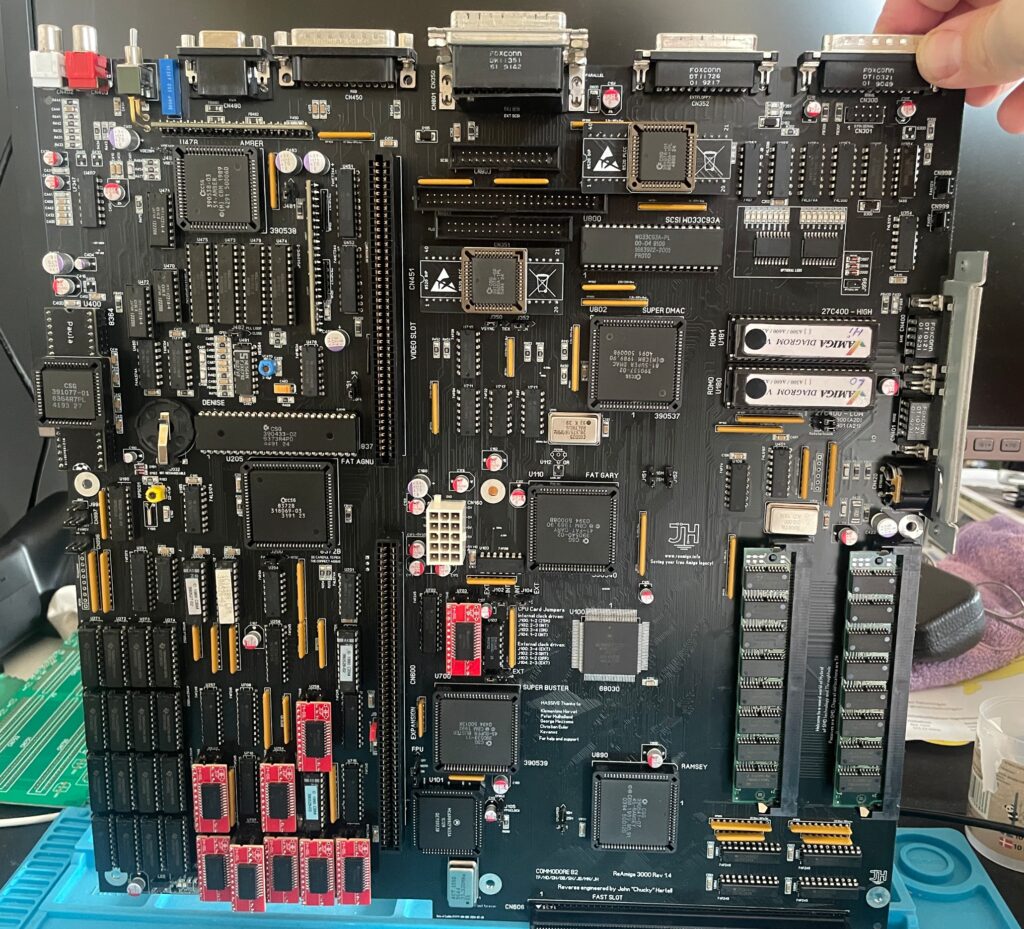
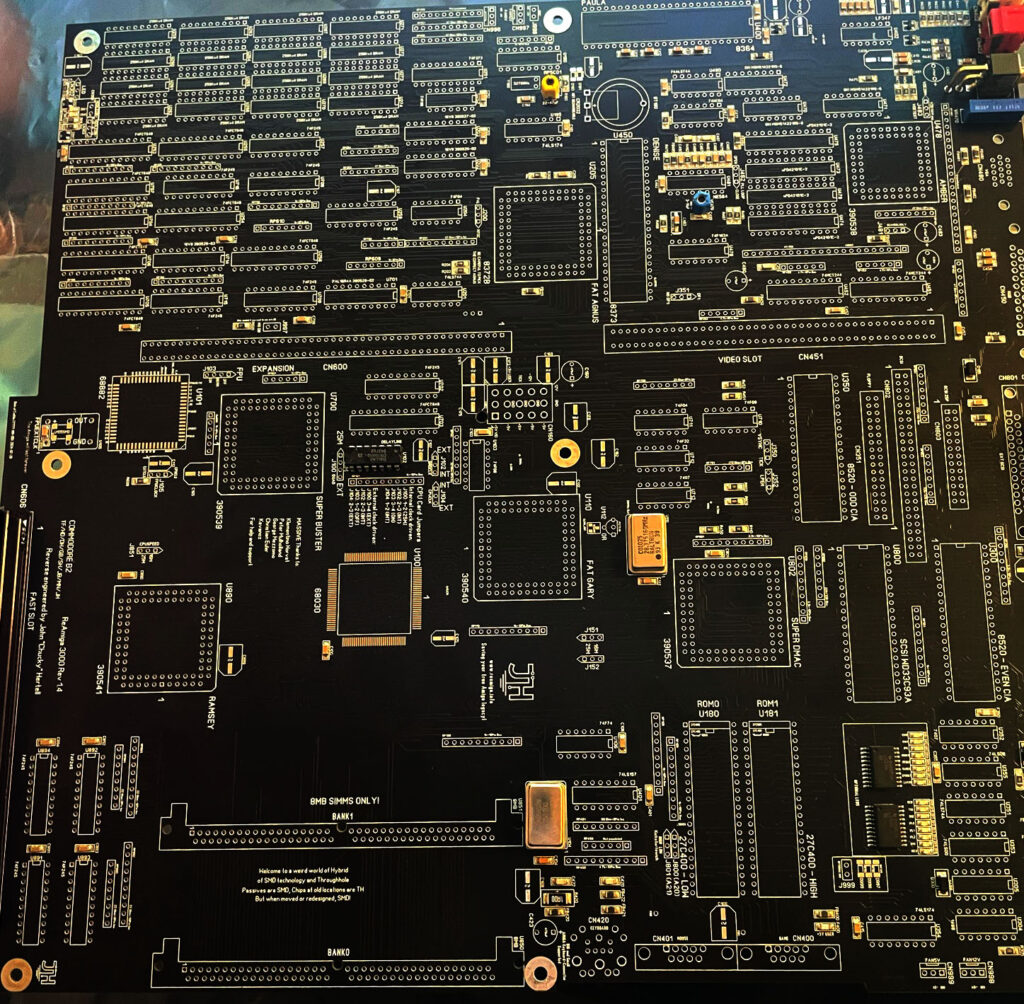
As you can see on the picture, most of the features of a genuine Commodore Amiga 2000 is present on the A2000 EATX motherboard.
Although the motherboard above is in a half finished state above we can see there are space for five Zorro 2 slots, three ISA slots (one less than on a real A2000), the CPU slot and the video slot. Also note the ATX power and space for all custom chips from an Amiga.
I used the chipset from an Amiga 500 and then got a Bluster chip (Buster clone). I also took the vidiot from a broken A500. It is possible to run both 8375 and 8372. I did not have an 8375 so I used an 8372 instead. Having the option to chose between 8375 and 8372 is awesome – 8375 is more difficult to find and more expensive. There is also provision for a PCB to generate the tick signal. I do not have that on this build but if needed could be added.
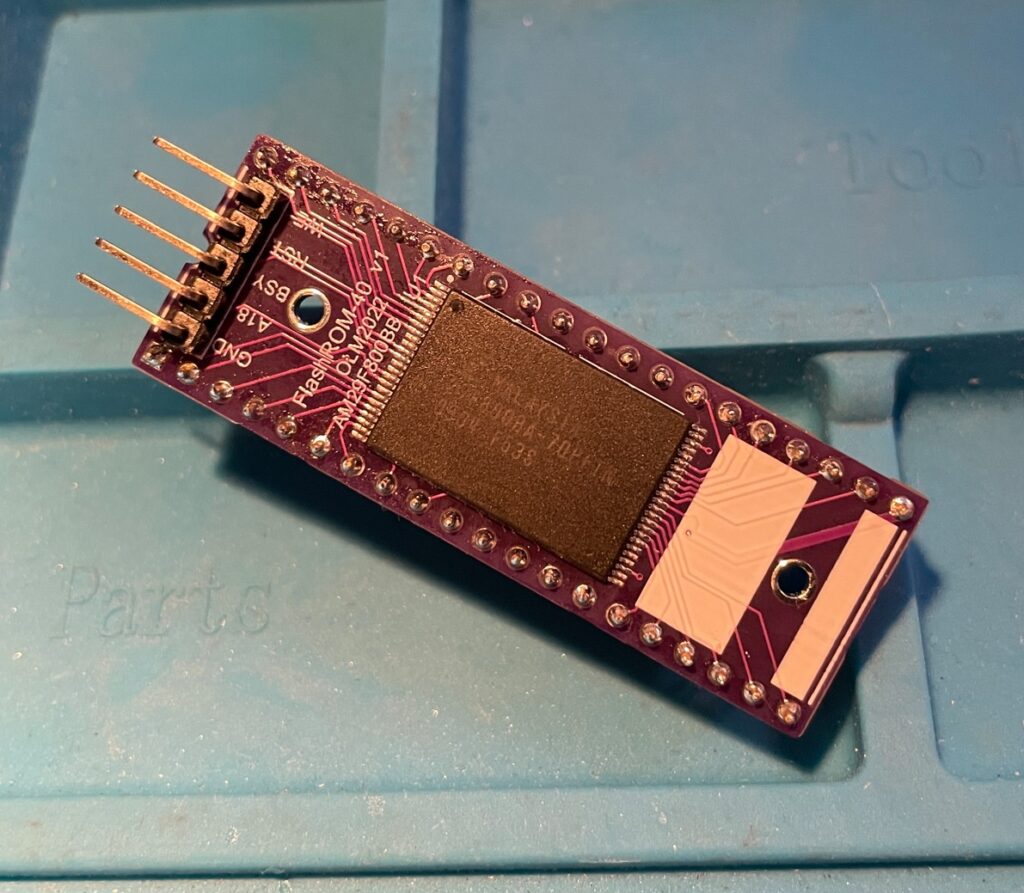
The most difficult part to solder on this project is the chip memory which is very fine pitched (if unexperienced). There are also two diodes (IIRC) that have tiny solder pads, other than that it is very straight forward.
I also want to shine a light onto the documentation around this project. The amount of documentation on the project website is extensive and very well done. There is also a Discord where one can ask questions if one gets stuck.
Chosing a case for the A2000 EATX motherboard
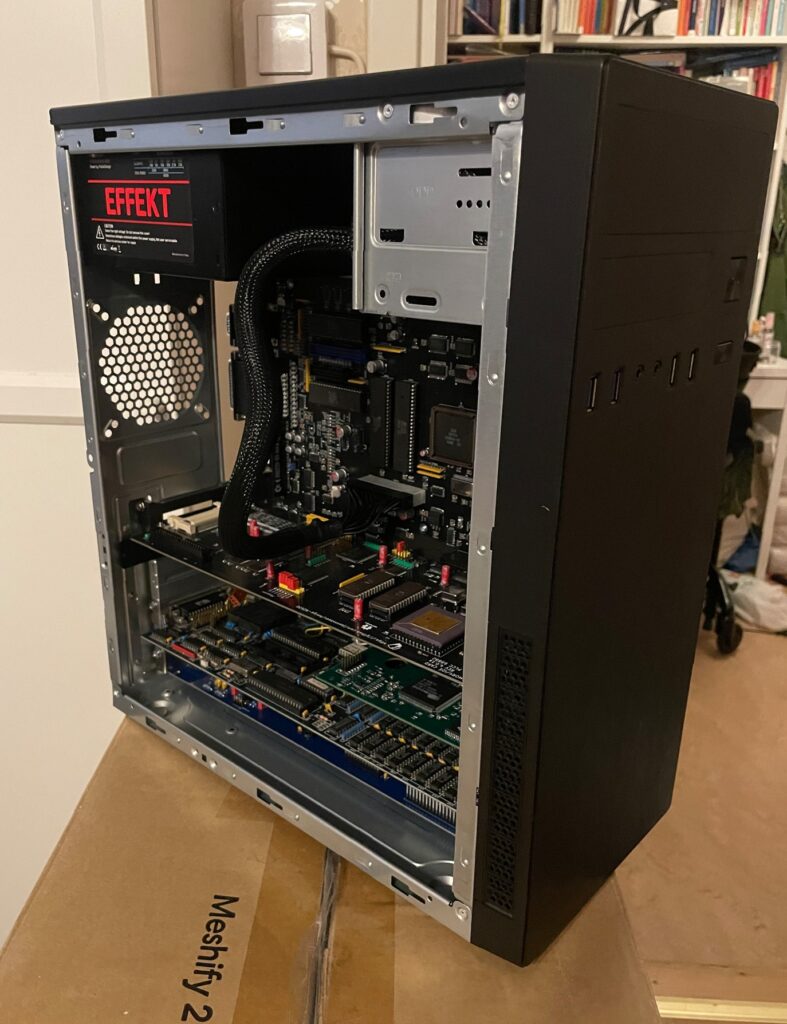
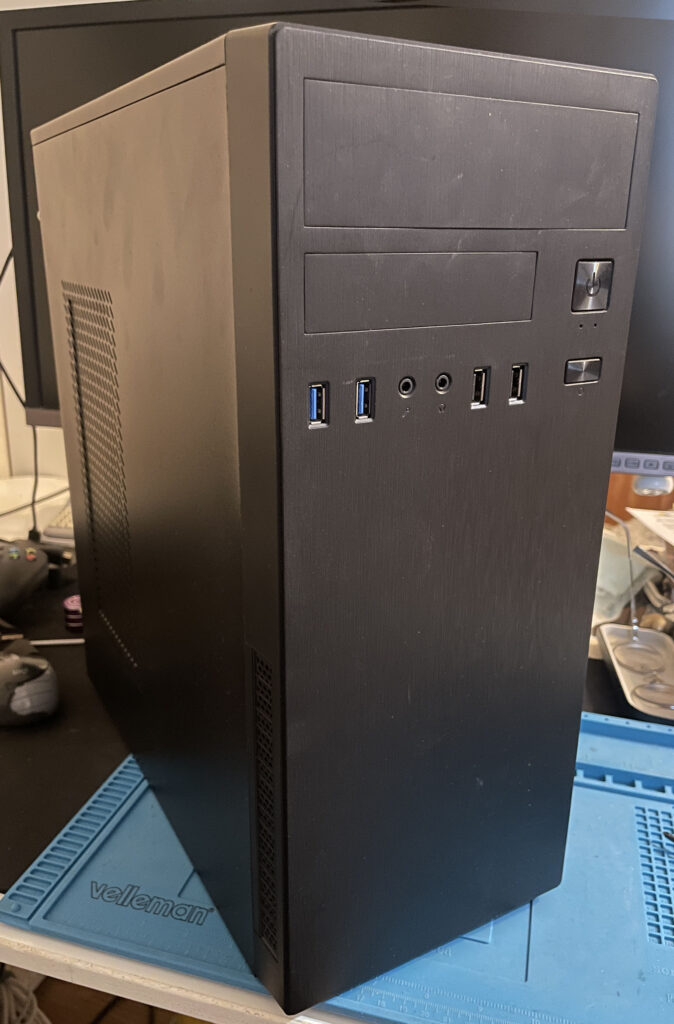
The specific chassi I am using for this project is called the IT-2812 Business by Inter-Tech. Here is a link to the exact chassi. I did extensive research before ordering it so I was sure the extended ATX motherboard would be able to fit inside it. I was prepared to mod the case to get it to fit which I eventually had to do.

While it looks great and fits the motherboard, after some extensive case cutting, I do not recommend this case at all since it is made of very thin sheet metal. While thin sheet metal is great for modding, it also makes for a seriously flimsy case (I bet its more flimsy than a MicroniK plastic A1200 tower).
Modding the case involved cutting off sections from the front of the chassis. While these modifications was simple, it was difficult to do it without access to power tools. So it does not have that professional look.
But as a proof of concept, it is possible to fit an EATX motherboard inside a regular ATX case (this case was not meant to be used for EATX boards). Although I have to be careful when inserting Zorro cards since there is no support for the front most part of the case, there is nothing to screw it down into. I will probably find a sturdier case in the future.
What kind of hardware to put into the Amiga 2000 clone?

What use is a bunch of Zorro slots if there are no hardware attached to them. Amiga 2000, no matter if it is a clone or the real deal , is a workstation so it has to have some muscles packed into it. Here is what is plugged into them and the other slots at the moment.
n2630 CPU card

The author of the Amiga 2000 EATX motherboard has designed a turbo card for the A2000 also, it is the n2630 and is a 030 50 Mhz based turbo card with IDE and a CF slot on board. You can also fit an FPU and various amounts of fast mem. I think this card is a nice compliment to the A2000 EATX and it was a no brainer to go with this card. I just wish I went for 256 MB fast memory instead of 128. Maybe next time…
I do wish there would be a DIY 060 card for the Amiga 2000 CPU slot. 030 is fine, but a fast 040 or 060 is better once you have gotten used to it (if you wish to stay in real 68k land).
Prelude replica sound card
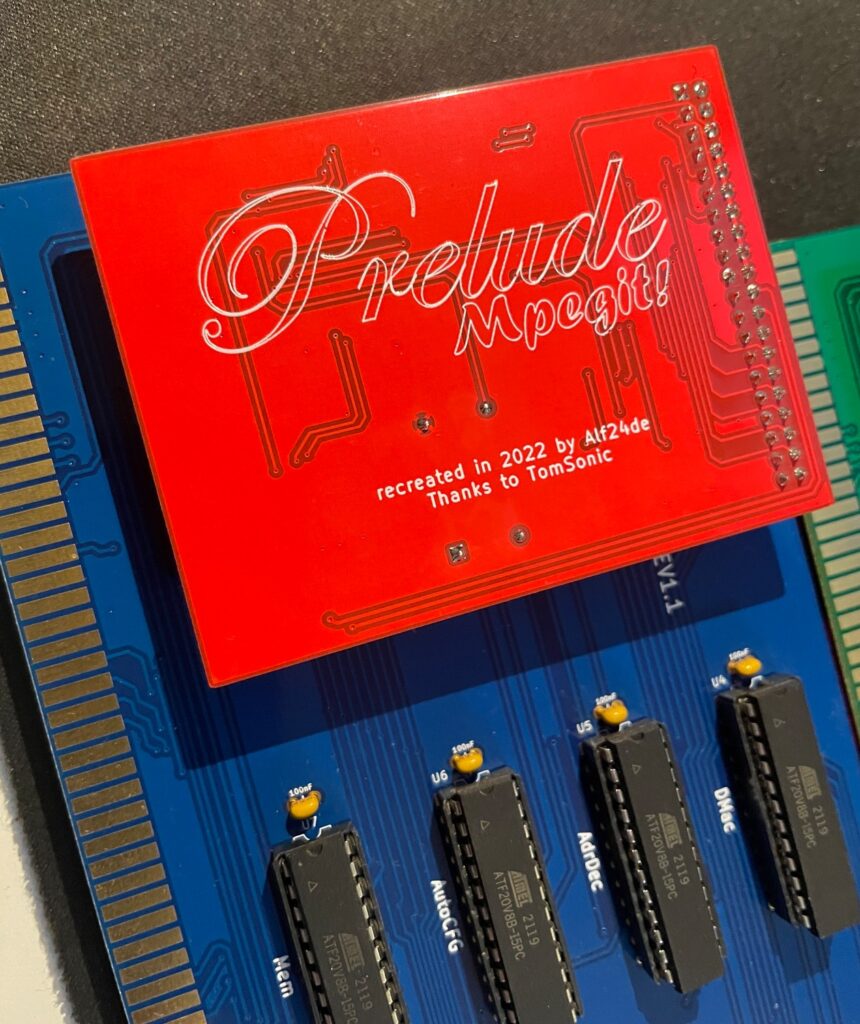
I had an extra Prelude replica that I had built so that card went into this build. It has the MpegIt addon added to it making it possible to play MP3s fine on a lowly 030 Amiga.
A500-Graka graphics card
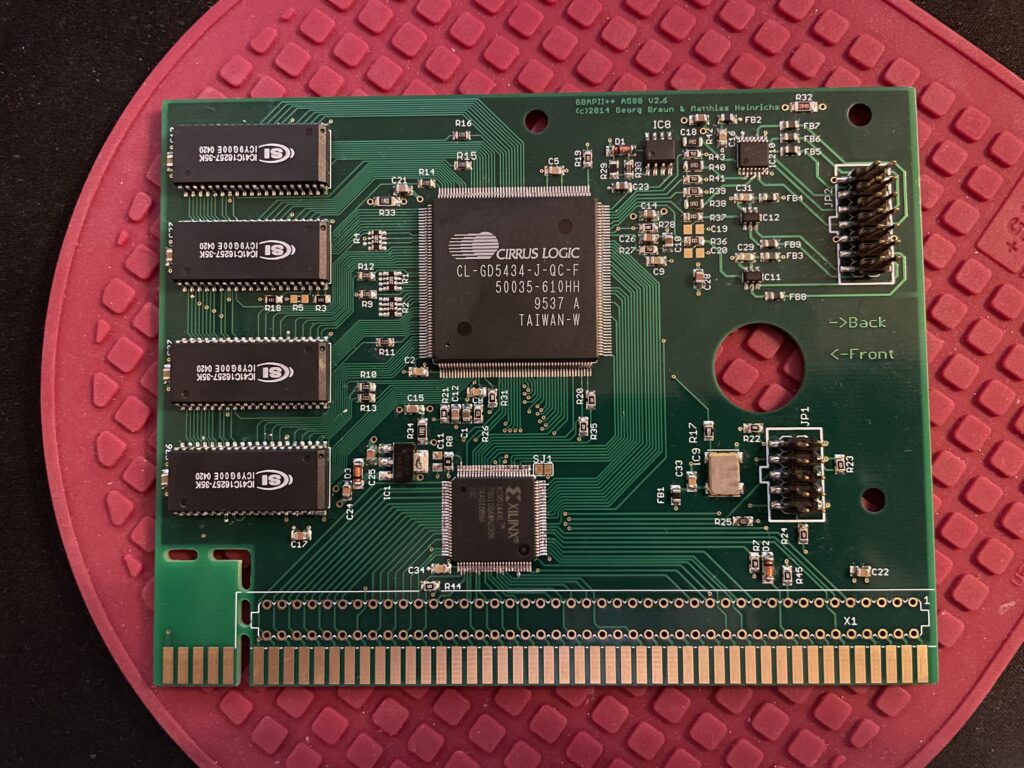
There is a Matze graphics card running in the computer. I think this is a nice card to run in a Zorro 2 based Amiga.
Multivision 2000 scandoubler
And then for scandoubling duties I have an old classic piece of hi-end Amiga hardware, the 3-state MultiVision 2000 scandoubler for the A2000. It is running great in the A2000 EATX and produces a nice image on my TFT.
Other bits
I have a Zorro-LAN-IDE card that will go into this case once I have a bracket made for it. There is also a 80 mm Noctua fan at the back that is mated with an old Zalman fan mate I had in my stash to quiten it down.
Finishing touches, the ATX backplate

I found the file to print the ATX backplate on a1k.org. So I sent it to JLC to get it printed.

And here it is installed. Instantly makes the Amiga 2000 EATX looks better from the backside.
Conclusion
I am very happy with the Amiga 2000 EATX. It was a great experience to build it and I have had a lot of fun seting up the whole system. I also thoroughly enjoy using it!
This is not my main Amiga but I use it a lot during testing of Zorro cards. It has proved to be very reliable and a great addition to my stable of Amigas. I would not mind running it as a daily driver if it had a faster CPU.