Some Amiga activities from the week

Donor Amiga 1200

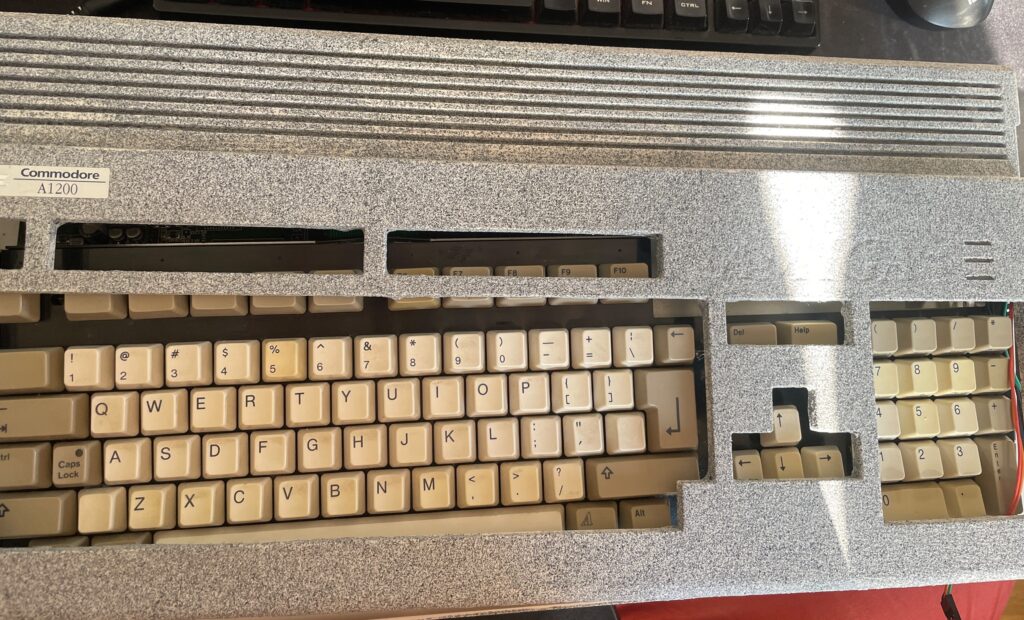
This Amiga 1200 was painted in an unusual color (and paint).

I won an Amiga 1200 on a local auction website. I put in a max bid but surprisingly it got sold for cheaper than I anticipated. I think it was for a couple of reasons. First the case was painted in a weird cement like textured paint, more on that later, secondly it was sold as-is and not working. I have heard of a new Mini-ITX AGA A1200 clone being developed so this broken A1200 will be the donor for that future project (if the chips works).
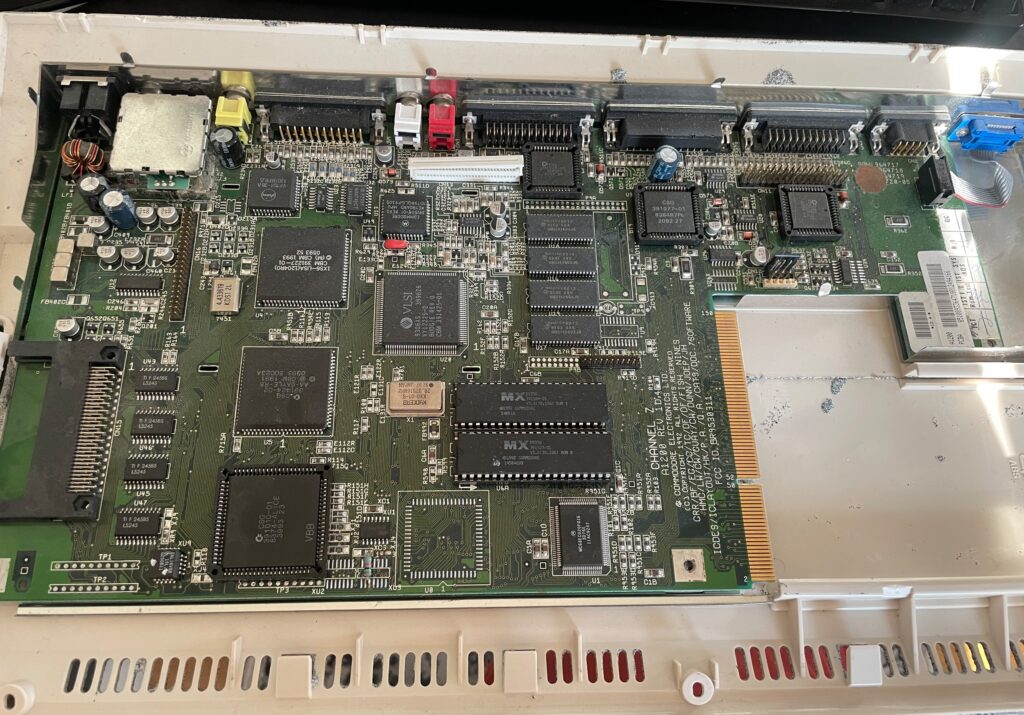
The value in this computer (for me) lies in its chips. I am mainly interested in Alice, Lisa, the two CIA chips and the Paula. I am also interested in the memory chips as those can be used on various projects. There is some value in the 23-pin video socket also.

I did some math and took a gamble on both winning the Amiga 1200 and on the chips working. As the CIA chips, the paula and Alice has been socketed, that is a clear sign someone has messed inside this A1200 before. Could both be good news or bad news as sockets can be the reason for the computer not working.

Anyways, here is how I calculated the value:

  • Alice: 100-135 euro
  • Lisa: 20-35 euro
  • CIA (2x): 35-80 euro
  • Paula: 25-35 euro
  • Memory (4x): 10 euro
  • 23-pin D-SUB: 10-20 euro

Total min: 200 euro
Total max: 315 euro

Note, I am not calculating this on Analogic prices!

Lets hope the chips are working, will test them later in the year as the motherboard has been cleaned and is archived in my Amiga hardware stash now.

And the reason why i dont count any value in the case: it was sadly painted in this horrible “paint” that gave me a terrible itch in my fingers for two hours after touching it for a few minutes. I will probably throw it away in the trash since I suspect the paint is toxic.

Changing memory chips on a GottaGoFaZt3r
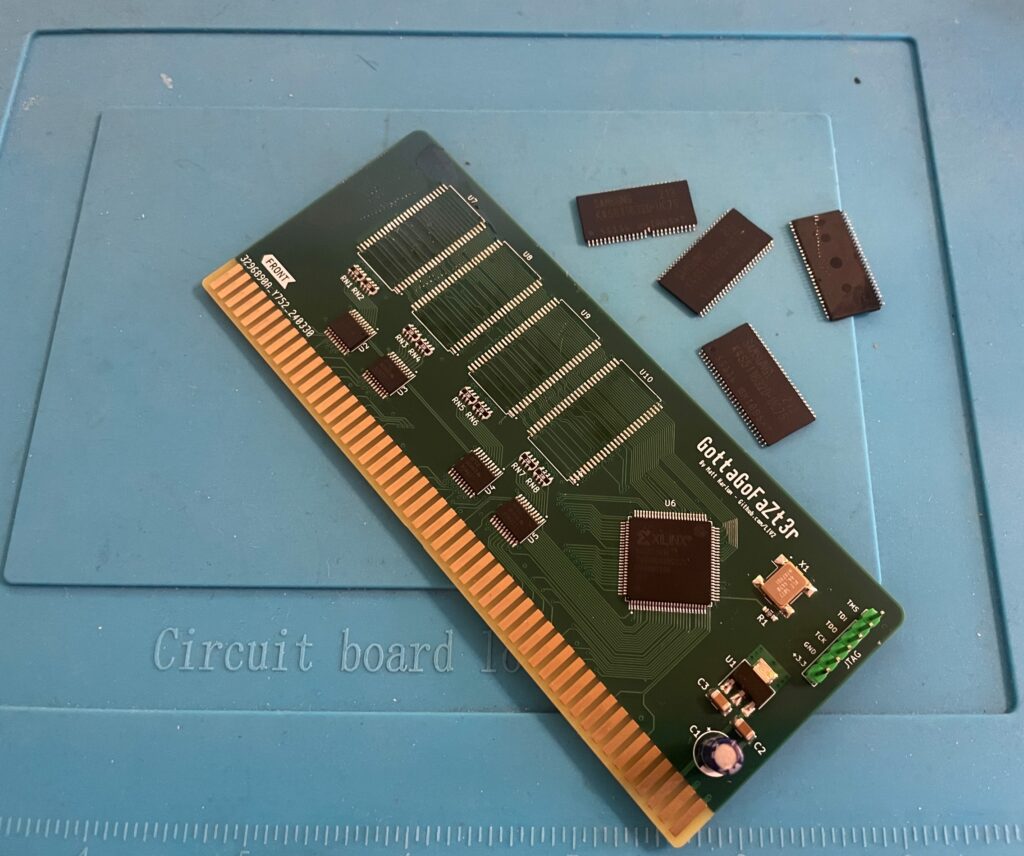
Removing memory chips from the GottaGoFaZt3r Zorro 3 Amiga memory card

I built two GottaGoFaZt3r Zorro 3 memory cards late last year, only one card worked. The other refused to work, it still showed up as “working” in my Amiga 4000TX but the memory was nowhere to be seen. I got the recommendation to check for errors in the memory chips one by one. Instead of doing that I got four new chips instead from a reliable source.

I removed the memory chips with a hot air station. Then I cleaned the pads and soldered on the new memory chips.
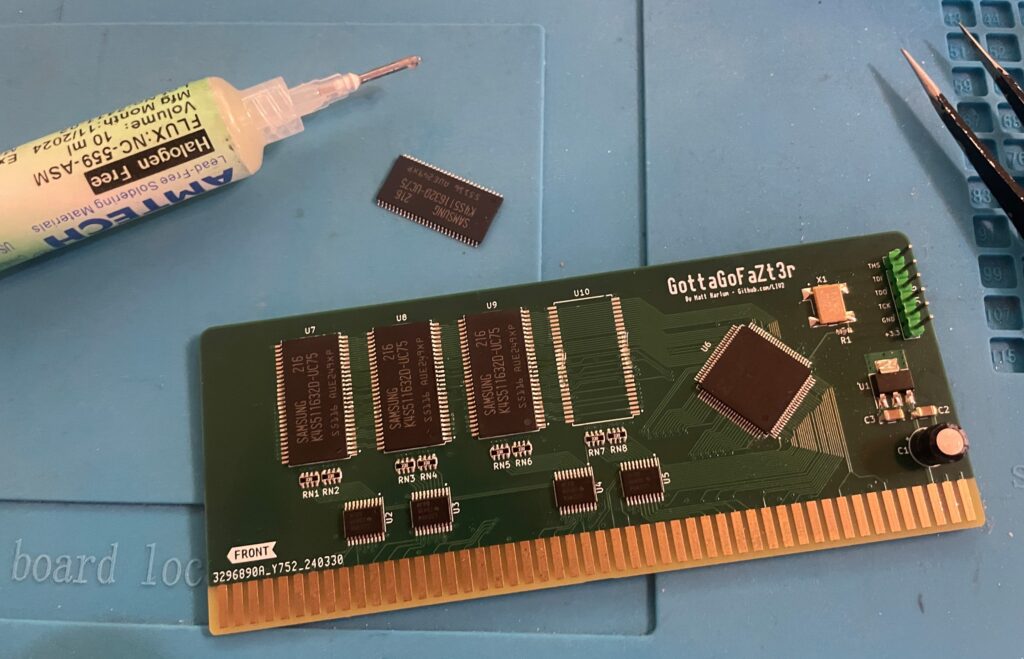
Soldering new memory chips on the GottaGoFaZt3r Zorro 3 Amiga memory card

And once all chips was replaced the card finally worked 100%.

Both cards are built as 256 MB cards. 256 MB might seem like a lot of fast mem in an Amiga but it is actually very usable. I run a bit more buffers on my partition than a stock HDD setup so that consumes some of the fast mem. But the main usage is off course to have a large RAM disk (as there are already 128 MB on the turbo card).

And here is a pic from sunny Stockholm today!

Amiga 3000 daughter card
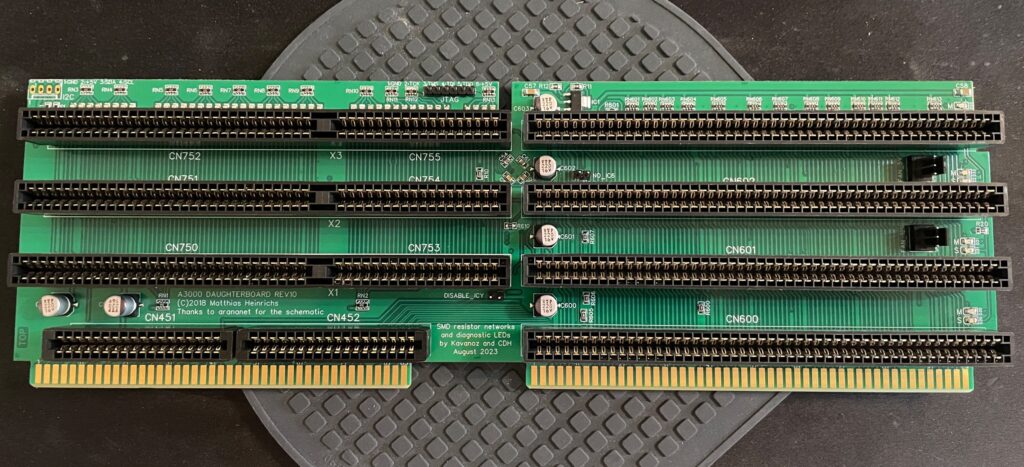
And finally all parts for my ReAmiga 3000 build is now soldered with the daughter board being finished. It still needs to be flashed, but that will happen another day!

MouSTer 3D printed shell
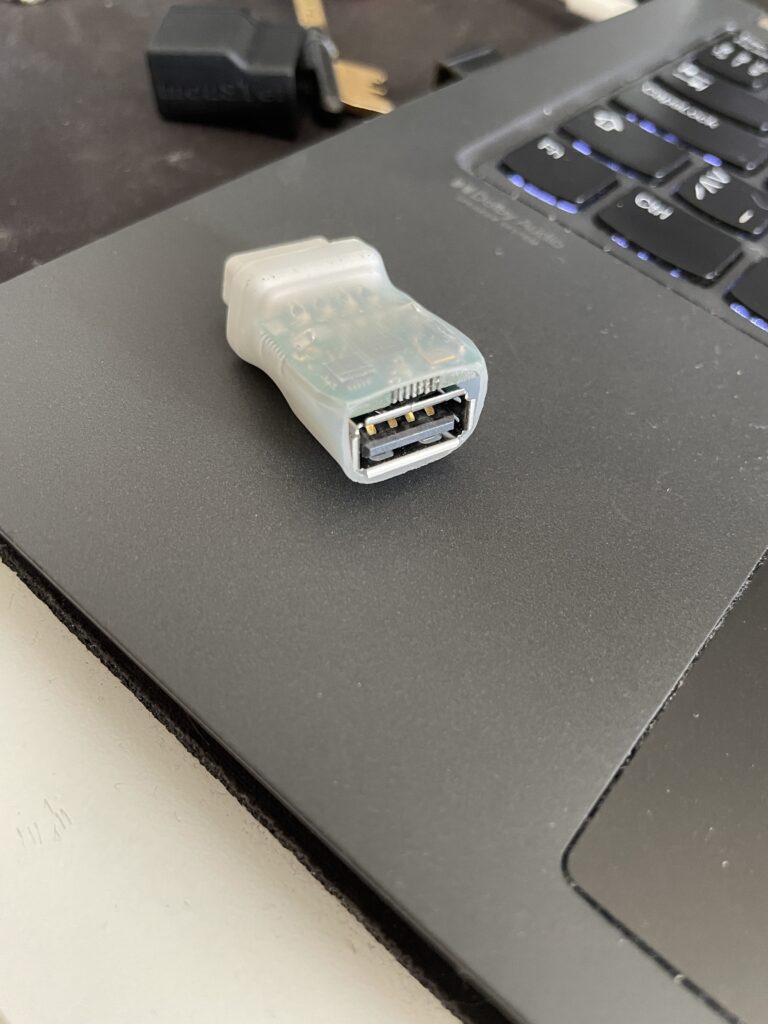
I have used a MouSTer USB mouse adapter with a wireless mouse on my Amiga for 3-4 years and I have been very happy with the adapter. Only thing I was not happy with was the heat shrink tubing that was used as the shell. It looked so cheap.
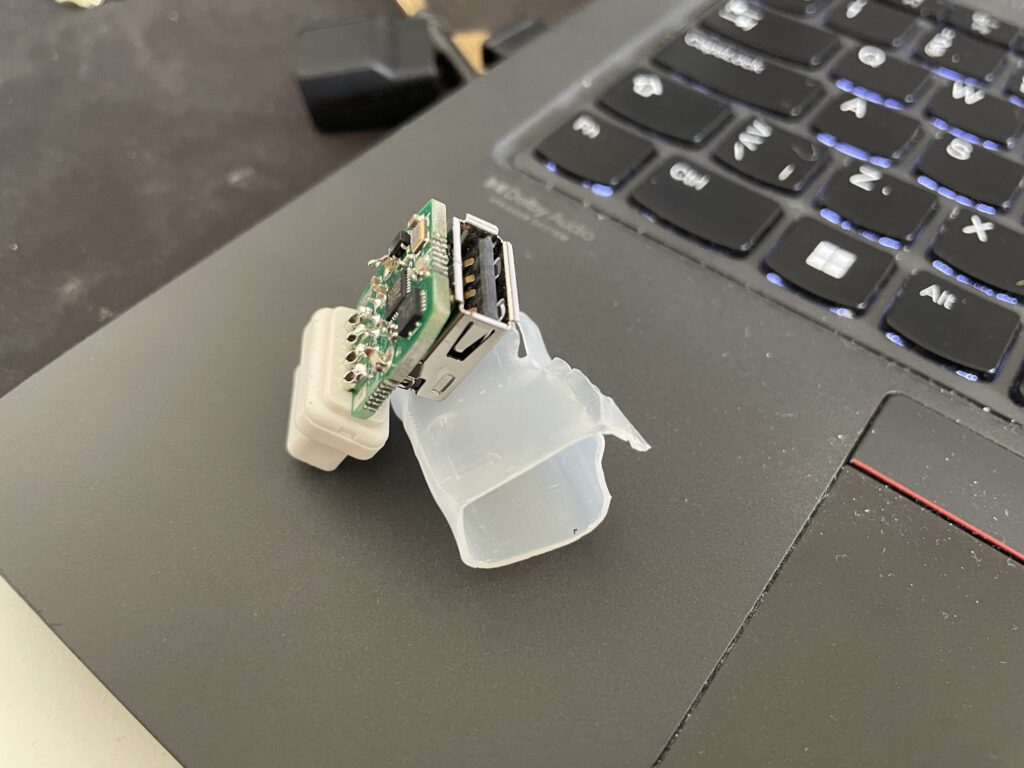
I was surprised to find a 3D printable shell for it online. I ordered one to be printed on JLC (in resin). I got a couple of warnings that the walls was too thin and may not be able to be printed. But all worked out better than I anticipated!
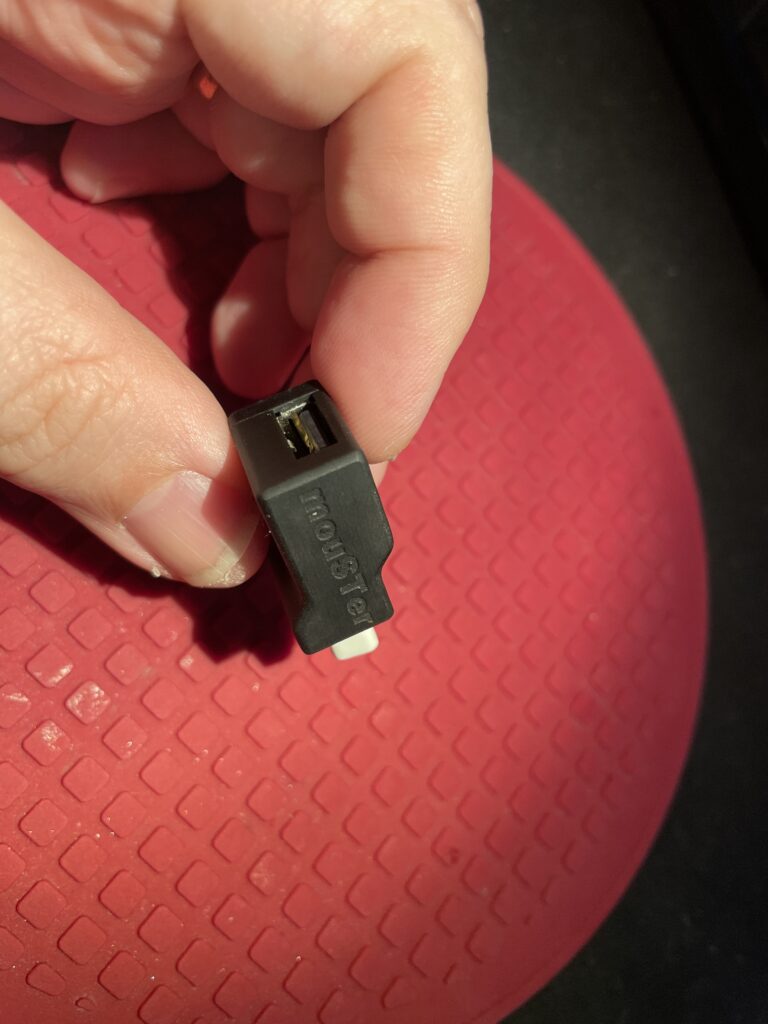
It looks so much better with the 3D printed shell.
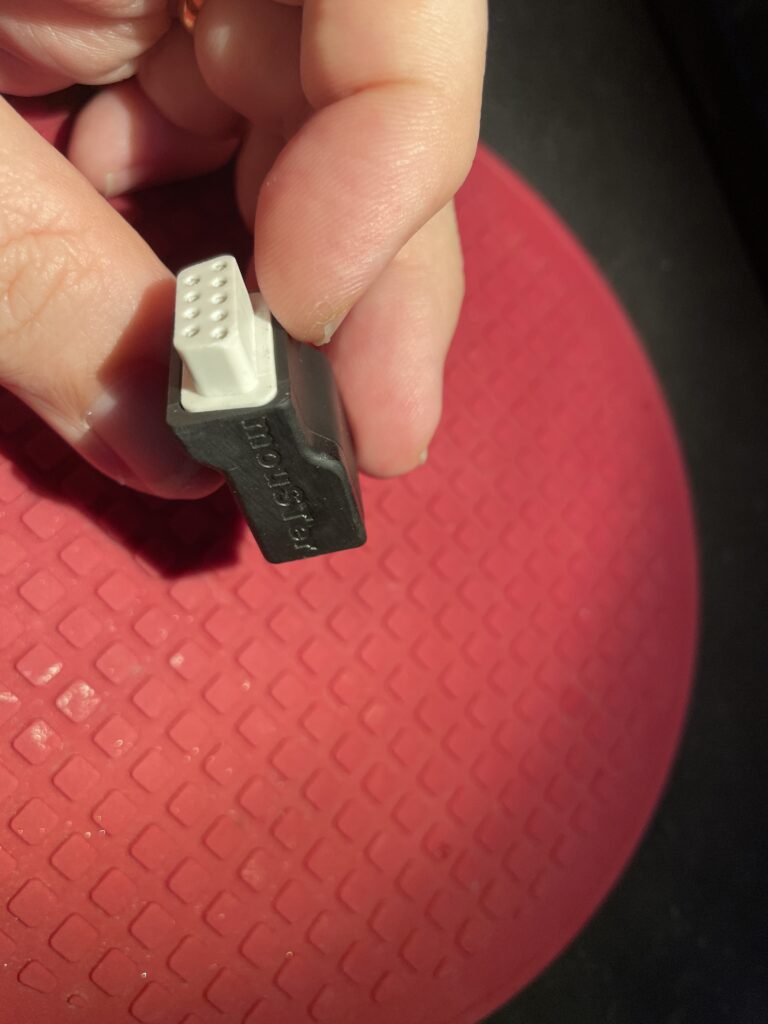
The fit is perfect. I just superglued the two halves together, there are no user servicable parts on the MouSTer so no point in making it possible to open the case again.

I dont remember exactly where I found the files but you should probably be able to find them here if you search for them.
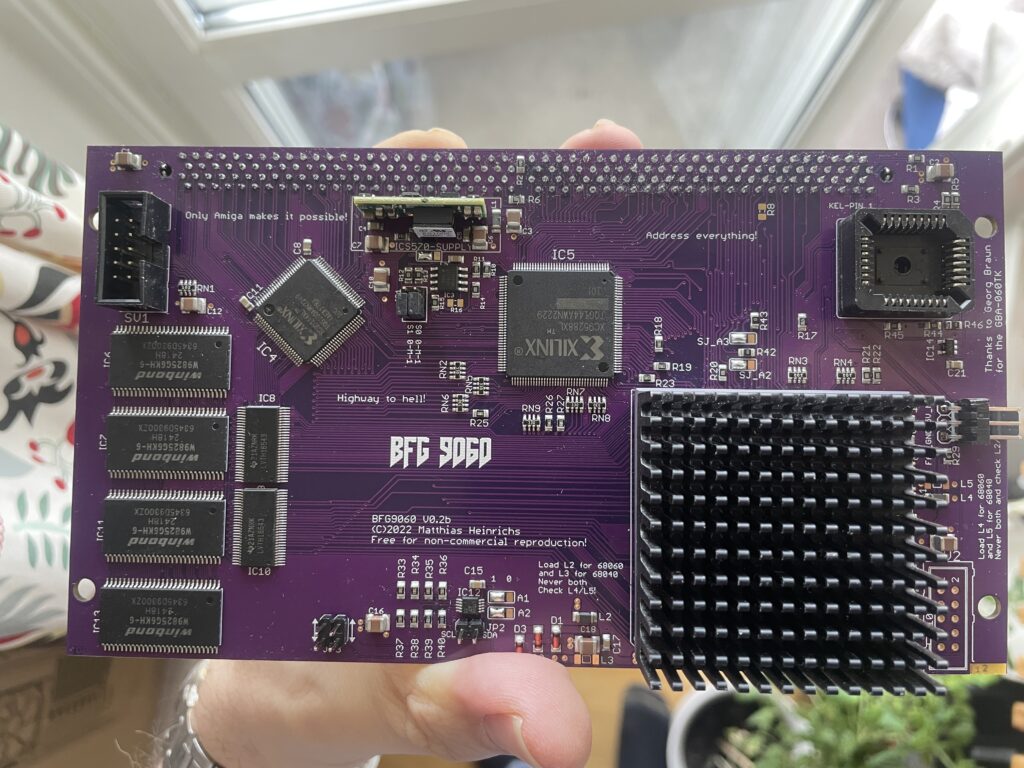
Purple BFG 9060 Amiga 68060 accelerator card

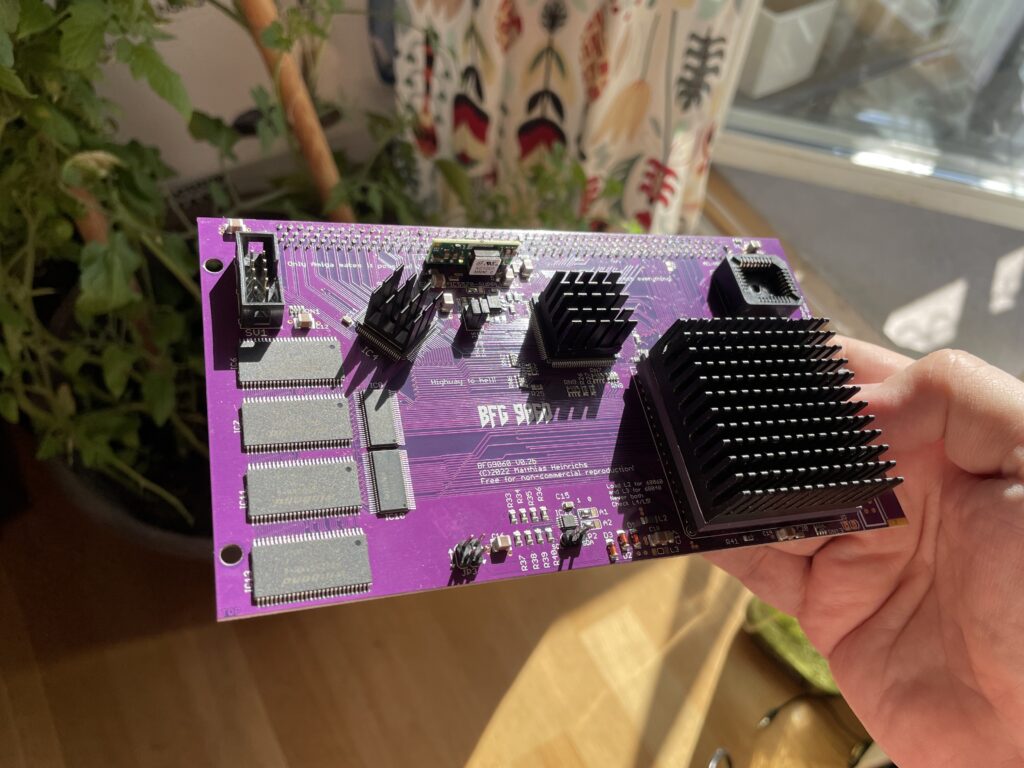
Purple BFG9060 Amiga 060 accelerator card

I just finished building this beautiful purple PCB BFG 9060 accelerator card for the Amiga and thought I would share a picture of it. As it was mostly already finished it just took an hour to solder on the KEL connector, fan header and voltage thing (regulator I think?).

I finally get to use the original spec Motorola 040 CPU heatsink that came from an old 040 C= 3640 CPU card I had 20+ years ago. Just have to get some thermal tape, will also add heatsinks to the CPLDs. This card will not be overclocked as it is fitted with a rev 5 68060.

Updated picture of the BFG9060 with heatsinks added

I would like to take the opportunity to thank everyone involved in making this project a reality!

Here are some links related to BFG 9060:

PicoWyfy WIFI adapter for the Amiga

PicoWyfy means wifi for the Amiga hooked up to the clock port!

I just got a PicoWyfy and has spent a day playing around with it in my Amiga 1200. I am very happy with this device as it has helped me get my Amiga 1200 online and onto my network at home.

The PicoWyfy is a “wireless network interface controller” and it connects to the clock port on the Amiga (either on the motherboard or on a Zorro card or other clock port solutions). Read more about PicoWyfy here, you will also find instructions on how to get one there.

Wireless networking has been a possibility on the A1200 and A600 for a long time on the PCMCIA port. I got a NetGear MA401 for this purpose years ago, but the though of having an ugly PCMCIA card sticking out of the side of my Amiga 1200 meant I never bothered to install and configure it. I would rather just put all my files I wanted to transfer on a CF card on my PC and put the CF card in a PCMCIA to CF converter making it easy to copy files of off the CF card to the Amiga HDD.

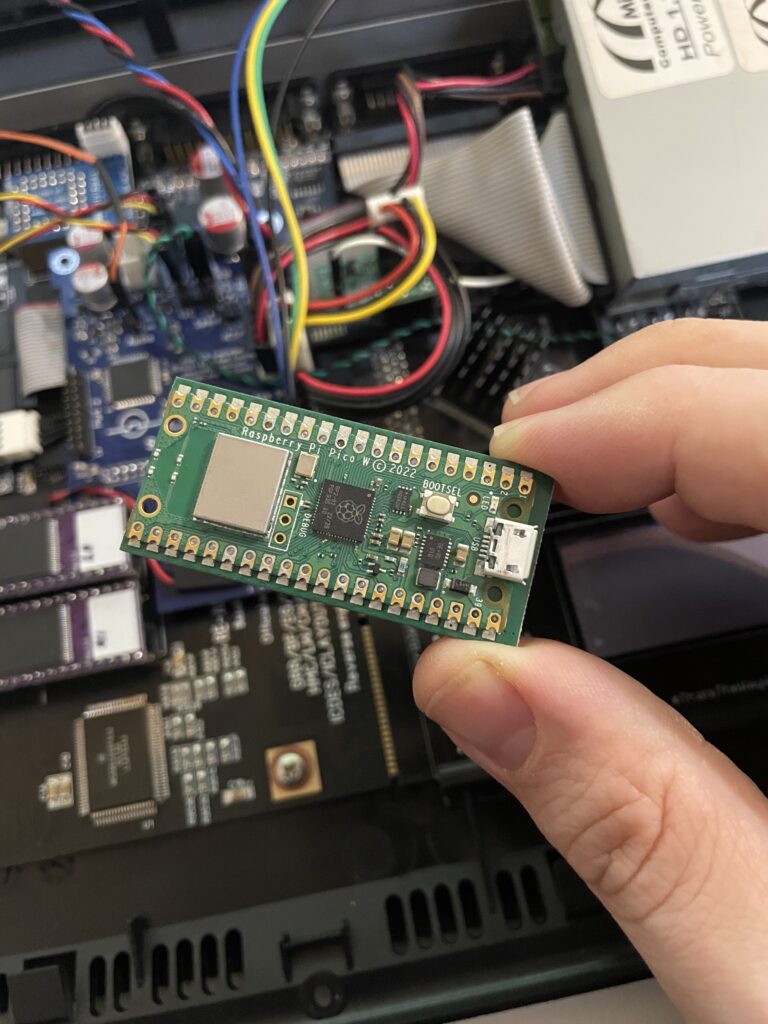
In comparison with PCMCIA solutions the PicoWyfy is placed on the clock port, so it is fully internal. As you can see on the images, the PicoWyfy is based on a Raspberry Pi Pico W.

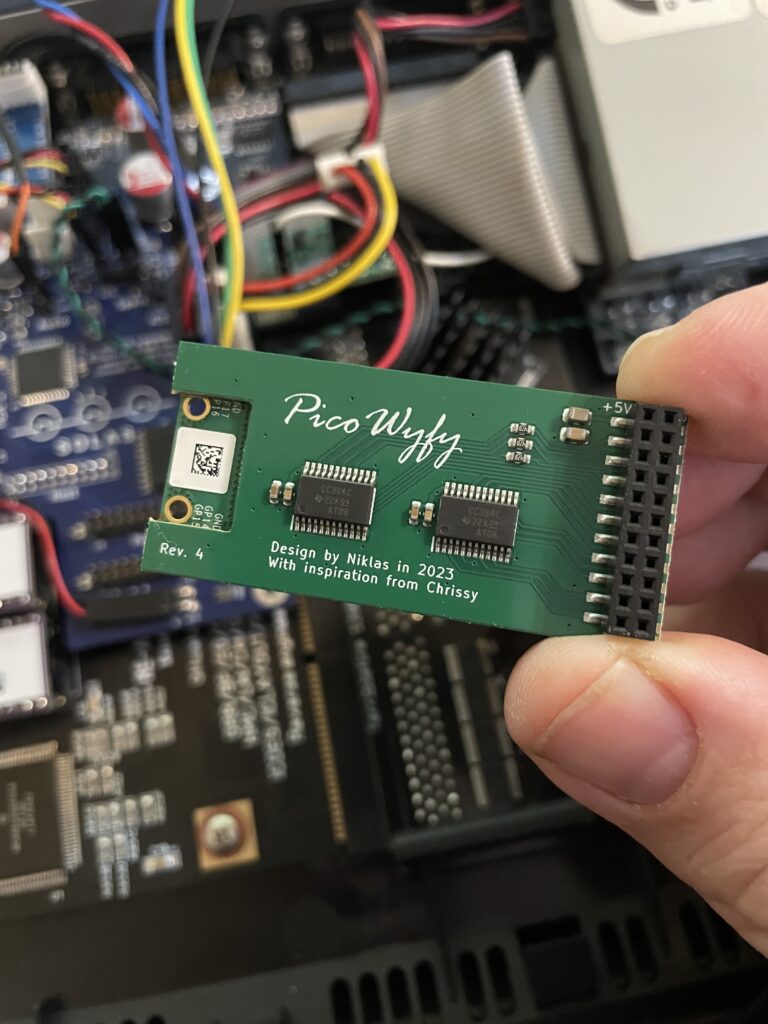
Back of the PicoWyfy card

Installing PicoWyfy in my Amiga 1200

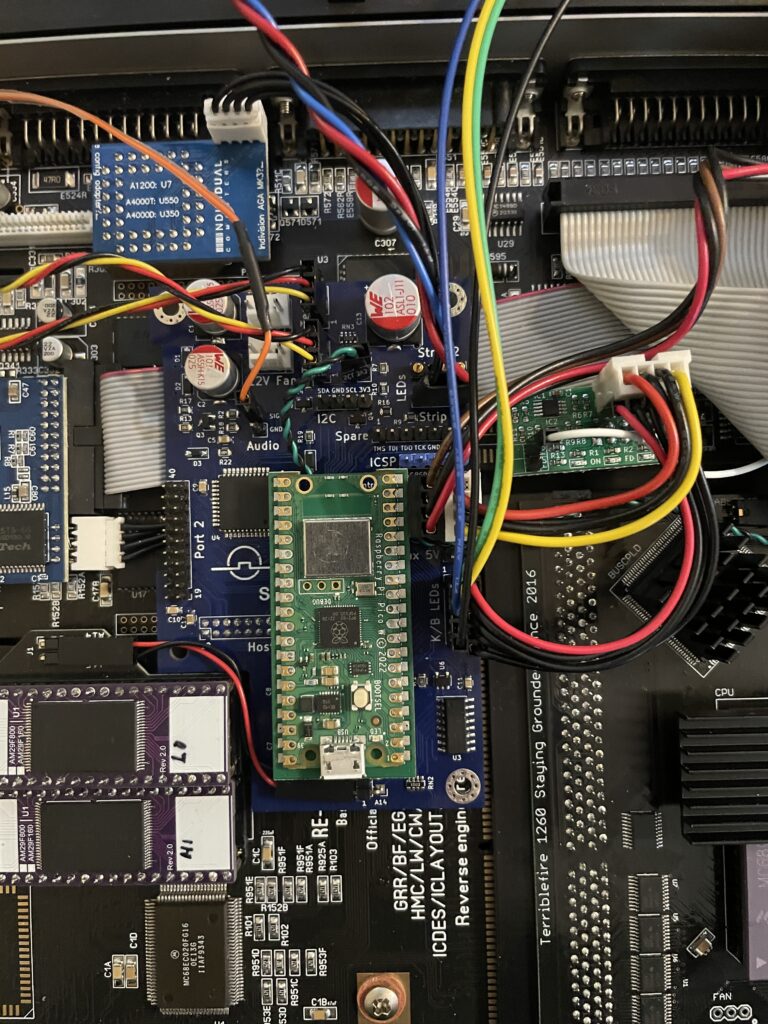
PicoWyfy installed on the Solas that is installed on the A1200 clock port

Installing the PicoWyfy in an A1200 was very simple. If you are reading this, chances are that you already know about the clock port in the Amiga 1200 and what to take care of when mounting hardware here. So no point in going through that. If not, I will eat my hat.

My Amiga 1200 already had a Solas RGB LED Amiga controller inside it that was placed on the clock port. The Solas has a clock port expander integrated into it, so installation was as simple as putting the PicoWyfy on one of the free clock ports on the Solas (and configuring the PicoWyfy for that clock port address). Where to put the actual clock on the Solas is another issue I will have to figure out in the future as the PicoWyfy takes up space for it.

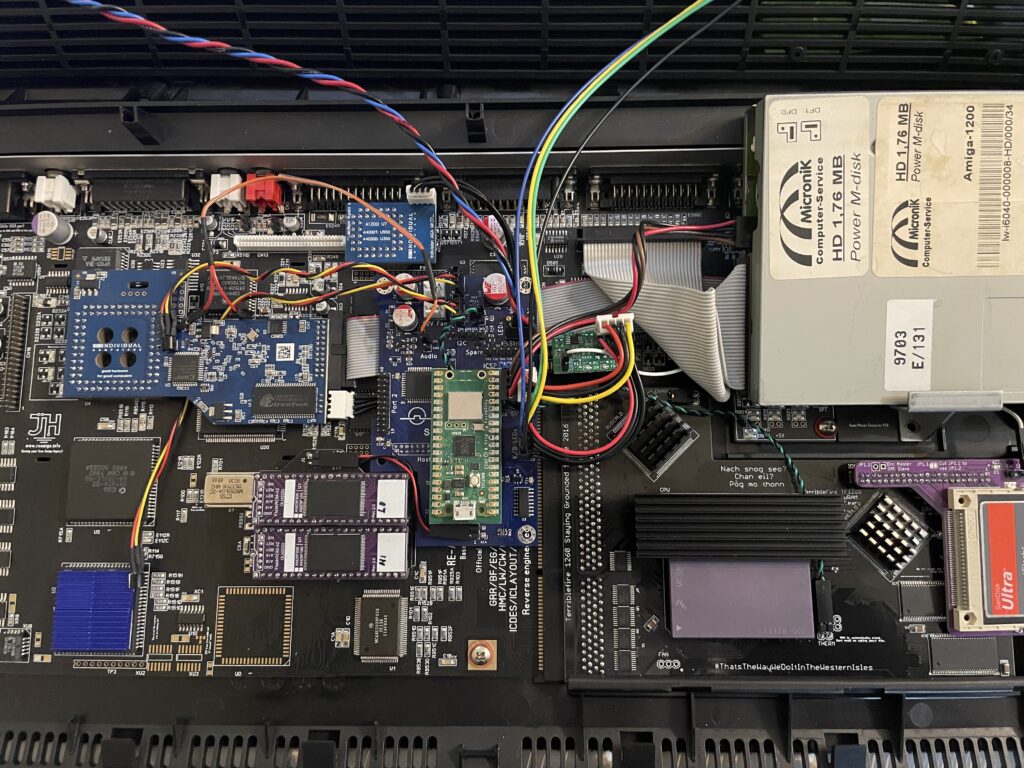
Overview of my Amiga 1200 with PicoWyfy installed

As the A1200 case is plastic, there wont be any signal strenght problems. If you wonder what I have in my (main) Amiga 1200, specs are listed below:

  • ReAmiga 1200 1.5 motherboard
  • Indivision AGA MK3
  • TerribleFire 1260 @ 100Mhz / 128MB
  • FlashROM
  • Solas RGB LED controller
  • LED adapter (so that TF1260 IDE activity is seen on the case LEDs)
  • Buffered CF interface / 4GB CF
  • MicroniK 1.76 MB floppy drive
  • And finally, the latest addition: PicoWyfy

Setting up the software and drivers for PicoWyfy

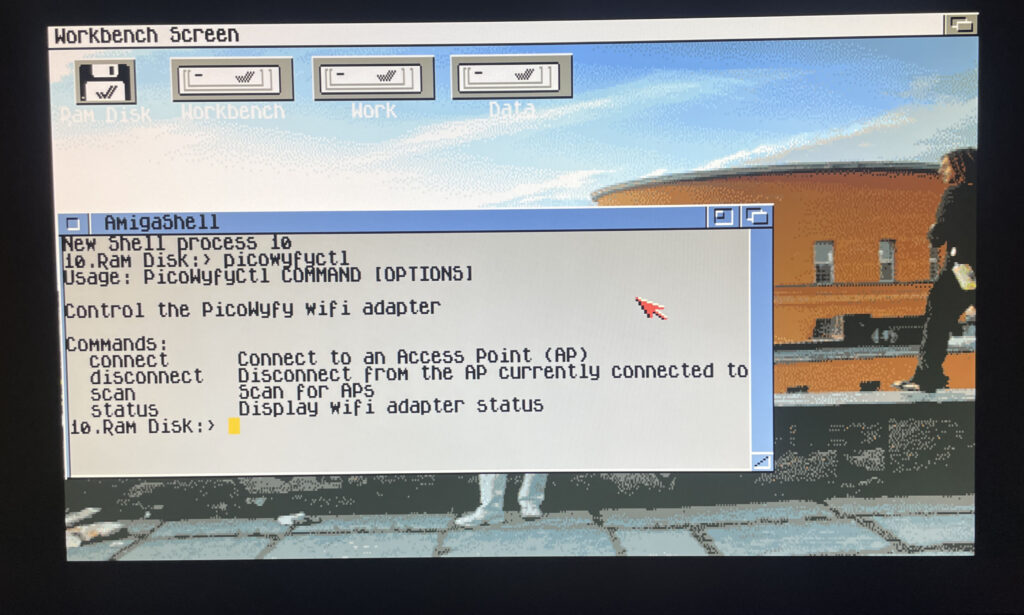
Picowyfyctl is the program that can control the PicoWyfy on the Amiga

Installation of the PicoWyfy is straight forward. All you have to do is put some files in the right places in the Workbench drawer. Then it is possible to run the program picowyfyctl to scan for wireless networks, connect or disconnect to wireless networks and to view status of the PicoWyfy. There is no GUI here but it is so simple to configure you wont need one.

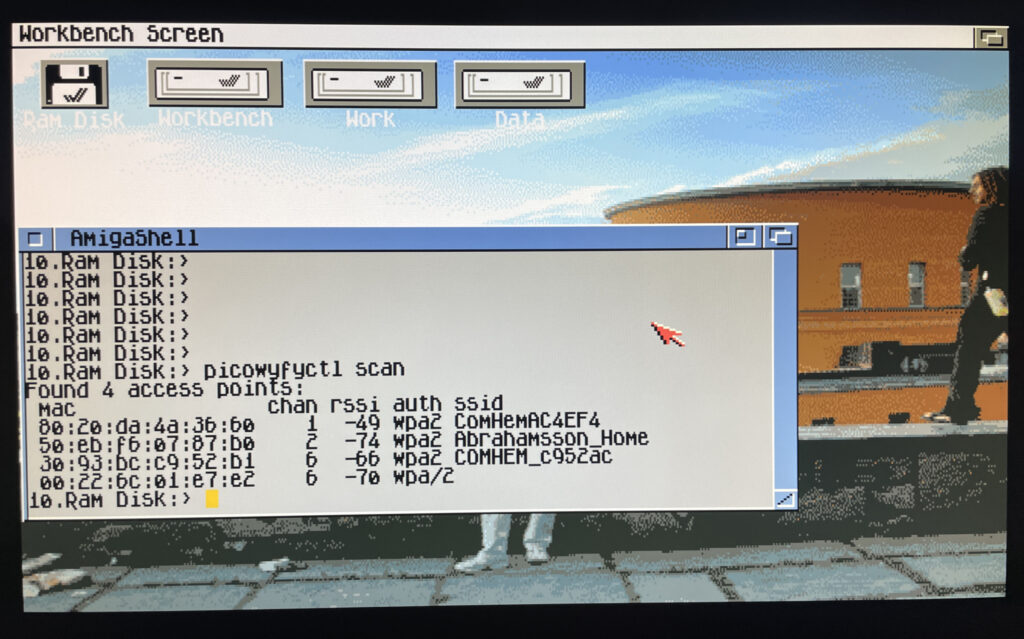
Running a scan on the PicoWyfy to find wireless networks to connect to

In the picture above I have run a scan to look for wireless networks to connect to in my area. I can see my WIFI network here so thats what I am going to connect to.

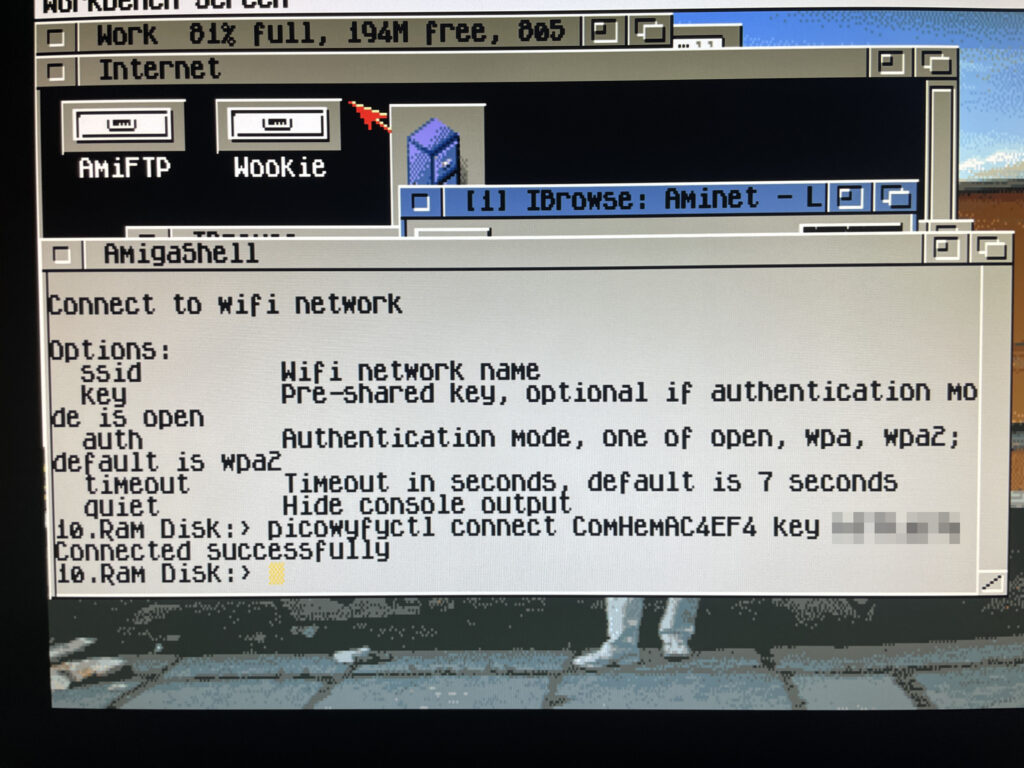
Connecting to a wireless network on the Amiga 1200

Here I am connecting PicoWyfy to my home network and as you can see, the connection attempt was successful! I have also removed my WIFI password, if you must know it is “12345679abcd”.

Testing a browser online on the Amiga 1200

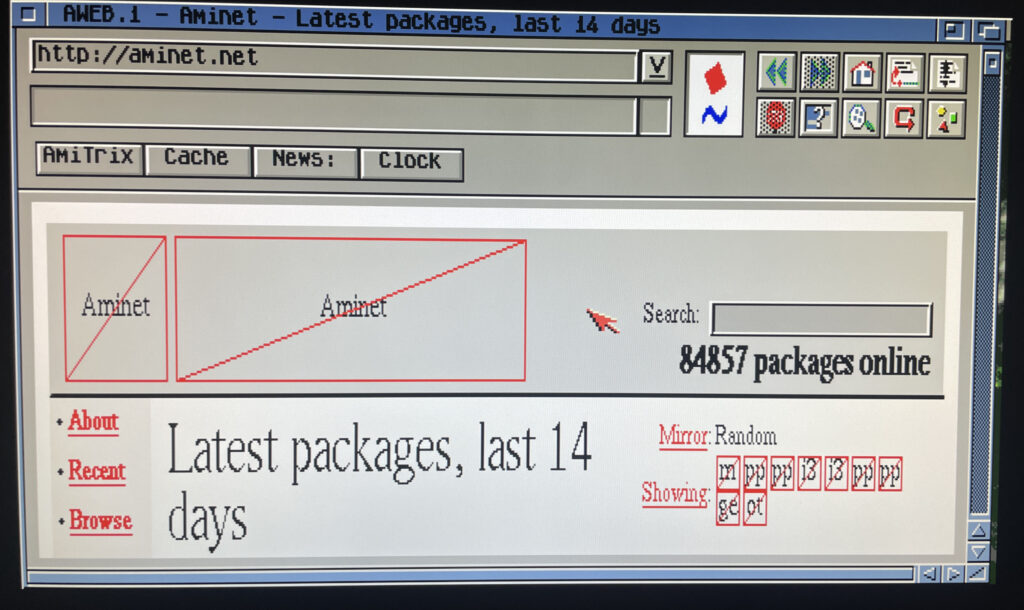
Off course I have to test the connection by browsing the information super highway in an ooooooold version of Aweb, if you type something wrong in the URL field it goes to Altavista by default. How nostalgic. As the modern web runs on HTTPS the browsing session was very limited, but I think it is possible to set up HTTPS in some way or another. Possibly would need to investigate this.

But browsing the web wont be my main activity on the A1200 other than browsing Aminet – Having access to Aminet directly from the Amiga 1200 is such a luxury!

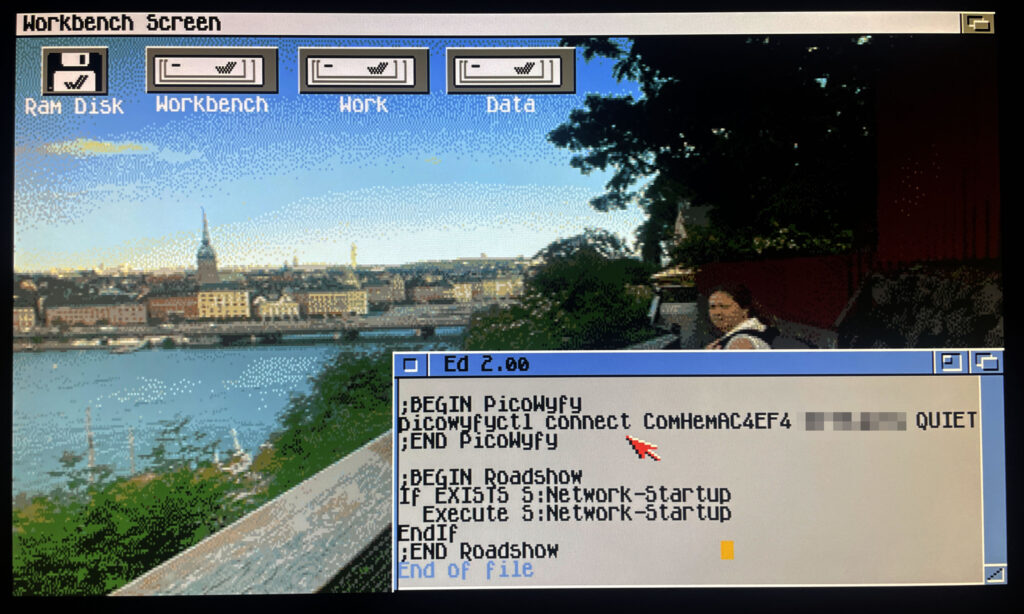
Adding lines to user-startup to connect to a wireless network on startup

I should mention that I use Roadshow as the TCP/IP stack. It is a great modern TCP/IP stack for the Amiga. Once everything was working I wanted my A1200 to connect to the wireless network automatically at startup. To do that it was as simple as adding the line: “picowyfyctl connect ssid key quiet” before the TCP/IP stack was called in s:user-startup.

Trying out the program AmiSpeedTest to find out how fast the network is

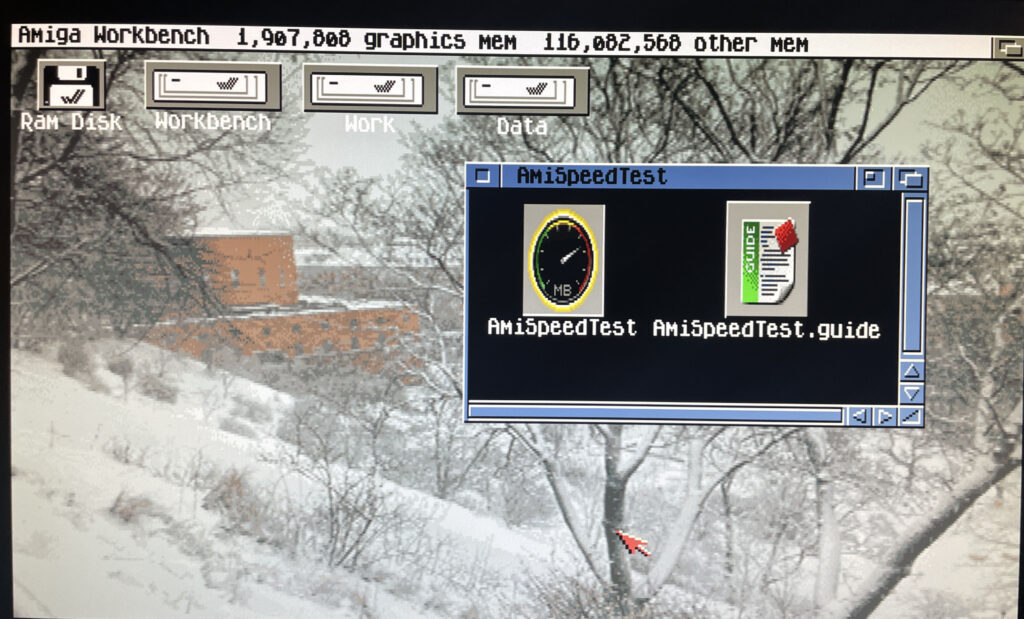
So lets test how quick the card is on my system. There is a piece of software on Aminet called AmiSpeedTest you can use for this. Here is the URL.

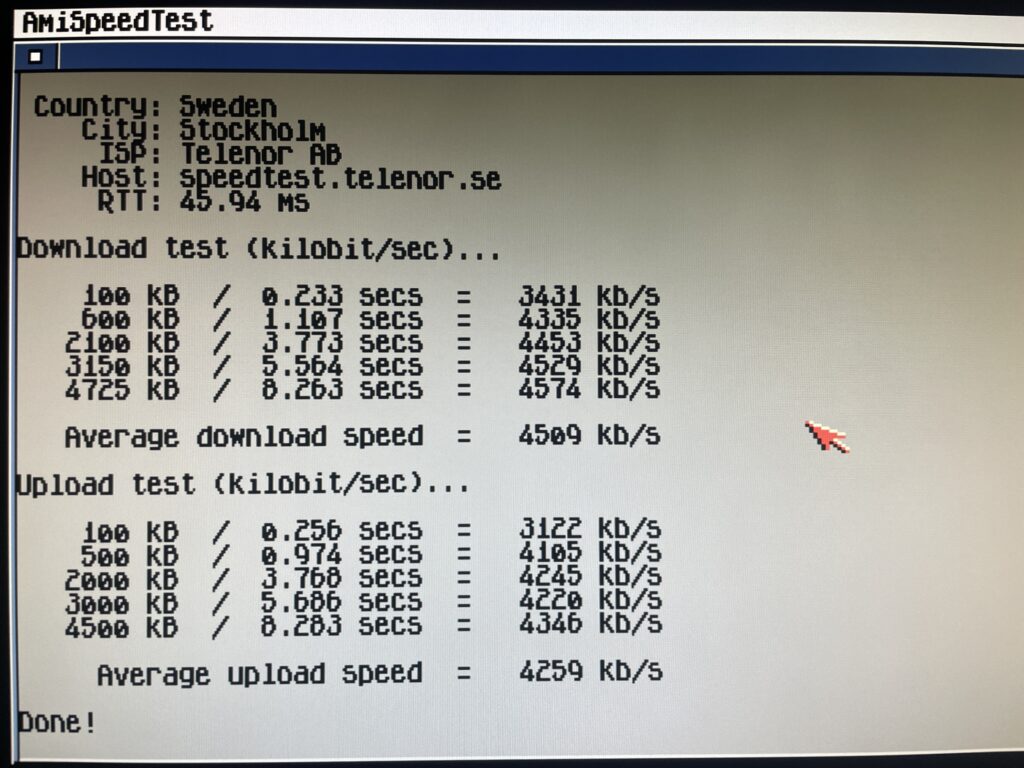
Running a test in AmiSpeedTest

So here is the test done. To be honest here I dont have a clue how good or bad these results are. Downloading stuff from Aminet is fast though so I am happy. Will test some transfers between my workstation and A1200 in the future also.

Average download speed was 4509 kb/s and average upload speed was 4259 kb/s

Roadie, a GUI for the TCP/IP stack Roadshow

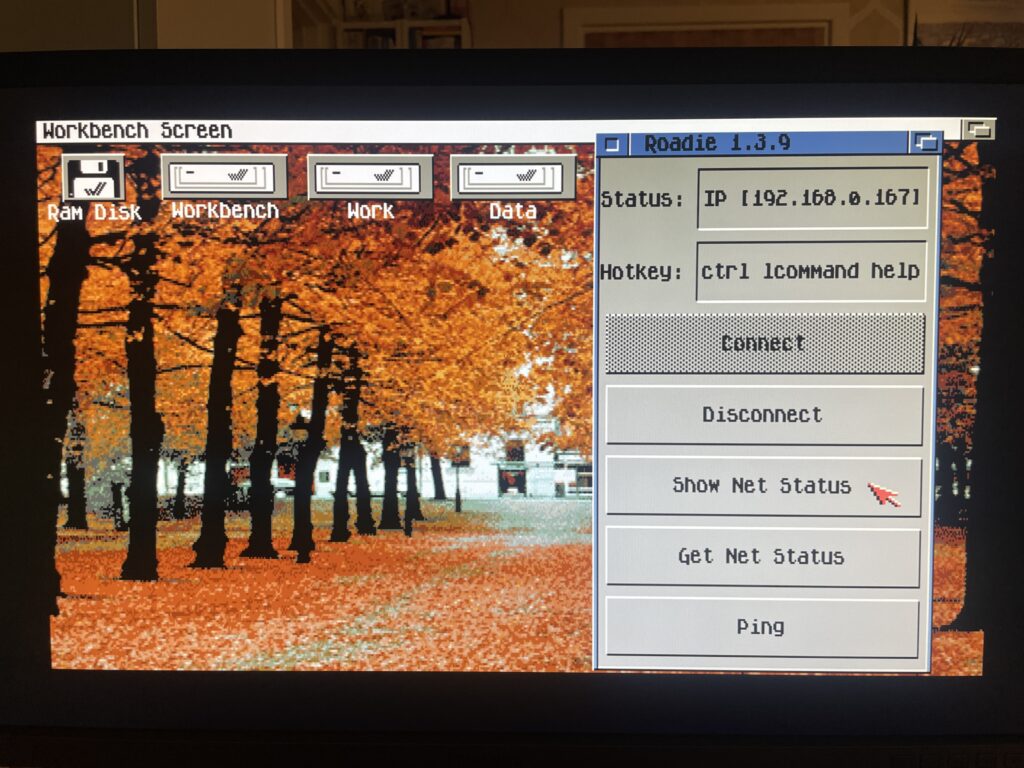
Before I close off I also want to quickly introduce Roadie, it is a GUI for Roadshow you can find on Aminet. It has come in handy when testing the PicoWyfy and I think this one will go into the default toolbox on all my Amigas. Find Roadie on Aminet.

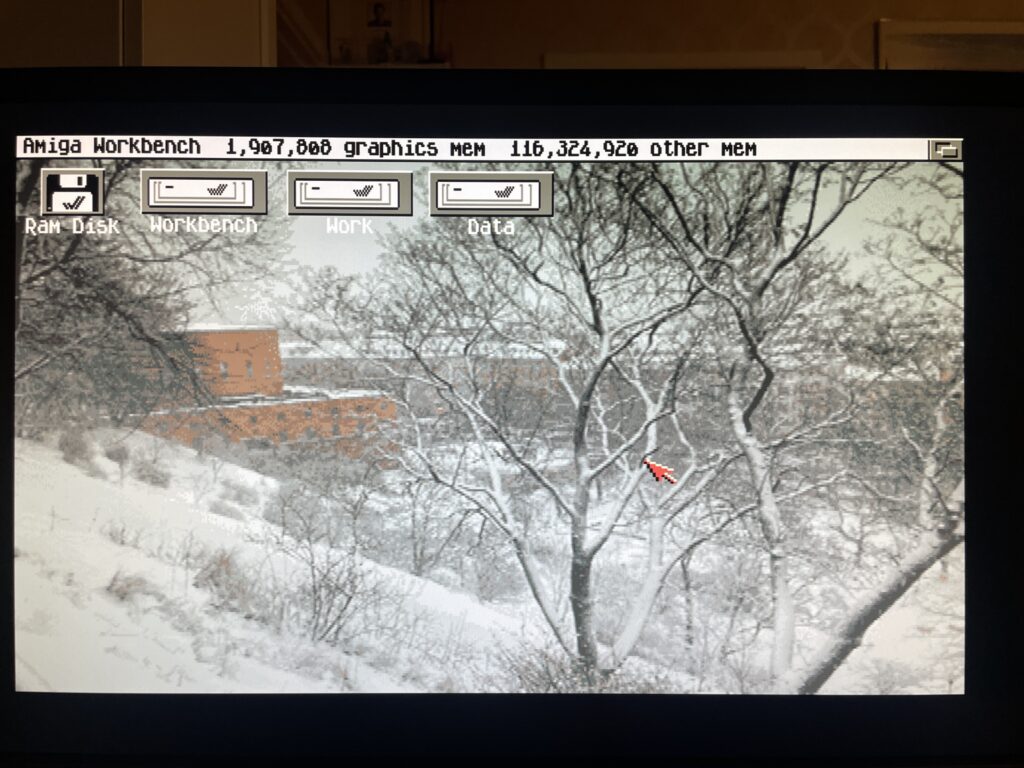
And here we are after a reboot of the Amiga 1200. There is no sign of it but my A1200 is connected to my wireless network at home!

Conclusion

I am very happy with the PicoWyfy, its a great addition to my A1200 and to be honest I would like to equip all my Amiga computers in the fleet with one or a card with similar functionality. Great work everyone involved in this project! Highly recommended!

Typically I like to use wired network, but as the years has passed I think wireless networking is perfectly fine. Even for non mobile computers.

I dont run WIFI on my main desktop workstation, but for everything else, why not, one less ugly Cat 6 cable to pull out everytime one wants to hook up something to the internet.

The reason for wanting to connect an Amiga to the internet or a LAN is primary just to move files to the Amiga. But I have some future plans of having all files centralized on a main server and then sync that share with my Amigas. That way I have multiple backups of my Data folder on all my Amigas while I have a central location that I primary update.