Another Mini version of GBAPII++ built and tested

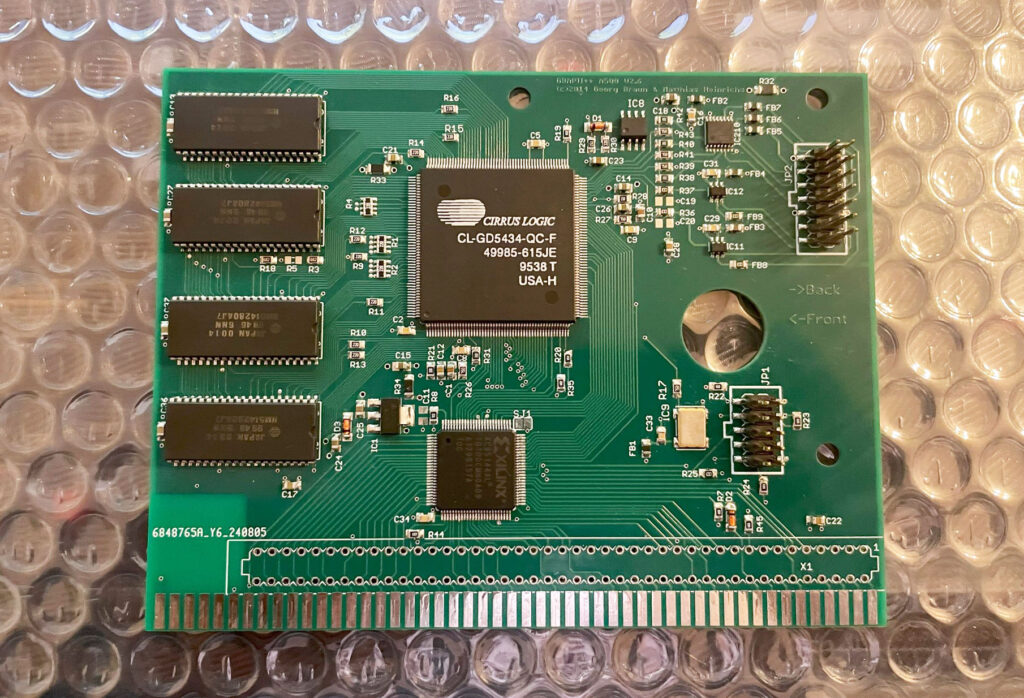
I got the opportunity last year during fall to purchase a GBAPII++ mini graphics card with all passives already mounted. Only thing it did not have was the Cirrus Logic chip, memory chp and the CPLD (and some small components). The mini version of the GBAPII++ is the same card functionality wise as the regular one. You can read about the regular GBAPII++ here, you can read about the mini version of the card here.

As I was going to build the regular version of the graphics card in parallell I got lazy when I put together the BOM and assumed that the voltage regulator was the same for both of the cards. I was wrong, the GBAPII++ mini uses another voltage regulator, which explains why I could not program the CPLD and why the voltage regulator was running very hot on the card once I had built it.

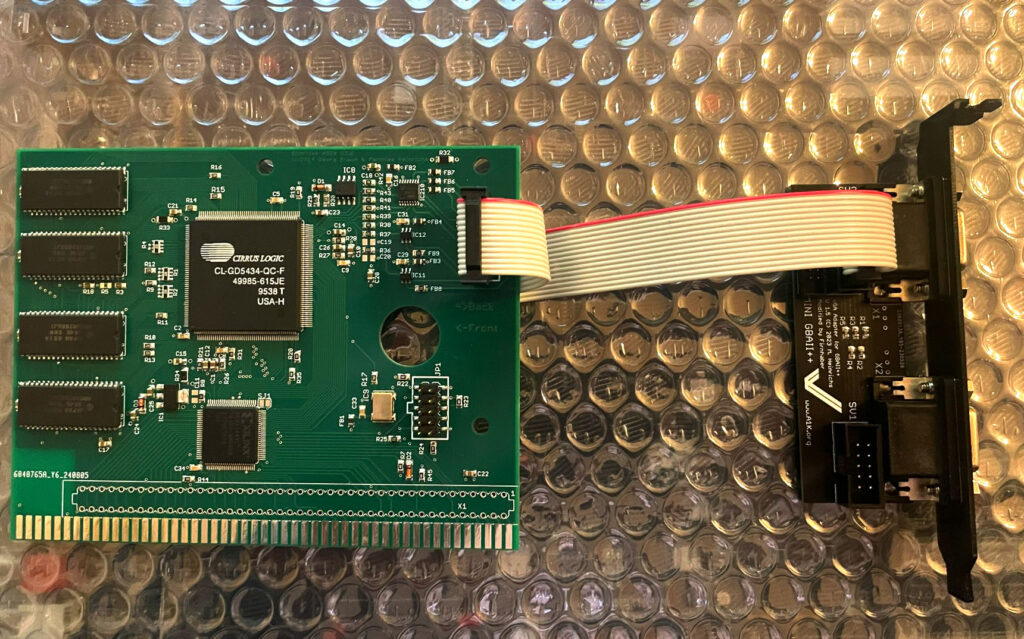
Having received another shipment of components from Mouser late last year in December with the correct voltage regulator, I was anxious to find out if I had fried the card or if it was going to work. Happy to tell you the card in the picture is working fine after I swapped the voltage regulator to the correct one!

Whats the point of such a small Amiga graphics card?

I use my other GBAP2++ mini card in my Mini-ITX Amiga Denise but I think I will use this one in another big box Amiga. As you can see the Denise is installed in a very low profile case – The tiny card makes it possible to use a small case. If anyone is wondering what case I am running, it is a Chieftec IX-01B Mini-ITX case but it has the CD/DVD addition stacked on top of it to make room for the graphics card (Chieftec MK-35DV).

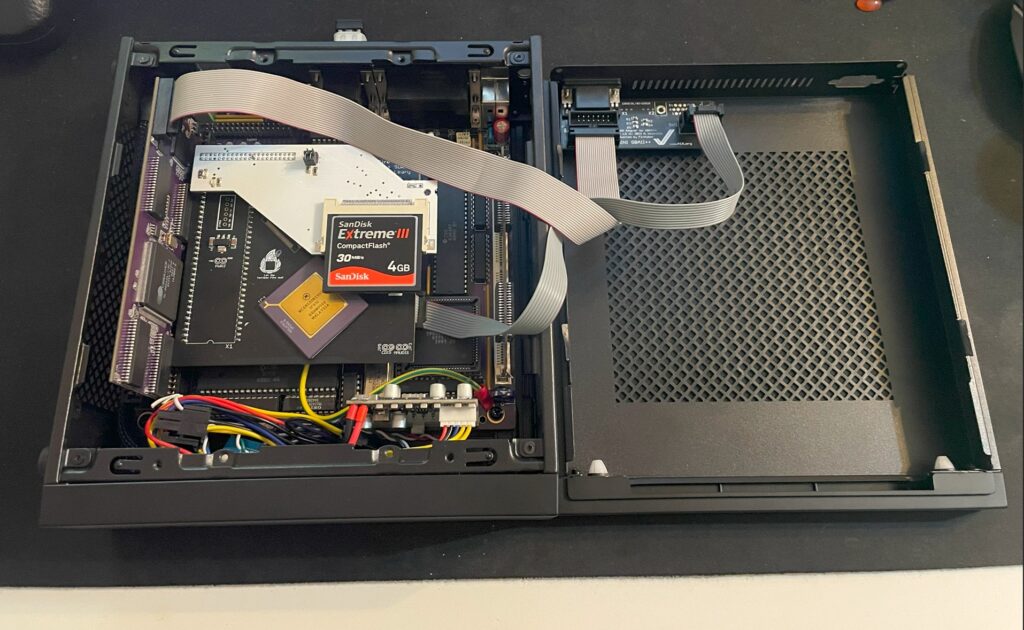
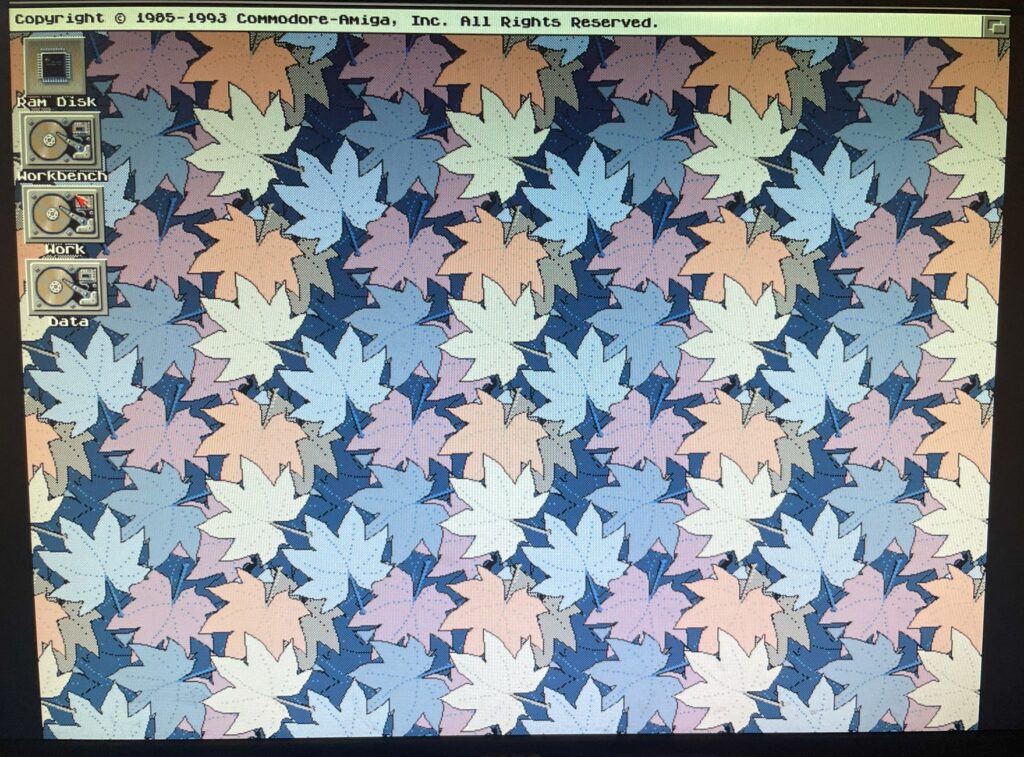
This Amiga is based on the Denise Mini-ITX A500+ clone motherboard. It has a TF356 68030 turbo card with 64MB memory, a 4 GB CF card and an Indivision ECS MK3, it also has a GBAP2++ mini graphics card. The video output from the VGA connector is beautifully switched from native ECS to P96 output (and vice versa).

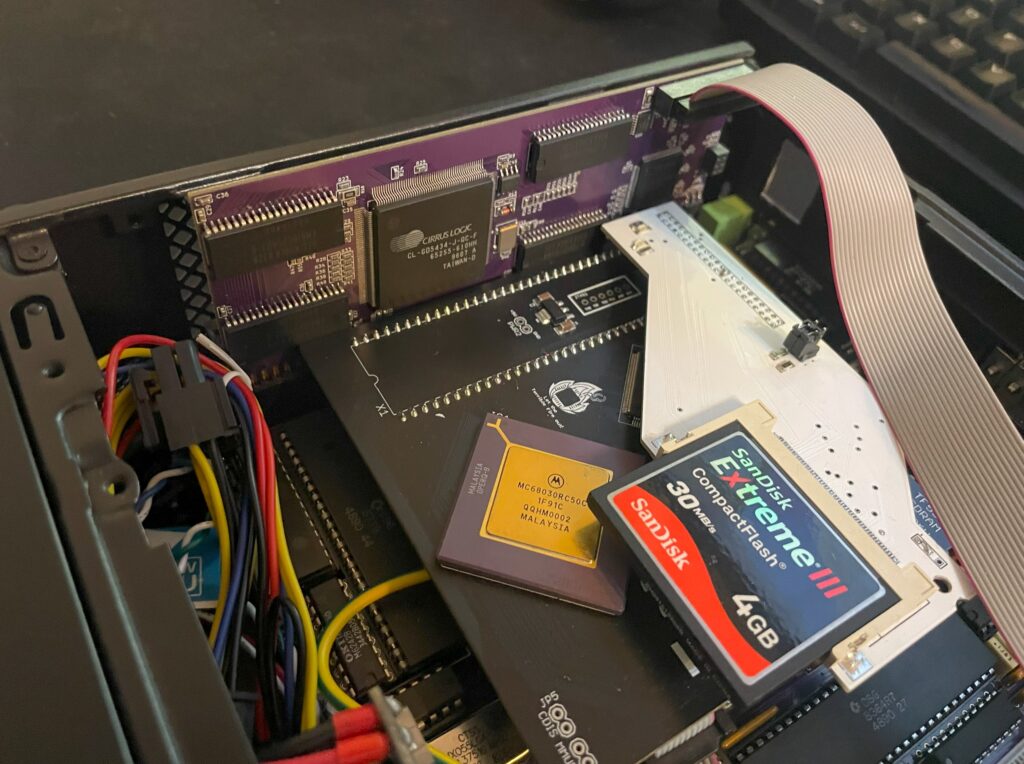
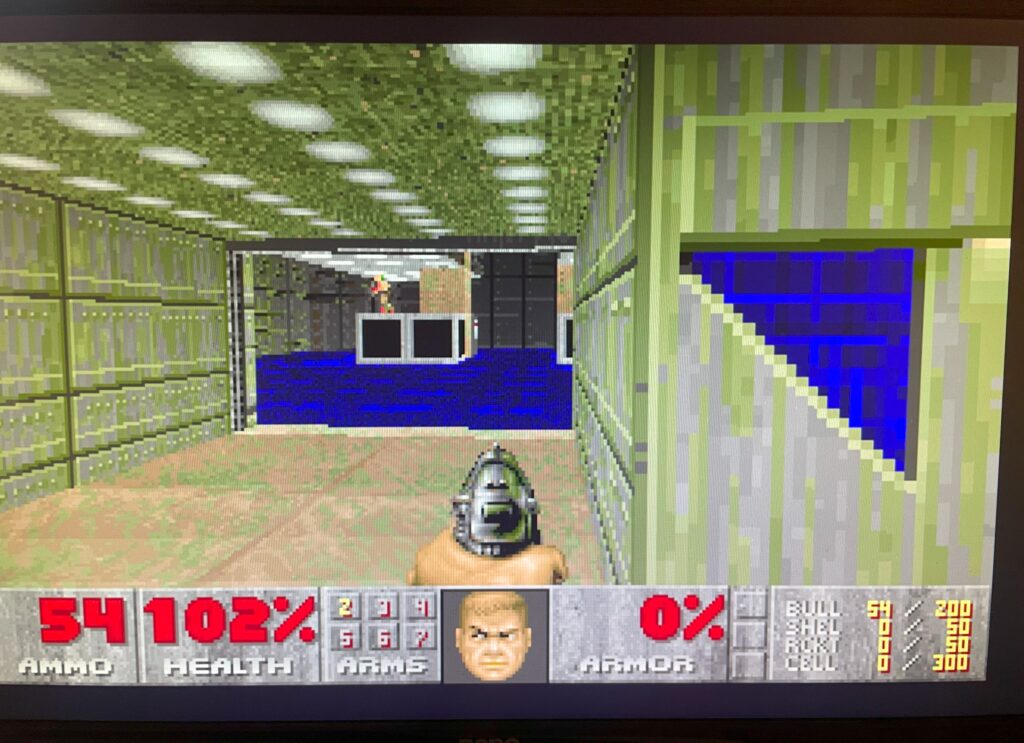
Here is another closeup of the card running fine in my Denise Amiga clone.

A500-GraKa GBAPII++ Amiga Graphics Card built and tested

GBAPII++ Amiga graphics card

This is the second GBAPII++ Amiga graphics card I have built. I finished the last bit of the build two weeks ago. Today I tested it in my Denise Amiga clone and could confirm that it was working fine. If you are interesting in building one yourself, check out more information about the graphics card here. There are some details about the background of the card there too.

Hardware specs

The GBAPII++ is a Zorro 2 based Amiga graphics card based around the Cirrus Logic GD5434 chip. It has 2 MB memory and is a relatively affordable Amiga graphics card. Occasionally you see users referring to the card as an open Picasso 2 card as you can order empty PCBs yourself and build it. But if you know Amiga hardware well this card is based on another chip. The similarities are close though, both cards has only 2 MB and is probably likewise in performance as they are both Zorro 2.

The VGA adapter plate has both output and input so its possible to run scandoubler output through one VGA output, very handy and a must have these days IMHO. I use mine with a Indivision MK3 and it works perfectly out of box. Or run it with the Multivision-AGA scandoubler.

It is possible to use the card on an Amiga 500 by soldering an 86 pin 2.54mm edge card slot to the side of the card, thats probably why the graphics card goes by the name A500-GraKa.

Components

The graphics card is based on the Cirrus Logic GD5434 chip

If you are thinking about building one I suggest you go looking for a GD5434 chip first. These chips are not impossible to find but can be pricey. I have paid between 20 to 40 euro each for Cirrus Logic GD5434 chips (currently have built four cards based on this chip). Finding an old VGA card and desoldering a chip with hot air is also a possibility.

The memory used is the same type of memory that is used in an Amiga 1200 1.4d revision. The typical SOJ40 2MB memory chips in the quantity of 4 chips.

I had difficulty finding the correct voltage crystal but eventually found the right one on AliExpress (and it worked too).

Building the graphics card

For some reason I thought building this card was incredibly confusing. I think the main reason is that I somehow got the build instructions for a previous revision of the A500GraKa card, once I got the correct file everything worked out fine! IIRC there are some solder pads marked as ferrite beads that should take resistors (or it was the other way). To find out what components go where one can look into the designer files, also study the BOM.

Performance

The graphics card works especially fine in lower resolutions and fewer colors like this 800×600 8 color Workbench

I have not tested performance yet and will probably never do, but make no mistake, this is no competition for a ZZ9000 graphics card. It is a fine card to use on a 030 based Amiga with a Zorro 2 bus as long as one do not go crazy on the amount of colors or resolution used. It is much better than using hires laced. I stick to 800×600 in 8 colors and it works fine.

Conclusion

The graphics card is hooked up to the VGA adapter plate that is fitted to a3D printed bracket

Many thanks for the creators of this card and previous cards it is based on. I think this card is a no brainer, just get one if you have an empty Zorro slot and no graphics card. I will list the good things first and negative later, these are strictly my personal opinions.

Positive

  • Half size card
  • Has a hole cut out for your finger so you can remove it easely
  • Autoswitch between scandoubler/VGA
  • Open card, PCBs can be ordered by yourself. There is also commercial version of it
  • There is a thread on a1k.org where you can ask questions about the card
  • Supported in P96 (so you can install the card with the P96 installer)

Negative

  • Somewhat confusing build instructions
  • Only has 2 MB
  • Is a Zorro 2 card so its slow (but still perfectly fine for lower resolutions/fewer colors)
Here is Doom running on the GBAPII++ Amiga Graphics Card

New project inoming: Mini version of GBAPII++ Amiga graphics card

Today I picked up a small parcel that was sent to me, the parcel contained a GBAPII++ mini Amiga graphics card PCB. The GBAPII++ is a half size Zorro 2 Amiga graphics card based on the Cirrus Logic GD5434 chip, you can read all about that project here. This is a smaller version of that card – It is intended to be used with the Denise A500+ clone (Mini-ITX) but can be used on all Amiga systems with Zorro slots. You can read all about the mini version of the graphics card here.

Specification of the GBAPII++ card

This is a Zorro 2 card, it has 2 MB memory and is comparable with the Picasso 2 graphics card in performance (give or take performance in some tests). It is a perfect match for Z2 and 030+ systems IMHO but is not really a competitor with the zz9000 regarding performance (in a Zorro 3 system).

Lets take a look at the GBAPII++ card

Front side of the GBAPII++ Amiga Zorro 2 graphics card

Usually I prefer to build projects from scratch but in this case I did not mind a version where the passives where already pre-installed. The GBAPII++ mini version uses mostly 0603 component sizes. That is 1.6 x 0.8 mm in size, not impossible to solder, and to be honest not that challenging, just very tedious. Especially if you do not have a proper workshop with microscope.

Here is the back of the graphics card, not much happening just some 0603 parts

The missing components are 2 MB memory consisting of four chips, SOJ40 (this is the same memory type that is installed in an Amiga 1200 rev 1.4d). The card needs one CPLD, two ICs, crystal and the GD5434 chip. The Cirrus Logic chip can be taken from a PC graphics card. Occasionally NOS chips show up on Ebay from time to time. Expect to pay 25-40 euro for the graphics chip alone (and more for the full graphics card).

I also got this little VGA out PCB that hooks up to the graphics card and fits neatly at the back of the Denise Amiga 500+ clone.