Alicia is an Amiga 1200 clone in the popular Mini-ITX form factor. It is a nice DIY project you can buy as a semi built PCB. As I had previously built a couple of Denise A500+ clones, deciding to build the Alicia 1200 was a no-brainer and I think I was not alone in that thought as the interest around it has been great! Read more about the project here.
I remember fondly when the Mini-ITX form factor was released to the public around the new millennium. It was a really exciting time in PC hardware and watching the new tiny form factor it grow and become an established platform has been a pleasure to see and experience since I have been on the Mini-ITX train many times since then.
But to be able to see, build and own Amiga systems in this small form factor with real Amiga chips is the icing on the cake – Amazing!
Denise, Alicias little Amiga sister

I have not written a lot about Denise, the A500+ clone, here on my blog even though I have wanted to do that for some time.
I “blame” the beginnings of my interest in this “wallet busting” hobby on this specific project, YOLO. So expect a better post later sometimes. I remember watching plenty of YouTube clips of doing SMD soldering with a soldering iron 5 years ago and asking myself, “can I really do it?”, then I ordered a Denise board and a package from Digikey. Unpacking the first 0805 capacitor, I questioned what I had gotten myself into back then.
Anyway, I think it could be interesting to show off my Denise build before moving on to the Alicia 1200.
The Denise is an Amiga 500+ clone in Mini-ITX form factor, it has all the regular chips the A500+ has and also two “dumb” (as in no Buster) Zorro 2 slots. The PCB is jam packed but everything is beautifully laid out on the board.
Point I wanted to make was that this has been a very stable Amiga and it is awesome to have an Amiga with a small graphics board, scandoubler, NIC and 030/HDD in a standardized small form factor – That it is Mini-ITX is just icing on the cake.
To think this kind of hardware was A2000 territory yesterday is crazy. Anyway, let’s move on to the Alicia Amiga 1200 AGA clone…
Approaching the Alicia 1200 Amiga 1200 clone build, what have I gotten myself into?!

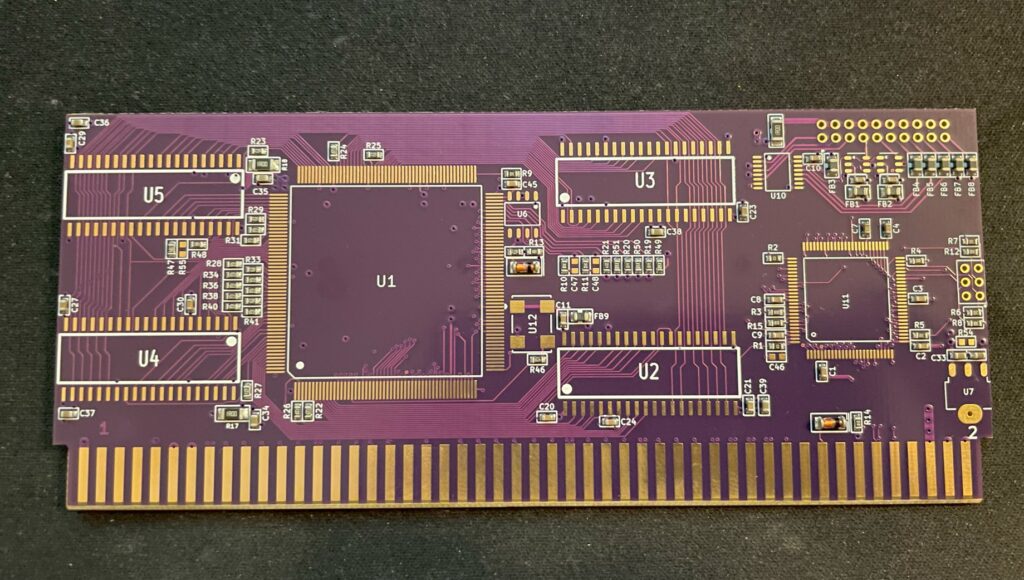
Alicia 1200 is a kit, so one have to build it oneself. I have built a few Amiga kits myself as stated above so I did not expect any problem with the Alicia build. I usually build my projects from scratch, but in this case it has all the passives and common chips mounted. This saved a ton of time.
Lets talk PLCC sockets and chips
I decided to build my Alicia without PLCC sockets. I have a technique that works really well for soldering PLCC sockets without removing the inner part of the socket. In my experience soldering PLCC chips directly to the PCB makes for a more secure connection and eliminates any potential contact issue. I feel hot chips such as Paula, Lisa and Alice runs cooler when soldered directly to the PCB. I do have a few Amiga motherboards with full PLCC sockets for testing purposes.
Soldering the PLCC chips might be difficult if you are not used to doing them. I solder the PLCC chips with a relatively large hoof tip. Not saying the hoof tip is the definitive success factor. My success is probably from doing a LOT of PLCC chip soldering and getting used to a specific technique.
Difficult to find parts aka “ahh shieet here we go again…”
Most parts for the Alicia 1200 can be taken from an Amiga 1200 or can be found on Ebay, Amibay or from the “usual” places.
You will need the full Amiga 1200 chipset, including Motorola 68020, Budgie and A1200 Gayle. You will need an ADV101 or VP101 but you wont need the keyboard MPU. Memory can be taken from an Amiga 1200 too (but pay attention, some revisions come with incompatible memory that physically won’t fit). If you want to run the RTC you need a clock chip.
A 23 pin video connector is not needed and in fact can not be used, instead Alicia uses a regular VGA socket, so you have to make your own RGB cable if you plan to use it with SCART. You will need a PCMCIA connector, but that can also be take from an A1200 motherboard (hot air is your friend).
Everything else can be ordered from Mouser or Digikey.
So lets get the soldering iron warm…

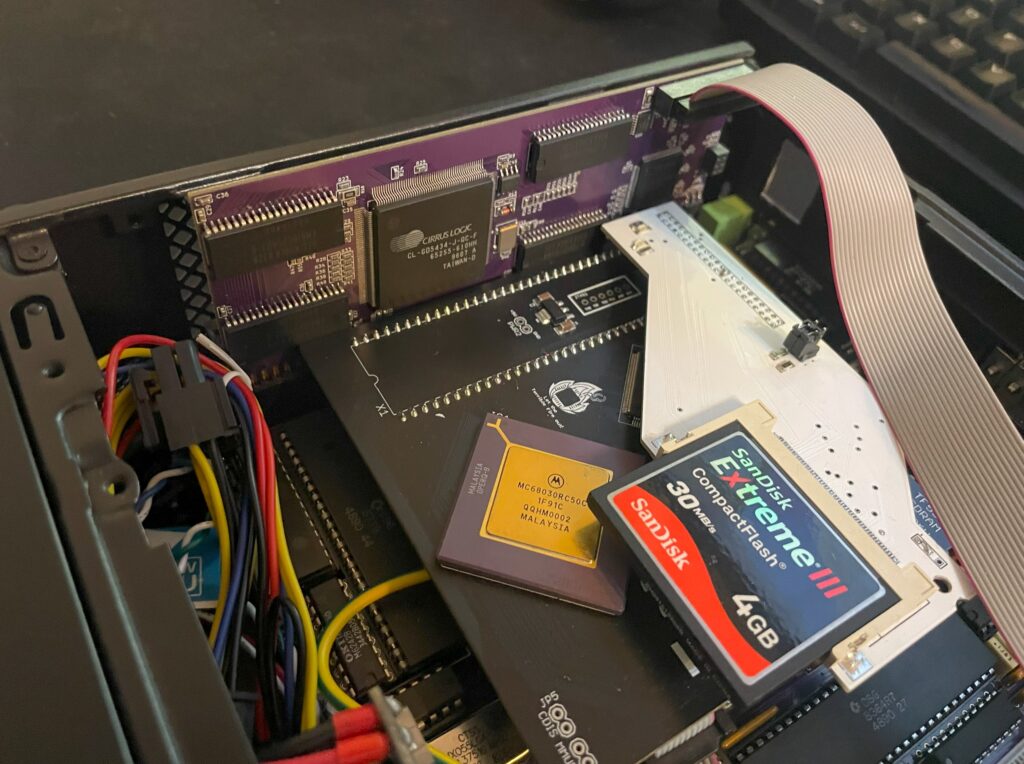
The first parts I soldered was the Budgie and the Motorola 020 CPU, they are both surface mounted chips and where desoldered from an Amiga 1200 motherboard. I actually did not know if they worked or not, but as they are mounted in a good position on the motherboard I could always desolder them and replace them if they failed to work.
Lets add some memory to the Alicia 1200

You may have built a ReAmiga 1200 and struggled with the memory, I have. It is difficult to do a good job when the chips sit so tight together. I am not a fan of using hot air to solder them. Thankfully on the Alicia 1200 the memory chips are generously spaced leaving plenty of space for my preferred hoof tip technique making this task very enjoyable. This shows in the clean result.
Lets add some PLCC chips

Now its time for some PLCC chips. I have nailed the technique for soldering PLCC chips. But the challenge is getting them aligned correct on the solder pads so the joints form a straight line. I got successful with the first chip at the top left, Gayle. If you fail to align the chip it will still work but may look a bit off. Depending on your level of OCD this might be totally acceptable though.

Here are all the PLCC chips soldered to the Alicia 1200 PCB. I think this was around 4 hours of work in total. No idea if it works and no way of testing it yet. Let’s hope it works.
And lets add some ports and connectors

I am not alone when I say there is an universal curse around BOM orders. It is an unofficial rule more than an exception that it is derigeur to miss to order some small part or important part. In this case, it was a small chip on the bottom of the PCB and the ATX power socket.
First test run of Alicia 1200 A1200 clone

Once I got the missing parts I was eager to try Alicia 1200 out and see if it was working. And it was here I stumbled upon a problem, I did not have a suitable screen or RGB-SCART cable to test it. I thought I could use a 23 pin to VGA converter and hook up my old RGB-SCART cable with a 23 pin connector, but it did not work.
Just to verity that it worked I opted to do a testrun with a temp solution: using my Indivision MK3 that I have in my Amiga 1200 so I could get HDMI output.
Update: I have since built a VGA to SCART cable according to the instructions in the manual and I recommend everyone to do that to test that the port is working.
And it works!!

DiagROM boots and all tests checked out fine! The image above does not do justice to the image quality of the Indivision MK3, I was almost ready to fork out cash for a second one! This is a beautiful hardware combo if you want AGA only.
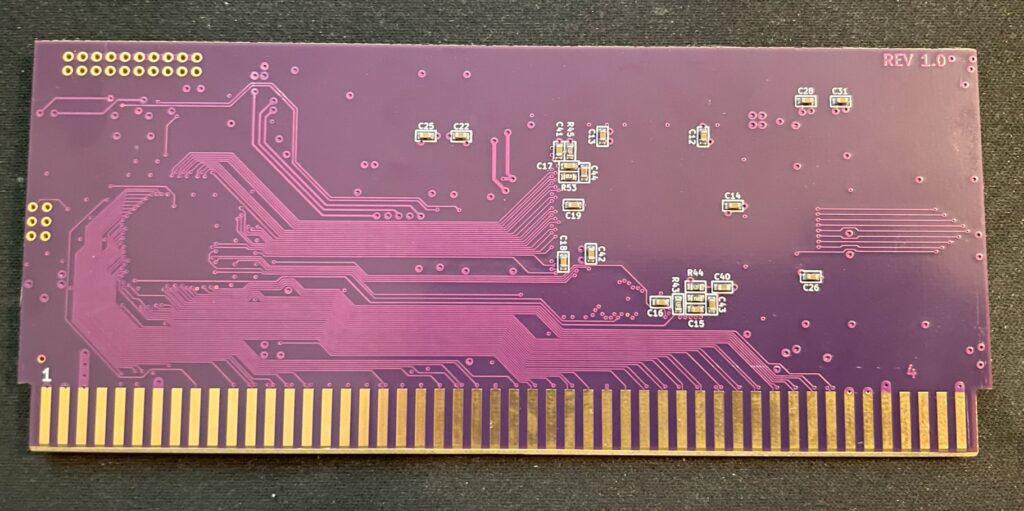
Sound played fine on the Alicia 1200 when testing channels in DiagROM. I think the sound circuit is the same on the Alicia 1200 as on the Denise as i recognice a few of the parts on the motherboard here.
I would descibe the sound on the Denise as slightly tinny, metallic or a bit more clean than a regular Amiga 500 or Amiga 1200, it is an interesting attribute of these motherboards and adds another dimension to the sound output of the Amiga. Cant wait to try it out with the Sound Enhancer.
Lets finalize the Alicia 1200 Amiga A1200 clone build

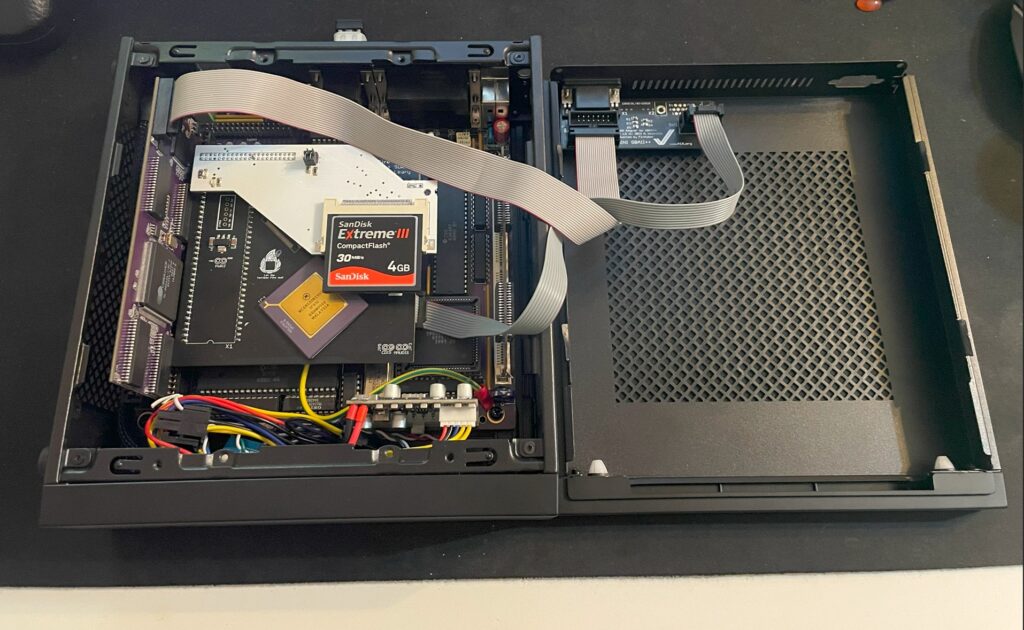
Once Alicia 1200 was fully tested I could go ahead and add the final connectors including the PCMCIA slot (that I cut down to make it shorter since it sticks out a lot).
So let’s end this post with some features that Alicia 1200 has that a genuine Amiga 1200 does not have. First it has a real time clock. Then it has a video slot on top left side. There are no devices to connect here today, but there are rumors of scandoublers and other exciting stuff. Lets see what the future holds. I have suggested a 3DFX card numerous times lol.

The larger slot is the Tornado slot, as you can see on the image above it is converted into the Amiga 1200 slot. Hopefully someone will release a direct mount CPU card for the Alicia 1200, if not, we can just use the converter above and run our TF1260s or PiStorms or whatever will be available directly on that.
Next steps!
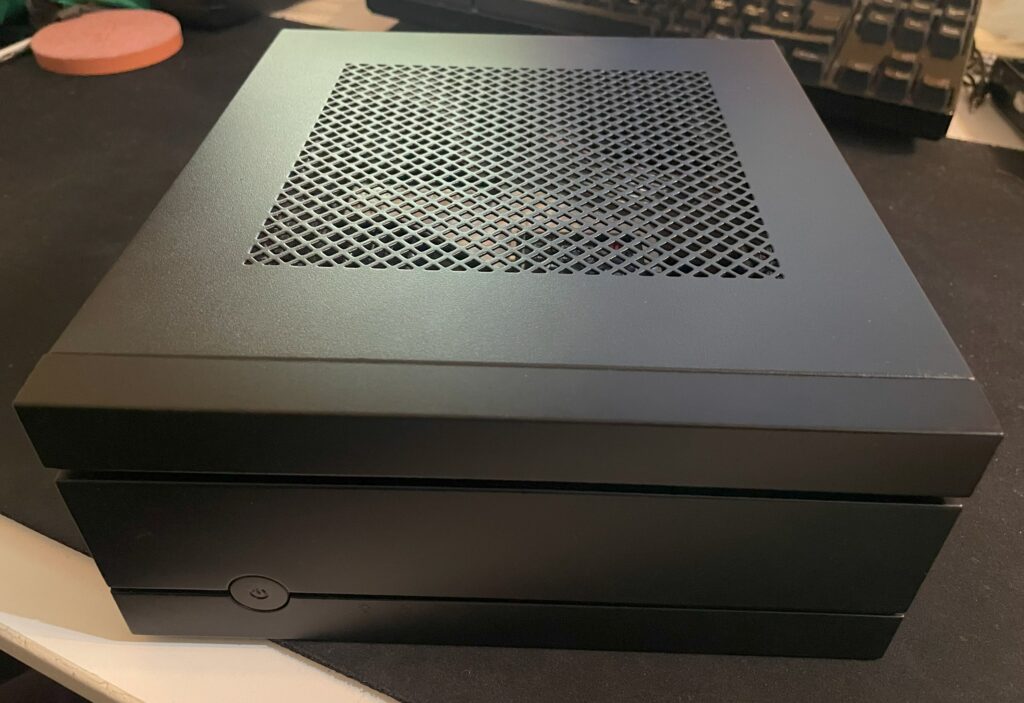
Let me follow up in the future what case I will chose and what CPU card I will use. I am leaning towards PiStorm, but the beauty of a 060 in this little system is very tempting, almost too tempting to resist. And with the way the CPU card is mounted, there is plenty of space to run a badass heatsink over the 060 unlike in an Amiga 1200… you can be sure I will follow it up here in the future!
Great work with this project everyone involved!