Wireless networking in AmigaOS 4.1 with Vonets Wireless Bridge

A Sam440EP with Vonets VAP11G-300 ethernet to WIFI bridge

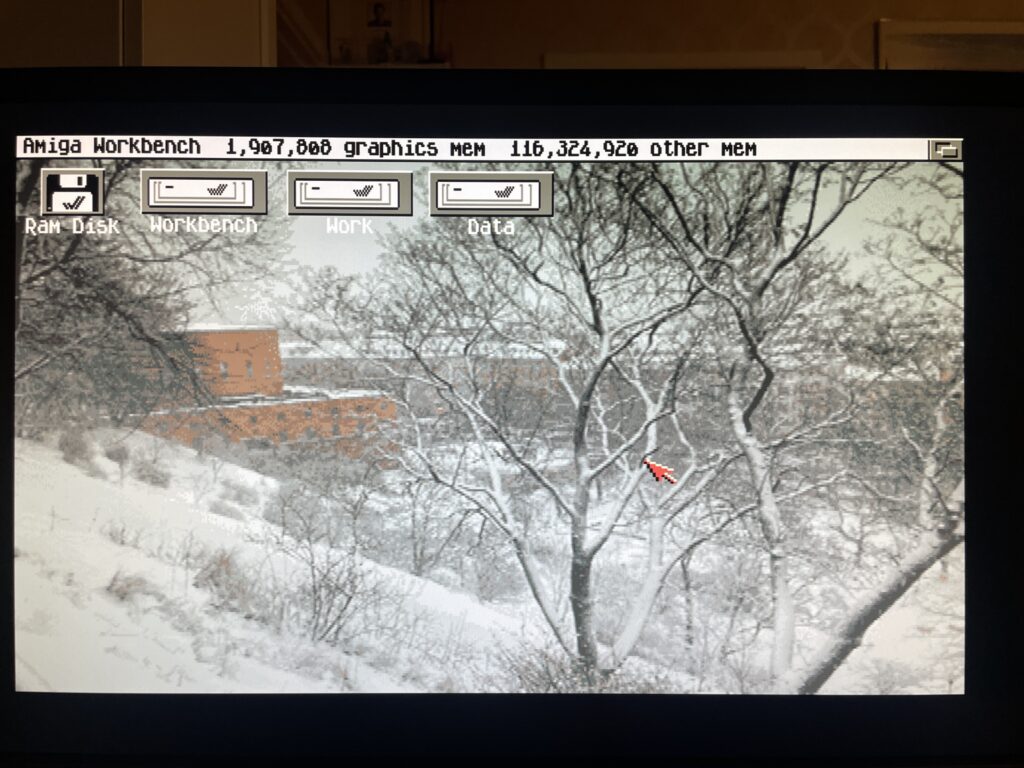
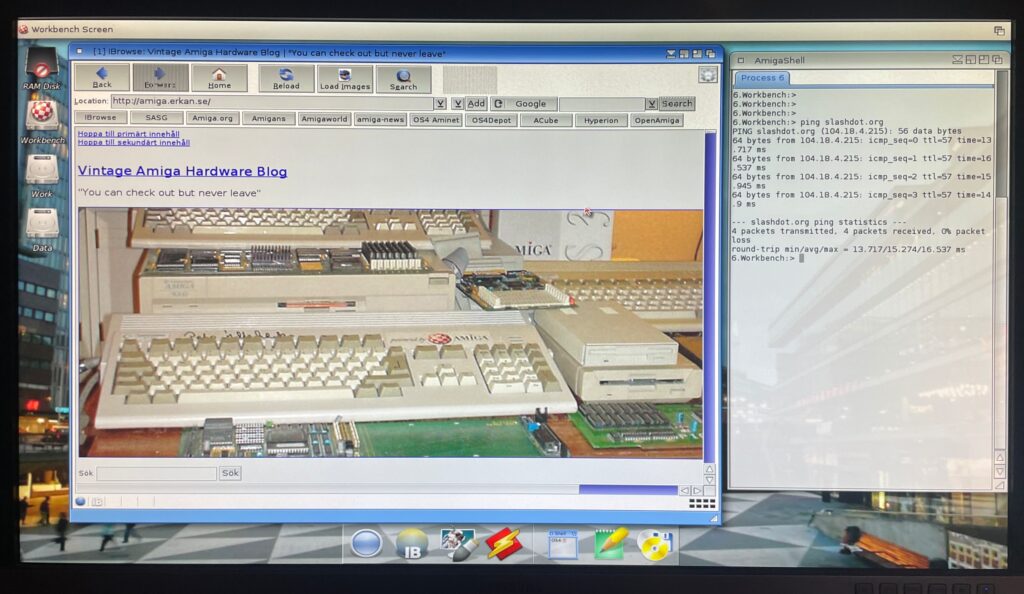
Finally got my Sam440EP that is running AmigaOS 4.1 online with no ethernet cable, wireless, with a Vonets WIFI bridge, no more ethernet cable!!

Currently, I dont have a permanent place for my Sam440EP on my desk at home. That will change in the future. But for now, whenever I want to use it, I set it up on my desk. Since it is a tiny computer, that is not really a problem as its very portable.

But having to run a long ethernet cable between the SAM440EP and the main ethernet switch is such a hassle.

Its not 1999 anymore and WIFI is great these days! So I went looking for a wireless solution for hooking up my next gen Amiga to the home network.

Finding a solution is a bit tricky though. After having spent a couple of evenings researching the topic I decided to order a supposedly supported card by AmigaOS 4.1, only to have it be cancelled by the seller. Disapointed but also relieved because I did not fully expected the card to work – I Instead opted for an ethernet to WIFI bridge.

Thinking, if that works, I could get a second and hook up my A4000TX to the home WIFI network with one also since there is no WIFI card for Zorro Amigas..

Vonets wireless bridge – VAP11G-300

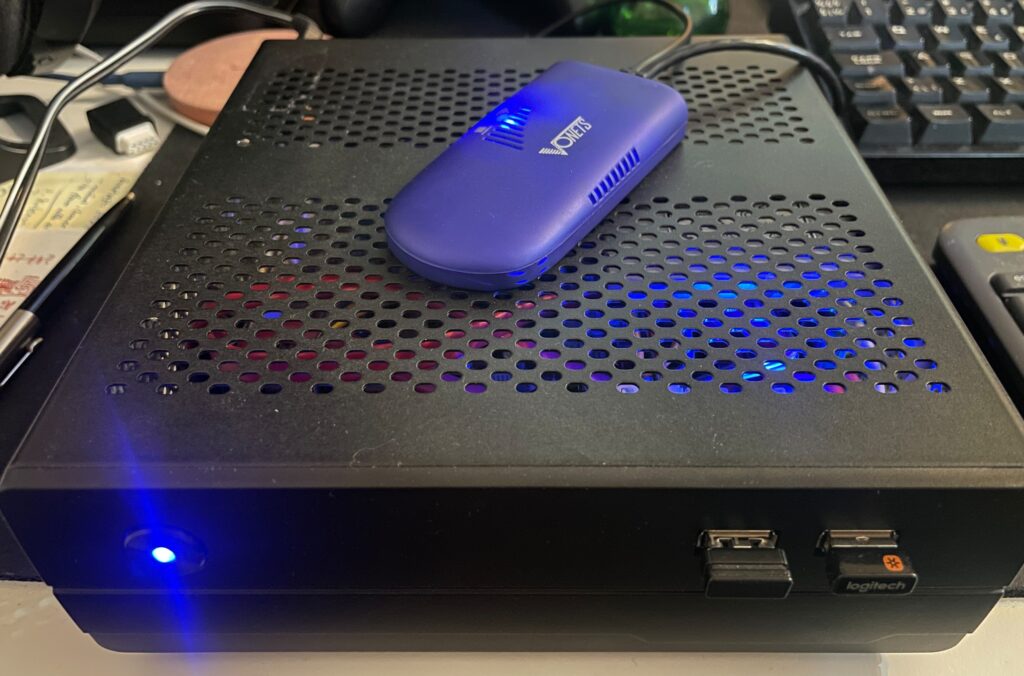
There are a couple of nice solutions for wireless bridges these days and the prices has gone way down since last time I was in the market (2005). The Vonets Wireless Bridge that I got from AliExpress cost around 20 euro.

Setting up the Vonets wireless bridge on the Amiga

Test setup during initial setup of WIFI on the SAM440EP

Setting up the Vonets VAP11G-300 WIFI bridge reminded me why I chose not to go down the network admin/sysadmin route back in my university years. Or it reminded me of how much simple everything these days usually are to set up.

Surprised I was, it did actually come with a real manual (something I did not expect from cheap China stuff)!. However the manual was a bit poor in quality and clarity, I think it was better if it did not come with one.

Anyways, just so that I wont forget how to set it up, here is how to set up the Vonets wireless bridge to be a WIFI bridge for ethernet:

  1. Connect the Vonets wireless bridge to a PC. Connect both USB and ethernet so it gets power and can be found by the computer.
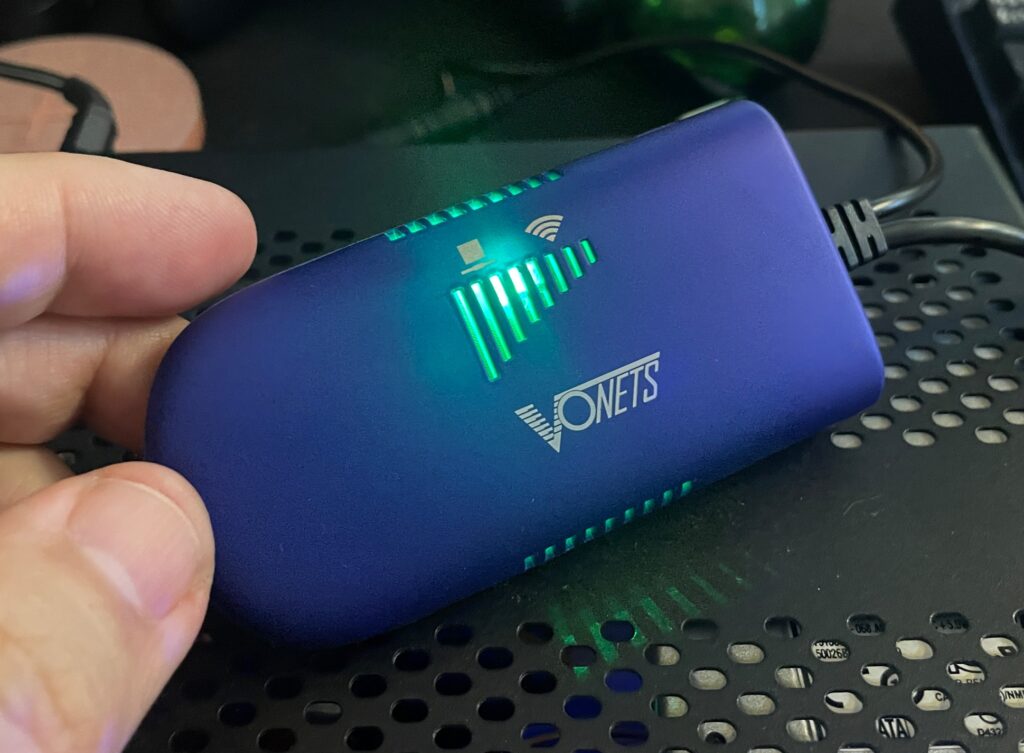
  2. On the Vonets adapter: Green light should come up (that is the ethernet port), blue light should come up (that is WIFI).
  3. Disable wireless on the computer if active. Else you wont be able to log into the bridge. Make sure ethernet is active and not disabled.
  4. Go to Chrome and type in the IP adress as specified on the device to connect to the Vonets bridge.
  5. Disable AP functionality of device and click save (if you dont want to use it as an AP). Device defaults to both an AP and a bridge if not.
  6. Change password of device and save.
  7. Go to main panel and scan for SSIDs.
  8. Chose SSID, type in password and save.
  9. Reboot Vonets device

It wont be possible to setup the device again on the IP number after rebooting the device. If you need to configure it again you need to reset it with the little button on it.

Once rebooted it should now be possible to browse the web on the PC where the Vonets wireless bridge acts as a bridge.

In theory it will work with any device that has an ethernet port. Read on…

Troubleshooting the Vonets VAP11G-300 WIFI bridge

So this is where the fun began (or not if you belong to the ones who do not see sysadmin/network admin tasks as a fun).

At first it did not work at all on my Sam. But it worked fine on my workstation.

I then figured out that if I changed the internet settings in AmigaOS 4.1 in Prefs and saved the new configuration the internet came to life! I thought I had solved it but as soon as I rebooted or restarted AmigaOS 4.1 then network access dissappeard.

I suspected the problem was that I had to configure the Sam to use a static IP, but that was not it either. However I got to familarize myself with subnet masks and ip ranges again, how much fun!

Back of the Sam440EP to illustrate how the Vonets WIFI bridge is set up

Soon I found the problem!

The Vonets adapter takes power from the USB port, the USB port on the Sam is disabled during startup (or delayed) so once Workbench is loaded the network has not fully been initialized. It takes a bit of time for the Vonets adapter to fully start, I suspect it must be running a minimal OS that handles all backend tasks. Which explains why restarting the network works. But until the network in AmigaOS4 is restarted, the network is down.

I decided to run it internally by routing the ethernet cable into the case

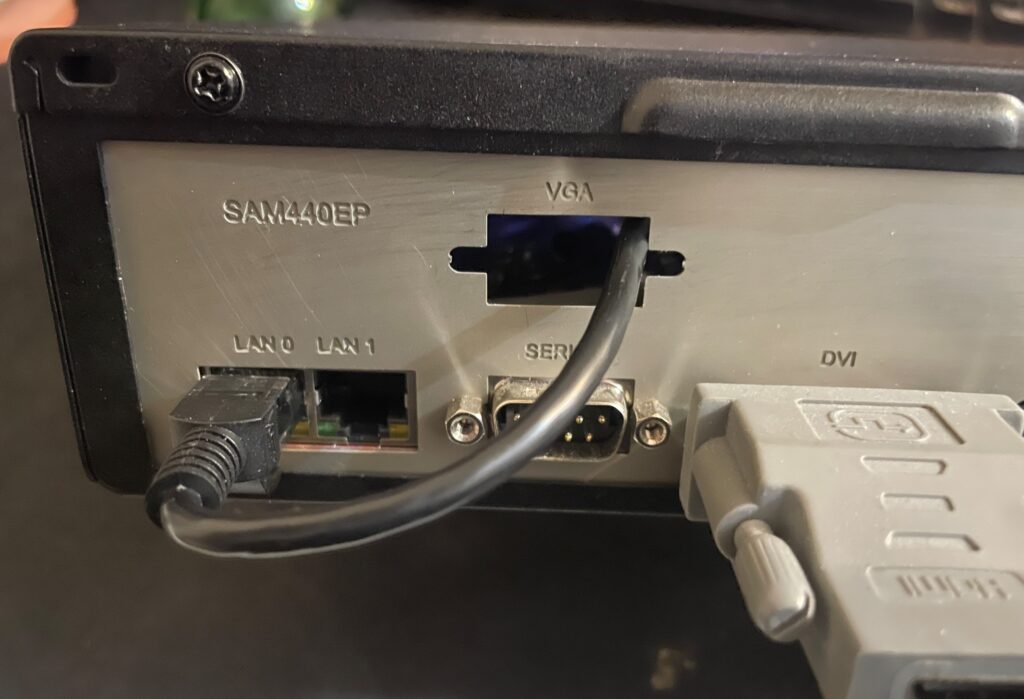
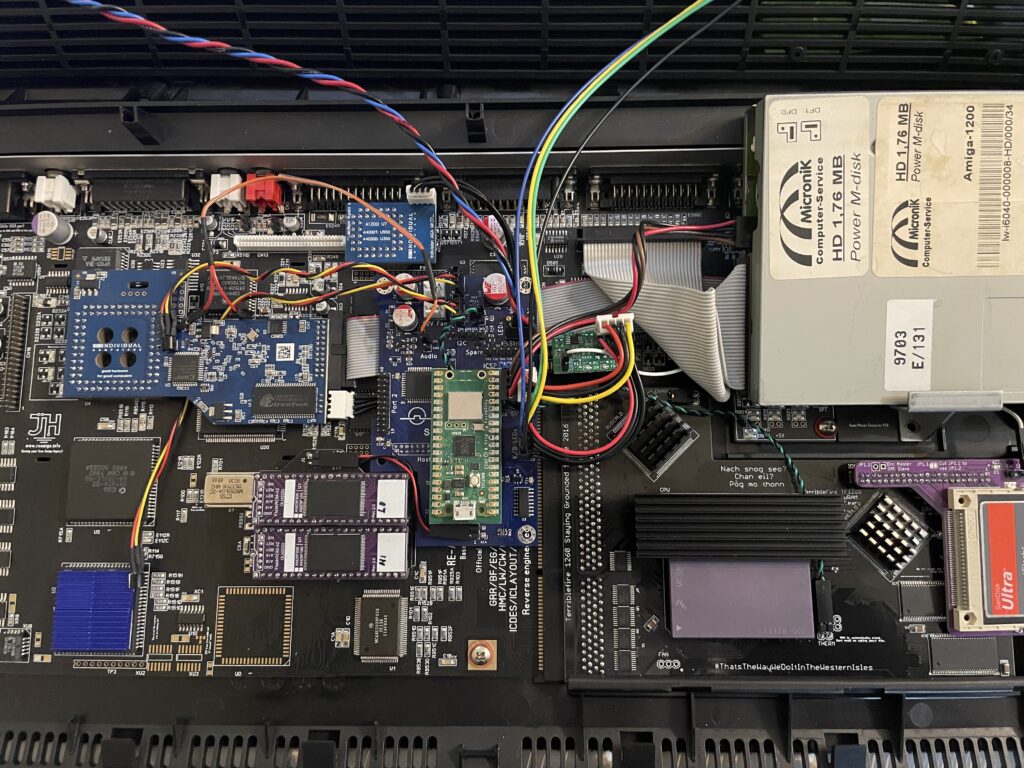
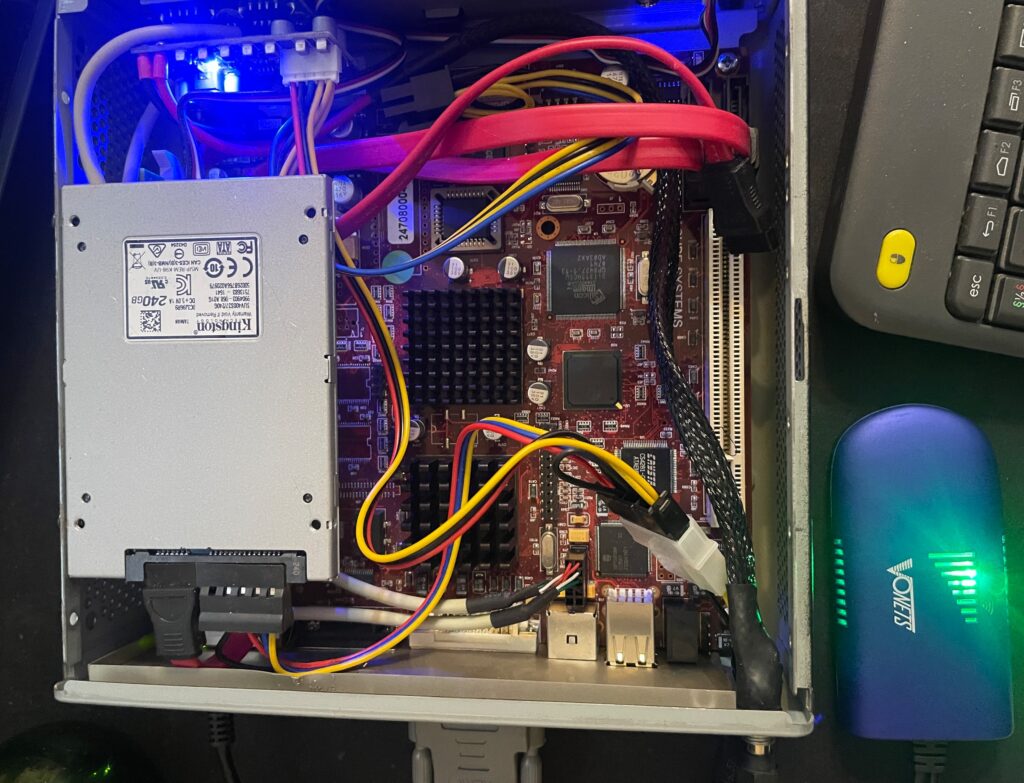
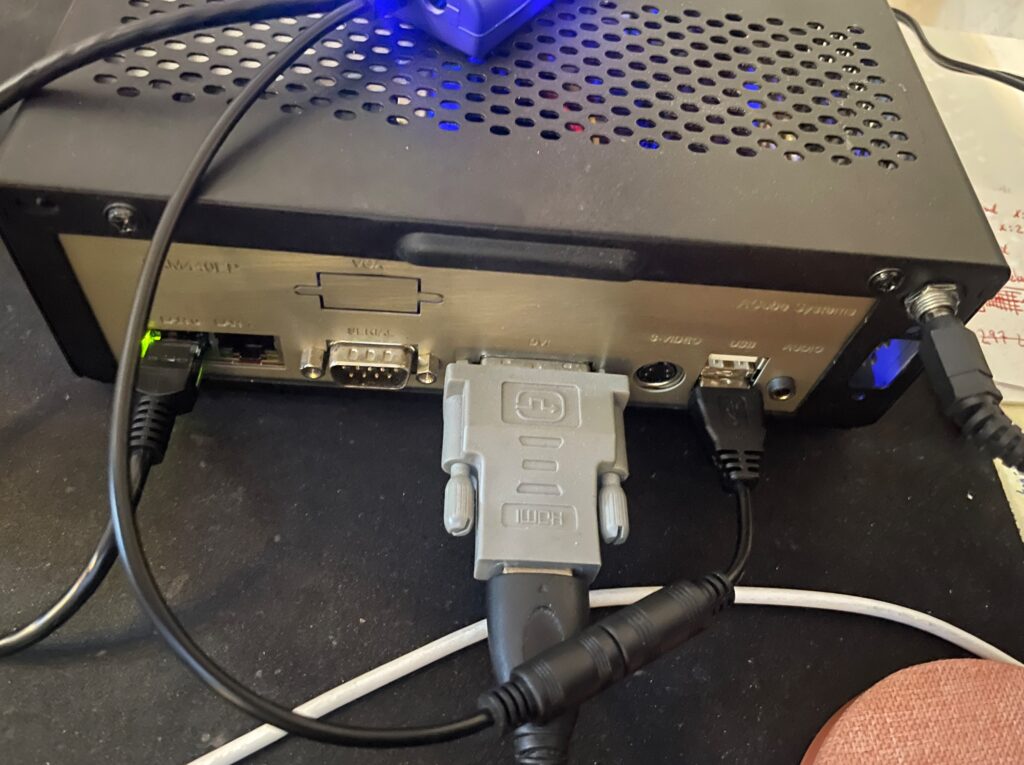
I quickly tried to come up with a solution, the solution was to run the adapter from 5v from the internal PSU. And that lead me to wonder if it was possible to place it inside the case too. I could route the ethernet cable through the hole for the VGA port on the Sam backplate.

The Vonets adapter is placed under the SSD on the left side of the motherboard

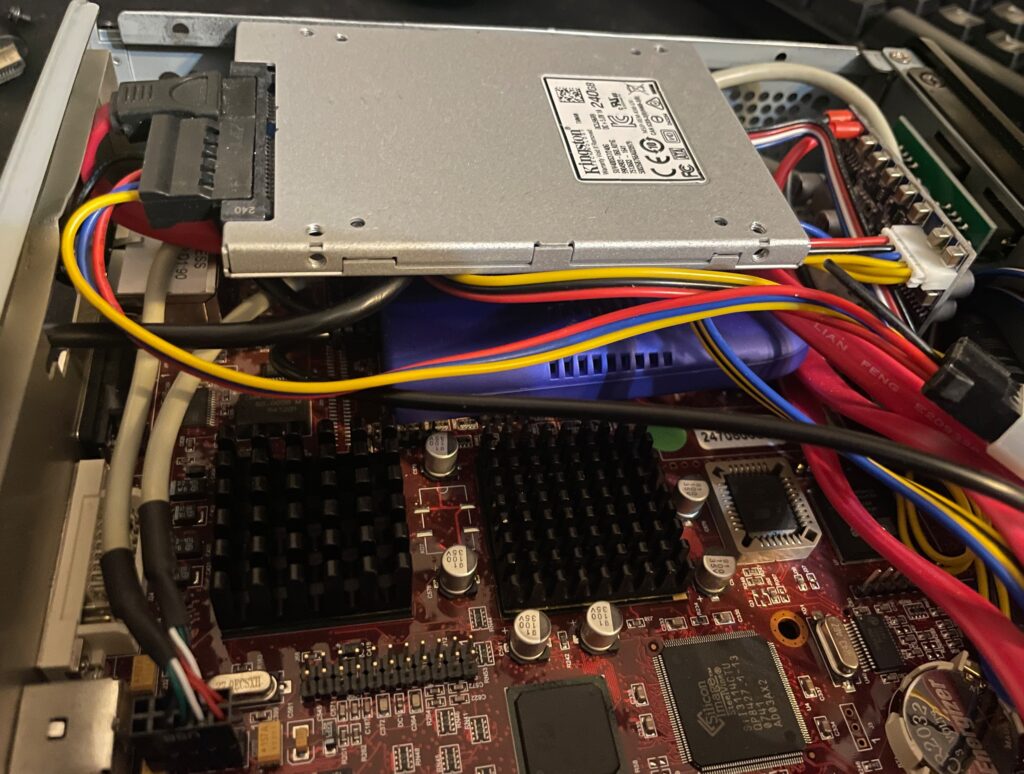
The Vonets WIFI bridge was placed under the SSD on the Sam440EP motherboard. There are no components on that side of the motherboard so no chips will get cooked as the Vonets adapter heats up a bit and I was worried that I would introduce more heat to the system.

Browsing the web on an Amiga is currently not a fun experience, lets hope a modern browser (and modern hardware is released!)

Would it work, yes it did. The Morex 557 case that the Sam440 is mounted in has mesh sides so signals from the WIFI bridge passes through the case fine (and also aid in ventilation of the setup).

Summary

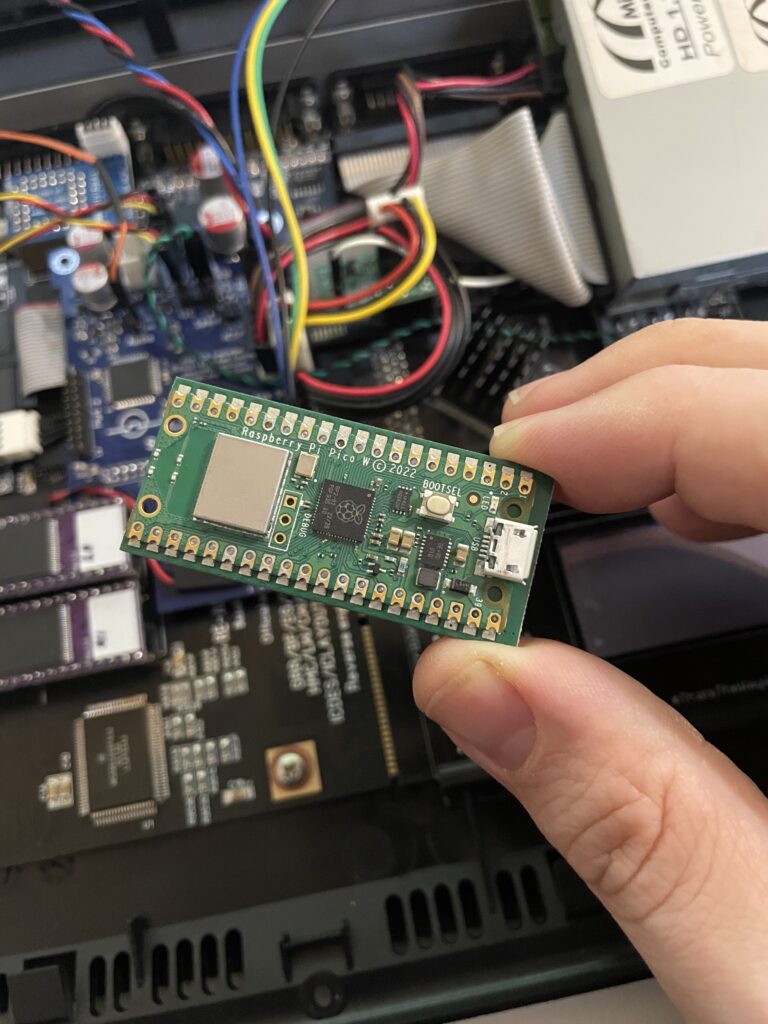
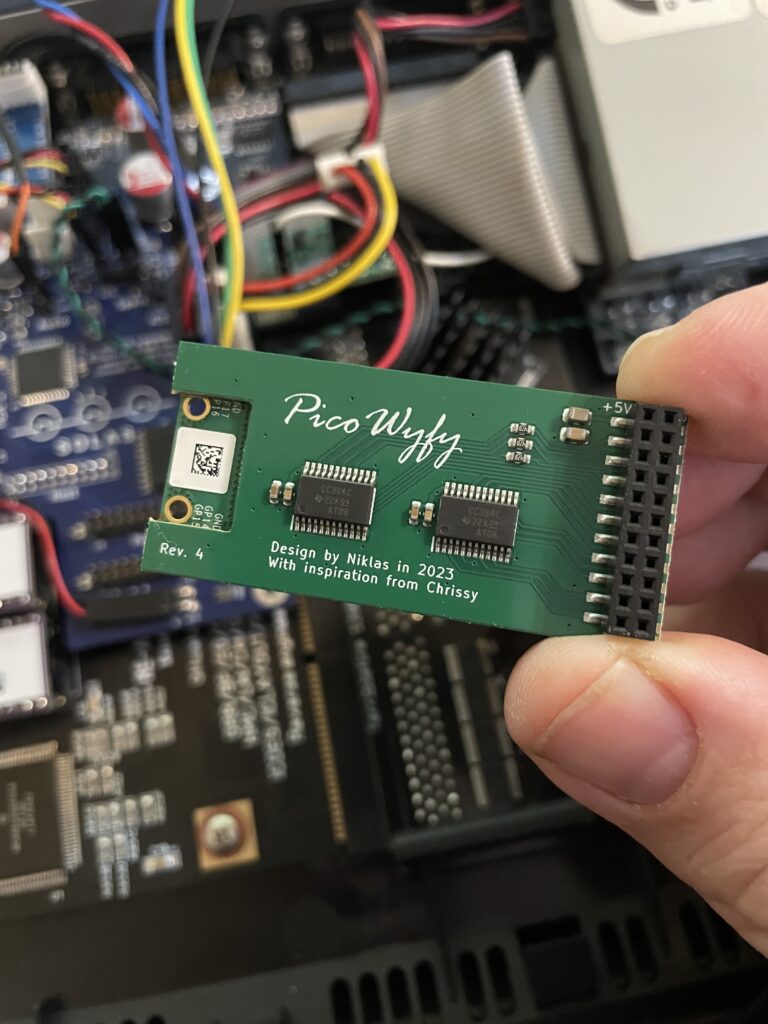
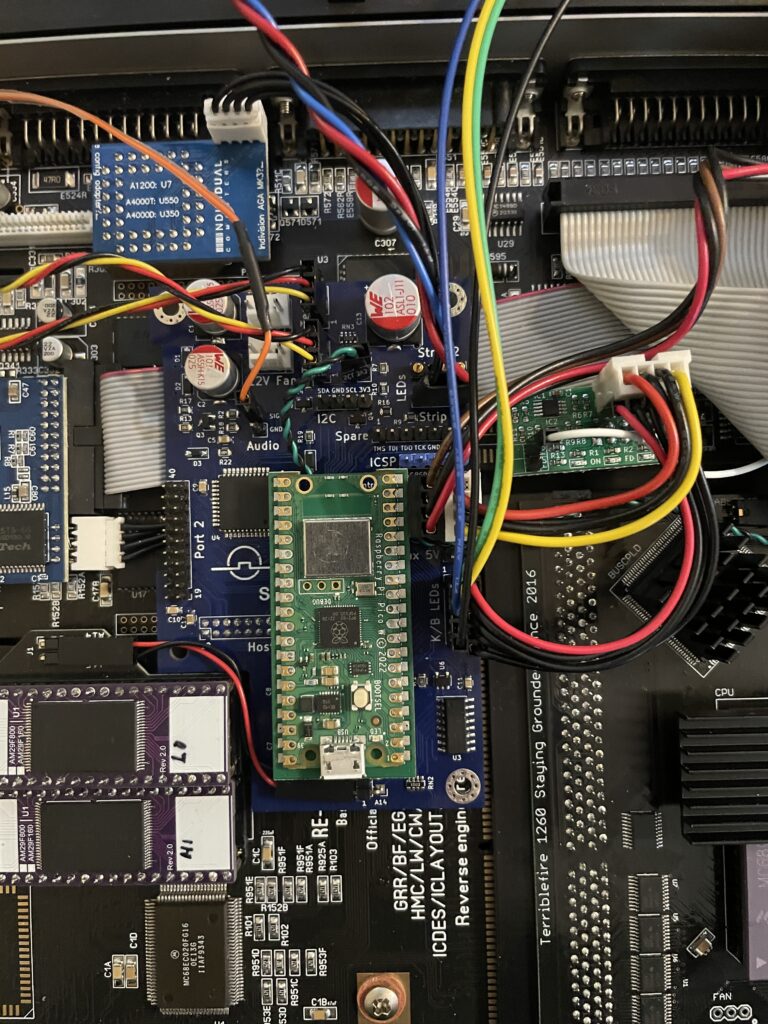
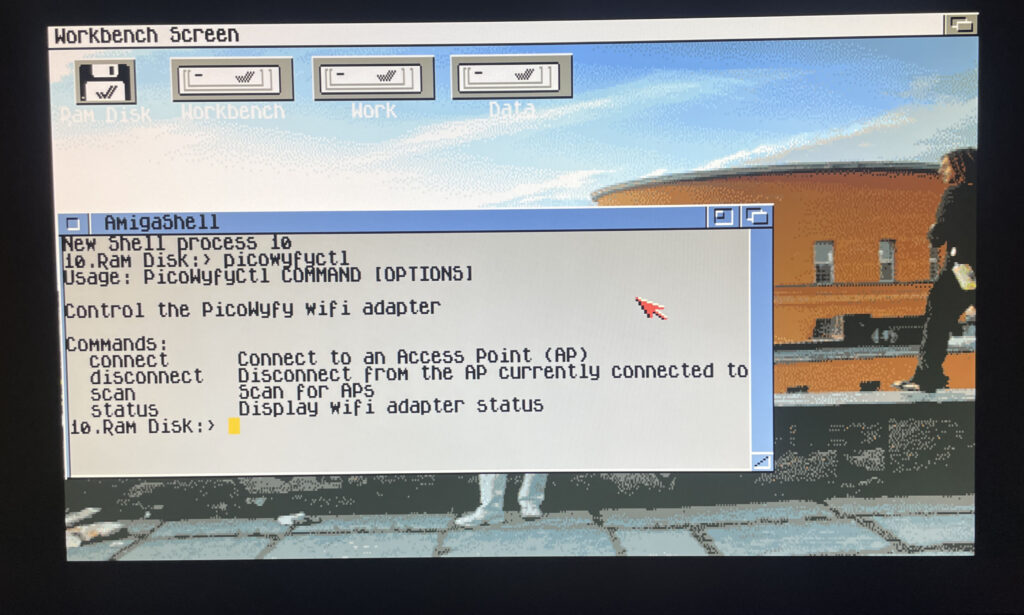
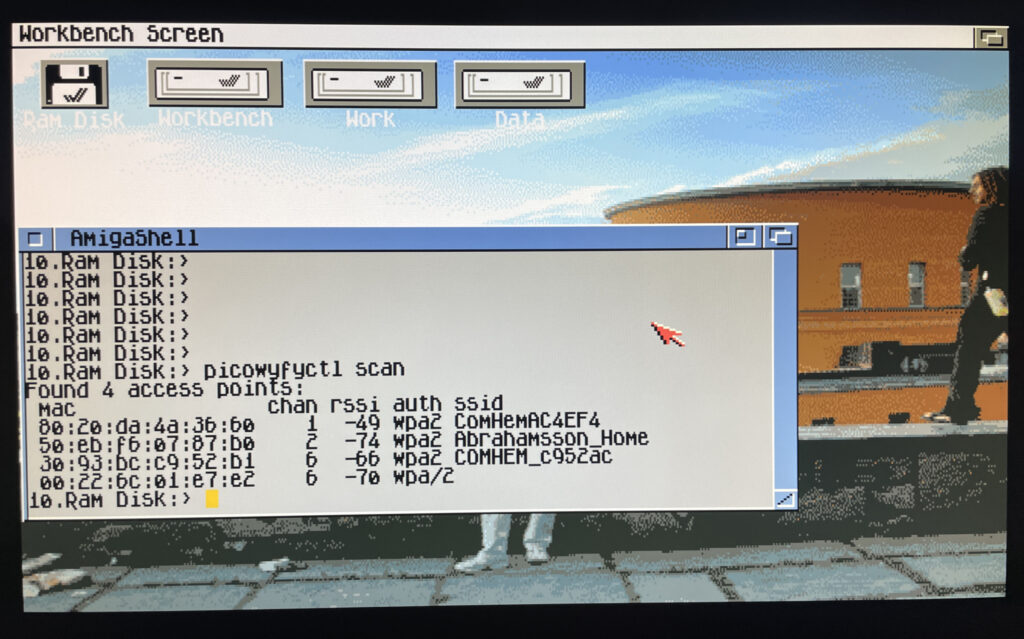
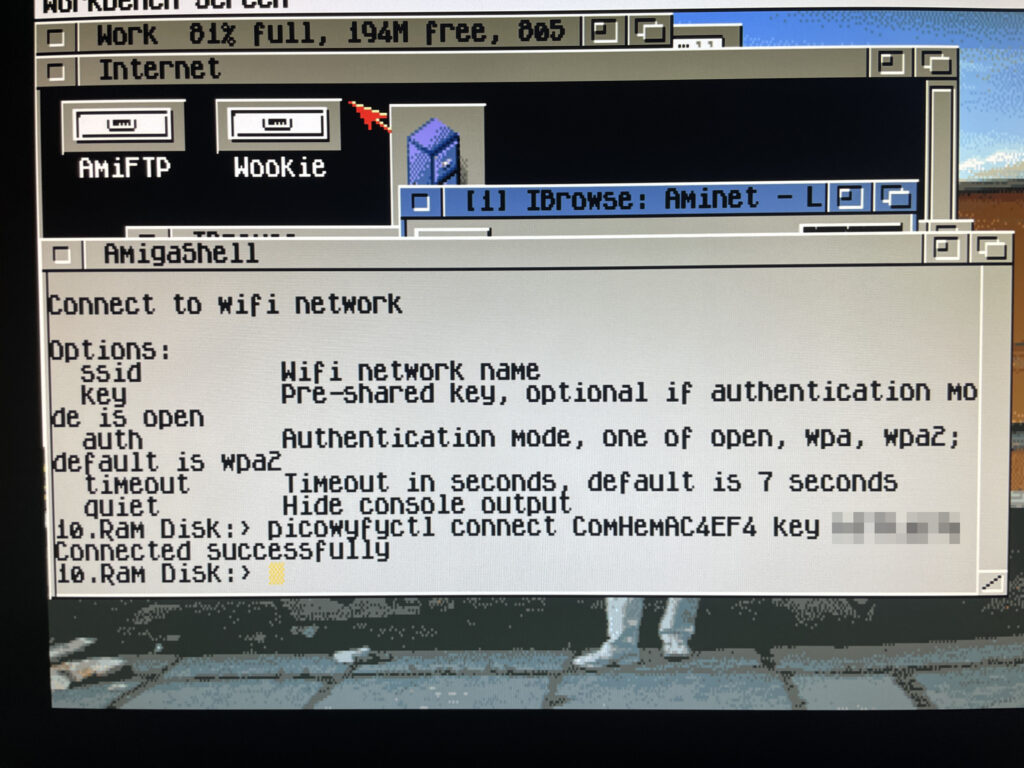
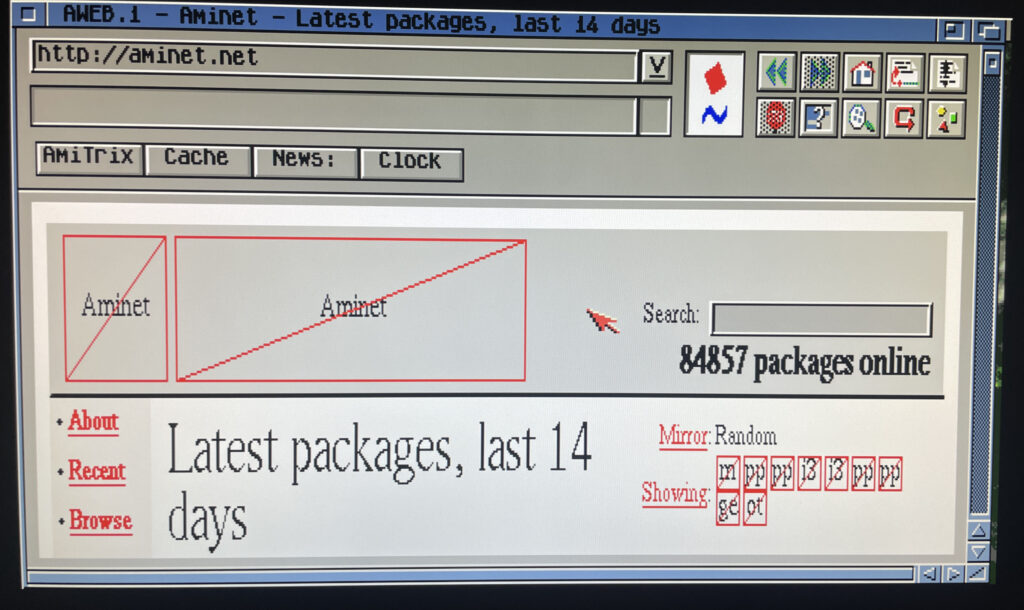
All in all I am pleased with the setup and will order a second one for my Amiga 4000TX, and my A1200 is already running WIFI with the PicoWyfy. While I am pleased with the setup, much has happened with the web in 15 years. I remember browsing the web back in 2009 on my Pegasos 2 and having a great experience. But the modern web is built on JS and needs SSL. There is no way this 533Mhz system would keep up even if there was a modern browser. While the main goal was not to browse the web but to enable file transfers between fileserver and the Amiga on the local network, I would not mind browsing the modern web on it if there was a modern browser and more up to date hardware.

PicoWyfy WIFI adapter for the Amiga

PicoWyfy means wifi for the Amiga hooked up to the clock port!

I just got a PicoWyfy and has spent a day playing around with it in my Amiga 1200. I am very happy with this device as it has helped me get my Amiga 1200 online and onto my network at home.

The PicoWyfy is a “wireless network interface controller” and it connects to the clock port on the Amiga (either on the motherboard or on a Zorro card or other clock port solutions). Read more about PicoWyfy here, you will also find instructions on how to get one there.

Wireless networking has been a possibility on the A1200 and A600 for a long time on the PCMCIA port. I got a NetGear MA401 for this purpose years ago, but the though of having an ugly PCMCIA card sticking out of the side of my Amiga 1200 meant I never bothered to install and configure it. I would rather just put all my files I wanted to transfer on a CF card on my PC and put the CF card in a PCMCIA to CF converter making it easy to copy files of off the CF card to the Amiga HDD.

In comparison with PCMCIA solutions the PicoWyfy is placed on the clock port, so it is fully internal. As you can see on the images, the PicoWyfy is based on a Raspberry Pi Pico W.

Back of the PicoWyfy card

Installing PicoWyfy in my Amiga 1200

PicoWyfy installed on the Solas that is installed on the A1200 clock port

Installing the PicoWyfy in an A1200 was very simple. If you are reading this, chances are that you already know about the clock port in the Amiga 1200 and what to take care of when mounting hardware here. So no point in going through that. If not, I will eat my hat.

My Amiga 1200 already had a Solas RGB LED Amiga controller inside it that was placed on the clock port. The Solas has a clock port expander integrated into it, so installation was as simple as putting the PicoWyfy on one of the free clock ports on the Solas (and configuring the PicoWyfy for that clock port address). Where to put the actual clock on the Solas is another issue I will have to figure out in the future as the PicoWyfy takes up space for it.

Overview of my Amiga 1200 with PicoWyfy installed

As the A1200 case is plastic, there wont be any signal strenght problems. If you wonder what I have in my (main) Amiga 1200, specs are listed below:

  • ReAmiga 1200 1.5 motherboard
  • Indivision AGA MK3
  • TerribleFire 1260 @ 100Mhz / 128MB
  • FlashROM
  • Solas RGB LED controller
  • LED adapter (so that TF1260 IDE activity is seen on the case LEDs)
  • Buffered CF interface / 4GB CF
  • MicroniK 1.76 MB floppy drive
  • And finally, the latest addition: PicoWyfy

Setting up the software and drivers for PicoWyfy

Picowyfyctl is the program that can control the PicoWyfy on the Amiga

Installation of the PicoWyfy is straight forward. All you have to do is put some files in the right places in the Workbench drawer. Then it is possible to run the program picowyfyctl to scan for wireless networks, connect or disconnect to wireless networks and to view status of the PicoWyfy. There is no GUI here but it is so simple to configure you wont need one.

Running a scan on the PicoWyfy to find wireless networks to connect to

In the picture above I have run a scan to look for wireless networks to connect to in my area. I can see my WIFI network here so thats what I am going to connect to.

Connecting to a wireless network on the Amiga 1200

Here I am connecting PicoWyfy to my home network and as you can see, the connection attempt was successful! I have also removed my WIFI password, if you must know it is “12345679abcd”.

Testing a browser online on the Amiga 1200

Off course I have to test the connection by browsing the information super highway in an ooooooold version of Aweb, if you type something wrong in the URL field it goes to Altavista by default. How nostalgic. As the modern web runs on HTTPS the browsing session was very limited, but I think it is possible to set up HTTPS in some way or another. Possibly would need to investigate this.

But browsing the web wont be my main activity on the A1200 other than browsing Aminet – Having access to Aminet directly from the Amiga 1200 is such a luxury!

Adding lines to user-startup to connect to a wireless network on startup

I should mention that I use Roadshow as the TCP/IP stack. It is a great modern TCP/IP stack for the Amiga. Once everything was working I wanted my A1200 to connect to the wireless network automatically at startup. To do that it was as simple as adding the line: “picowyfyctl connect ssid key quiet” before the TCP/IP stack was called in s:user-startup.

Trying out the program AmiSpeedTest to find out how fast the network is

So lets test how quick the card is on my system. There is a piece of software on Aminet called AmiSpeedTest you can use for this. Here is the URL.

Running a test in AmiSpeedTest

So here is the test done. To be honest here I dont have a clue how good or bad these results are. Downloading stuff from Aminet is fast though so I am happy. Will test some transfers between my workstation and A1200 in the future also.

Average download speed was 4509 kb/s and average upload speed was 4259 kb/s

Roadie, a GUI for the TCP/IP stack Roadshow

Before I close off I also want to quickly introduce Roadie, it is a GUI for Roadshow you can find on Aminet. It has come in handy when testing the PicoWyfy and I think this one will go into the default toolbox on all my Amigas. Find Roadie on Aminet.

And here we are after a reboot of the Amiga 1200. There is no sign of it but my A1200 is connected to my wireless network at home!

Conclusion

I am very happy with the PicoWyfy, its a great addition to my A1200 and to be honest I would like to equip all my Amiga computers in the fleet with one or a card with similar functionality. Great work everyone involved in this project! Highly recommended!

Typically I like to use wired network, but as the years has passed I think wireless networking is perfectly fine. Even for non mobile computers.

I dont run WIFI on my main desktop workstation, but for everything else, why not, one less ugly Cat 6 cable to pull out everytime one wants to hook up something to the internet.

The reason for wanting to connect an Amiga to the internet or a LAN is primary just to move files to the Amiga. But I have some future plans of having all files centralized on a main server and then sync that share with my Amigas. That way I have multiple backups of my Data folder on all my Amigas while I have a central location that I primary update.