68060 rev. 6 71E41J tested and successfully overclocked to 100MHz in my Amiga 1200

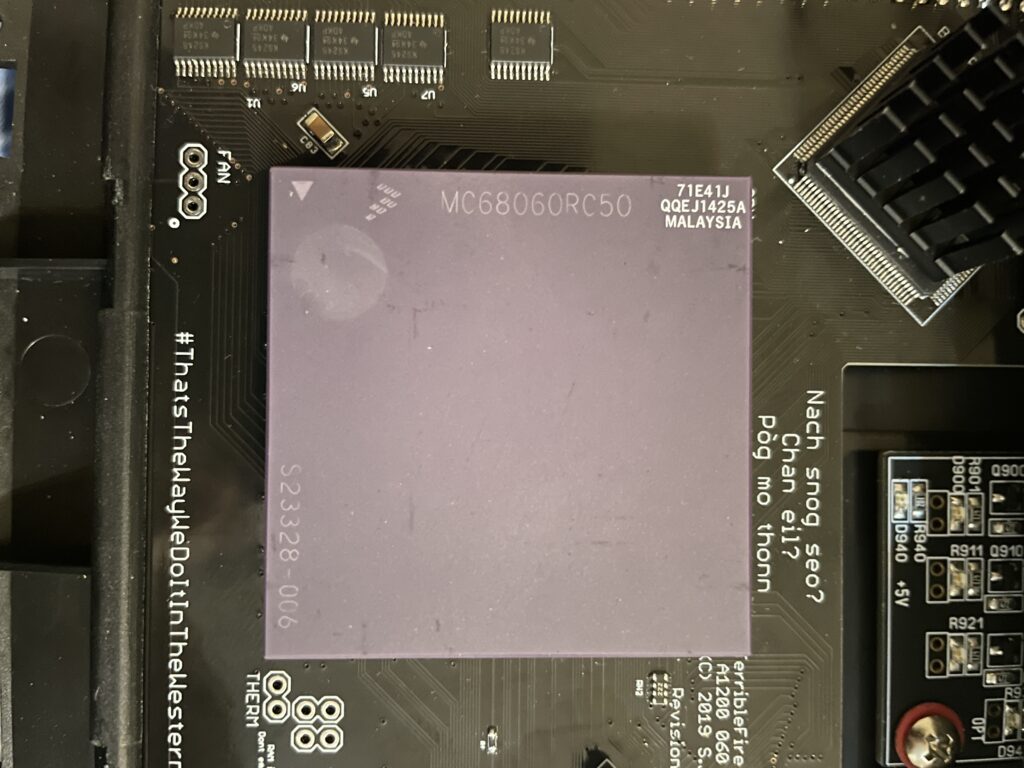
I bought a 68060 revision 6 (71E41J) recently for a very good price. The rev. 6 CPU can usually do a really good overclock, often reaching 100MHz or more, which makes them very sought after and sometimes fakes are offered as the genuine version of the CPU. As I was already running an 060 in my Amiga 1200 I was not sure if it was worth swapping CPUs to gain more megaherts. The rev. 5 68060 I was running could do a 66MHz overclock but ran very hot. And a 50MHz 060 is not a slow CPU (in the world of Amiga).

Swapping 68060 CPUs in my Amiga 1200

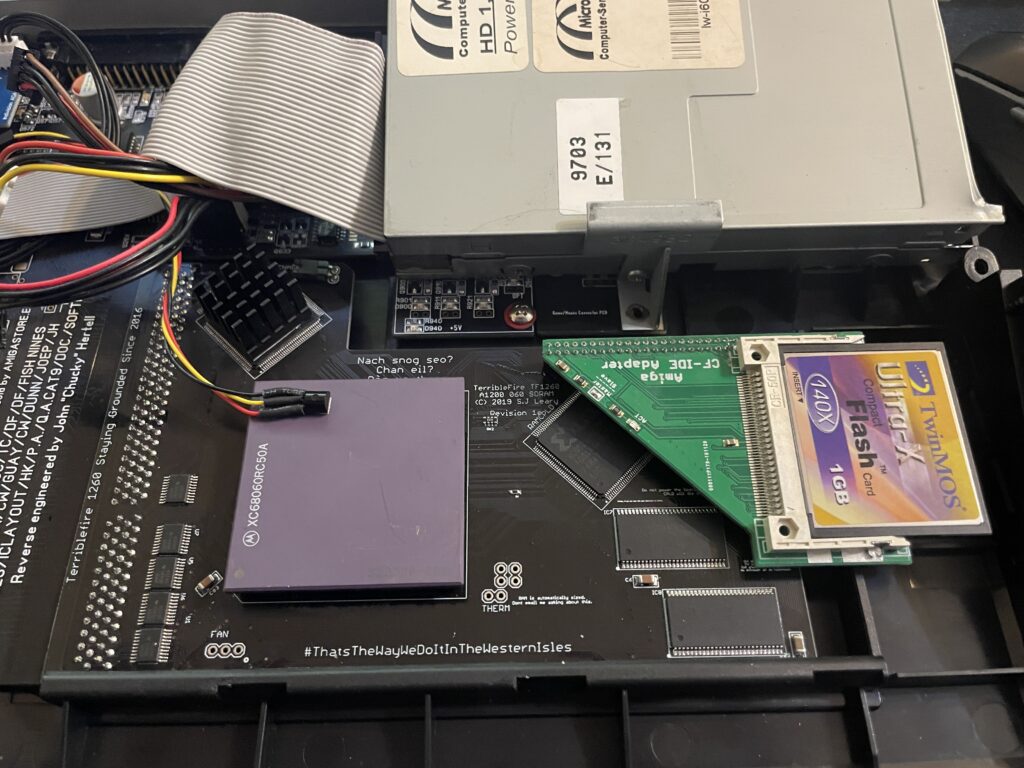
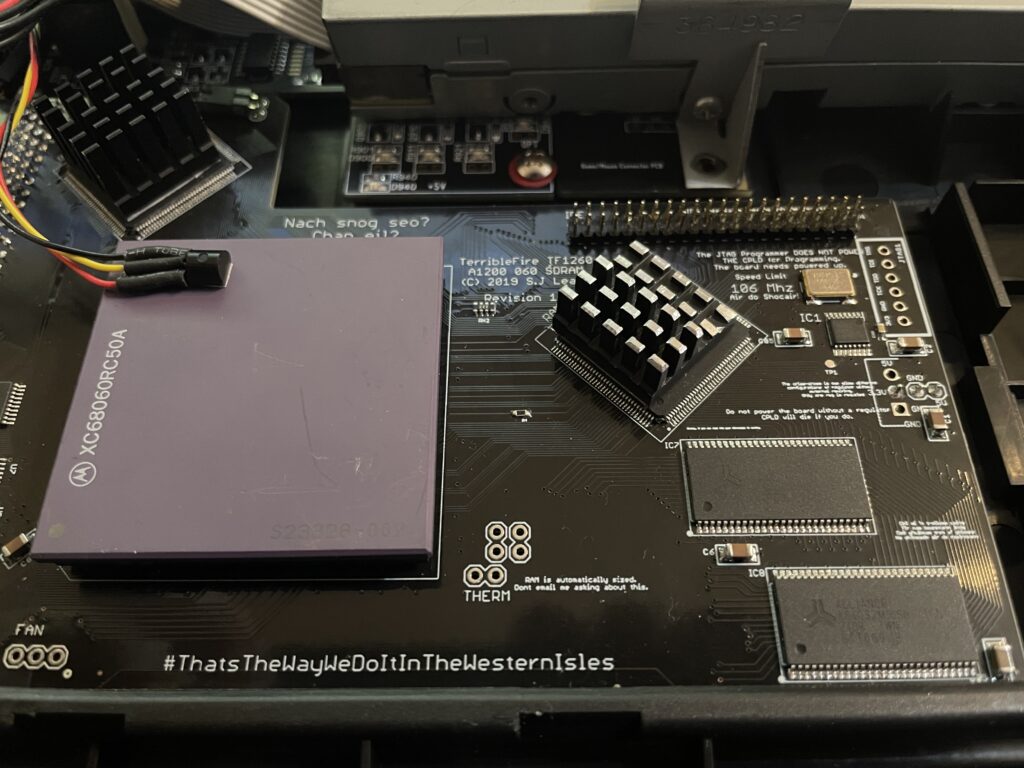
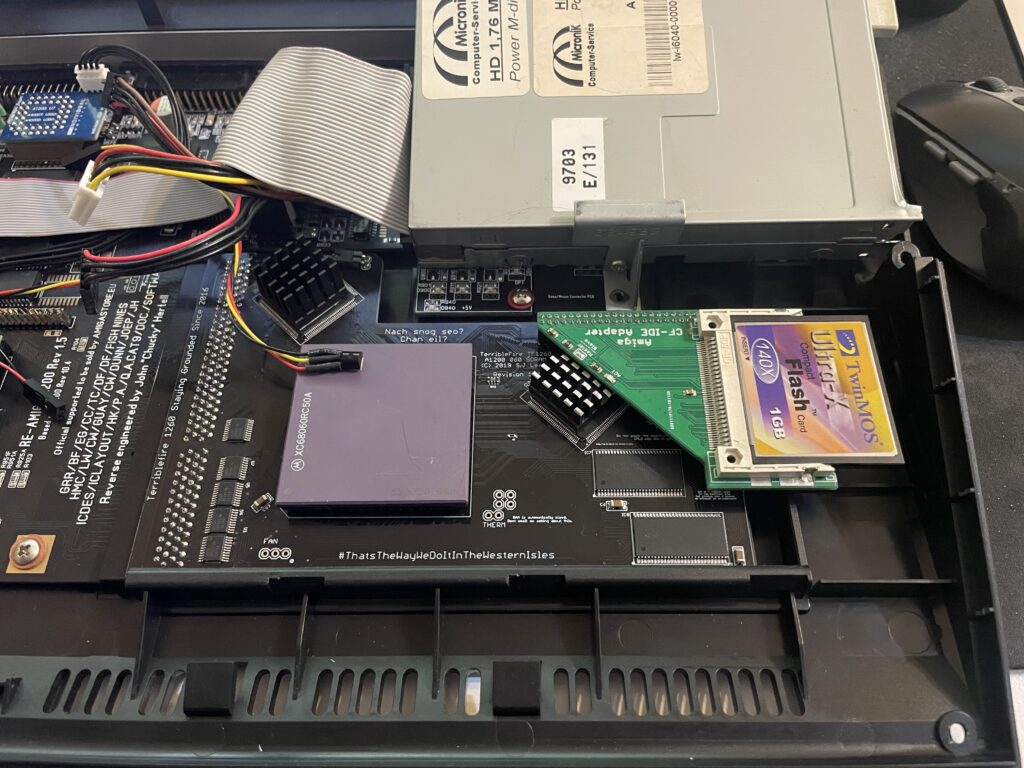
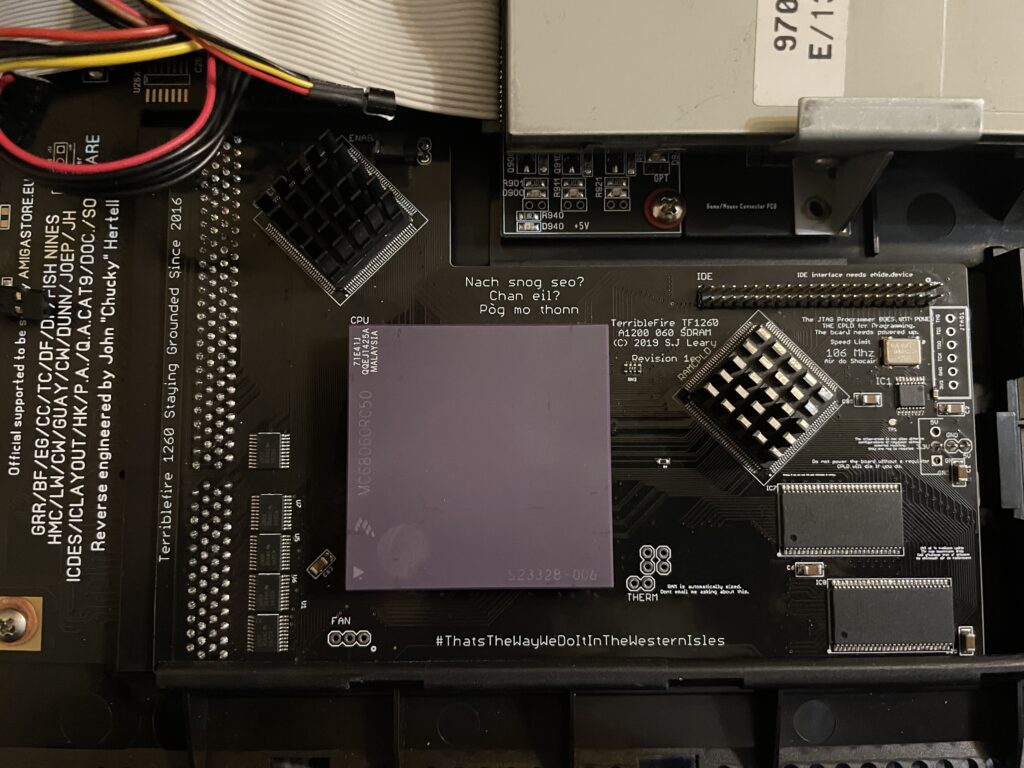
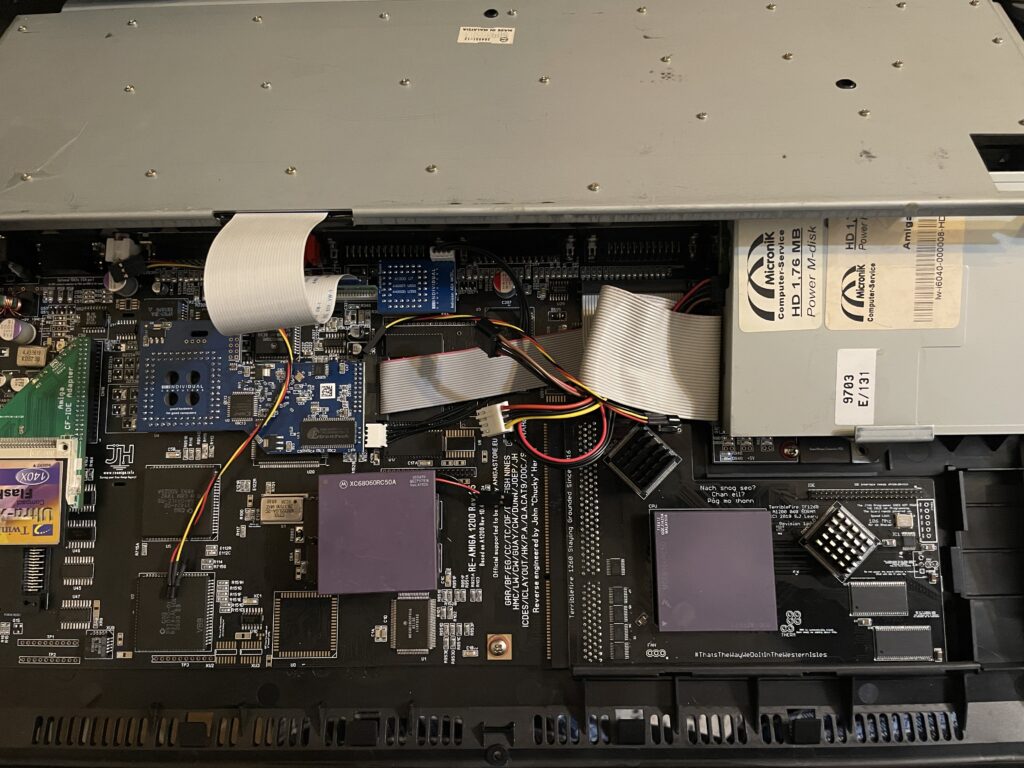
I decided to swap CPUs because I wanted to test performance of an Amiga without a graphics card but with a fast CPU and high resolutions (like HighGFX and highres laced). Luckily removing the CPU was not a difficult task, prying on the corners of the socket it was out in less than 5 minutes ready to go into another one of my systems. Once the rev. 6 CPU was inserted into the Terrible Fire 1260 I was eager to do a test. Sure enough, it did not complain anything running at 100MHz!! (keep in mind I had a heatsink on the CPU when doing tests). Next time I will try 106MHz!!

Is there actually a noticeable difference between a 50 and a 100 MHz 68060?

Would I be able to detect any difference between a 50MHz 060 and a 100MHz 060 or would it only be noticeable in a benchmark program?

I was not too sure – When I had overclocked my 060 in my Amiga 4000TX from 50 to 100MHz I could feel that icons loaded faster, drawers just popped up, Workbench was just smoother and more responsive. But I was not sure if it was my imagination or reality.

With that said, I was surprised that my 100% non scientific mean of measuring the difference between a 50 and a 100MHz CPU in the following AGA Amiga Workbench screenmodes highres, highres laced, HighGFX @ 1024×768 (all screen modes in 64 colors) proved that there really was a difference!

Workbench had become even faster and more responsive. Running 3.1 with the stock Commodore 4 color icons, icons did not load anymore, they just popped up, almost all at once, drawers opened up instantly. The system speed by at such a high rate I had only witnessed something like this in WinUAE. What an amazing experience!

I changed background colors to 256 colors and could sense little to no slowdown from a 64 color screenmode. Sure, I have to test this more, but the early results are great, this is what base level Amiga should be like! Lets bring on 200MHz 060 (lets crowd fund it lol).

Cooling problems

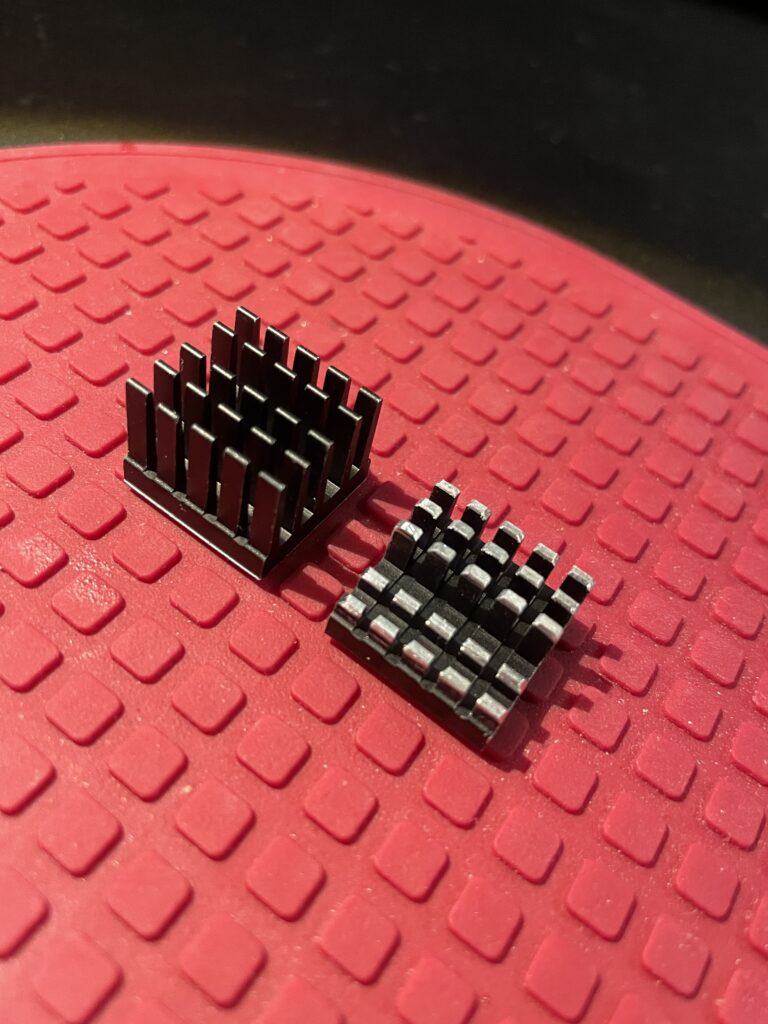
Before I permanently run this computer at 100MHz I have to figure out a good cooling solution for the CPU. This rev.6 68060 runs cooler than the old rev. 5 I had in it before. But overclocking it makes it run slightly hotter. I suspect its above 50 degrees but not more than 60. I have some ideas on how to cool it down but will have to sleep on the ideas a little more before I pull the trigger on the stuff I need to build one..

Terrible Fire TF1260 CPLD cooling

I have a Terrible Fire TF1260 in my Amiga 1200. I used to have an Apollo 1240 upgraded to 060 in it and was very happy with that card (despise what other said about the card, it was very stable for me). Time marches on though and the TF1260 started to look more and more impressive, so I built one last year. The TF1260 supports overclocking by software. One comment I read was that the chances of a good overclock improved if you put heatsinks on the two CPLD chips.

Keep in mind that I had a heatsink on the 060 when doing overclocking tests. But the space between the 060 and keyboard is so tight it was very difficult finding a heatsink in my stash that would fit with the keyboard installed. I have actually not solved this yet, thus I just focused on the CPLDs and will try to solve the 060 heatsink some other day, until then it will run at 50Mhz.

The problem with the CPLD cooler is that the right CPLD need a short heatsink if you want to run a compact flash adapter over it. As you can get an impressive speed boost for the CF card by using the IDE port on the TF1260 this was off course something I would need to consider.

I had ordered these 18x18x20mm heatsinks for this exact CPLD before. The left one is the original form and the right one is the heatsink cut down and modified. I dont like to do fabricating as it gets so messy and difficult to get good results with hand tools. I will probably order a new heatsink in the correct height in the future.

Here I am test fitting the heatsink.

And here it is secured to the chip. I use a thermal pad from AlphaCool that I cut to fit myself. The thermal pad from AlphaCool is somewhat thicker than what you usually get when you order heatsinks from Aliexpress. The thicknes is 0.5 mm, the thermal pad is also softer and more gooier than regular flat thermal pad. Once secured with the AlphaCool thermal tape, these pads wont go anywhere, they are secured very firmly. I highly recommend these AlphaCool thermal tape and would use them even on the 060 with a large heatsink without no problem or worry that the heatsink would fall off (even if mounted vertical!)

So here we are, everything fits now. But to use the IDE port on the TF1260 I need to burn a custom Kickstart with ehide.device, more on that when I will get to it.

And about finding a solution for cooling down the 060? I have not got a clue, I will probably need to cut down a thin copper plate and place a heatsink on it offsett from the CPU. Not ideal, but better than nothing. A small heatpipe cooler leading heat to fins over the top of the cards close to the floppy drive would be ideal, but prototyping a cooler like that would take weeks and lots of money. I will see what I will come up with.

Amiga 1200 build based on the ReAmiga A1200 motherboard

Black Amiga 1200

I just finished building my black Amiga 1200 that is based on a ReAmiga 1200 motherboard and a TF1260 turbo card and I am very happy with it!

System specifications:

  • ReAmiga A1200 v1.5 (black PCB)
  • TerribleFire 1260 (black PCB)
  • Indivision AGA MK3
  • Micronik 1.76MB floppy drive
  • Hard keyboard membrane
  • 4GB compact flash card
  • A1200.net replacement case, black
  • A1200.net replacement keycaps, black
  • Custom metal backplate

Comments on the build

Terrible Fire 1260

I like to run either 030 or 060, preferably 060, in my Amigas. Previously I had an Apollo 1260 in my old A1200 so I replaced it with a TF1260 that I built. The Terrible Fire1260 supports easier overclocking than the Apollo 1260 did and also has more memory, 128 MB.

Indivision AGA MK3

A scandoubler is a must have in the Amiga IMHO and the Indivision is a great option for that since it hooks up to HDMI directly. I got the first version years ago but sold it. Both versions has been proven to be reliable and good solutions, but price for it has went up a lot in 15 years.

Case and keyboard

The case and keys came from a1200.net. I got a hard keyboard membrane which worked great after the I had wiped the rubber key bottoms on a paper to make them conductive again. I also got a metal backplate from CenturionTech, it is a nice replacement for the ugly metal bottom shield, makes the whole system professional and fresh.

Other

I had an old MicroniK HD floppy drive and used that in the build. No idea where I got it from and I will probably never use it, but an A1200 does not look right without a floppy. I dont use old ball mouses anymore, so I got a MouSTer DB9 to USB adapter so I can use a wireless mouse.

Building the ReAmiga 1200

I built the ReAmiga A1200 from an empty motherboard PCB myself. I used parts from a broken Amiga 1200 motherboard. Halfway in the build I decided to build a second one as a backup so I got a white motherboard and built them both back to back. Both motherboards are tested and fully working. They are equiped with full LEDs. The white one has all green LEDs while the black one reminds of a christmas tree when its powered on.

The build was farily simple, as with most replicas close to original C= designs the amount of passives that has to be soldered is a lot, although not as insane as an A4000D/T.

I decided to build my motherboards without any sockets. There are two primary reasons for this, I can not professionally clean the motherboard, and cleaning flux from sockets is very difficult for me without an ultrasonic bath. The motherboard acts as a heatsink and it is more efficient if the chips are soldered to the motherboard IMHO. For example, Alice gets very hot (as does Lisa). Off course it is also more reliable, I have yet to find a socket that is not reliable though.

You can see the LEDs in action on the picture

Summary

If I had to chose to keep just one Amiga it would be difficult not to chose this A1200, it is fast thanks to having an 060 CPU. HDMI output is a nice luxury and with high resolution monitor drivers running at 1024×768 (in 8 colors) it almost feels like you had an RTG graphics card in it when you are in Workbench.